Alrighty, this tutorial has been a long time comin’! I’ve had many requests for a tutorial on how to move the straps on the Harriet. This adjustment can help improve your strap comfort if you have narrow or sloping shoulders, or if for any reason the straps feel too close to your underarm. Let’s get those straps moved inward!
But first let’s talk about bra strap positions in general…
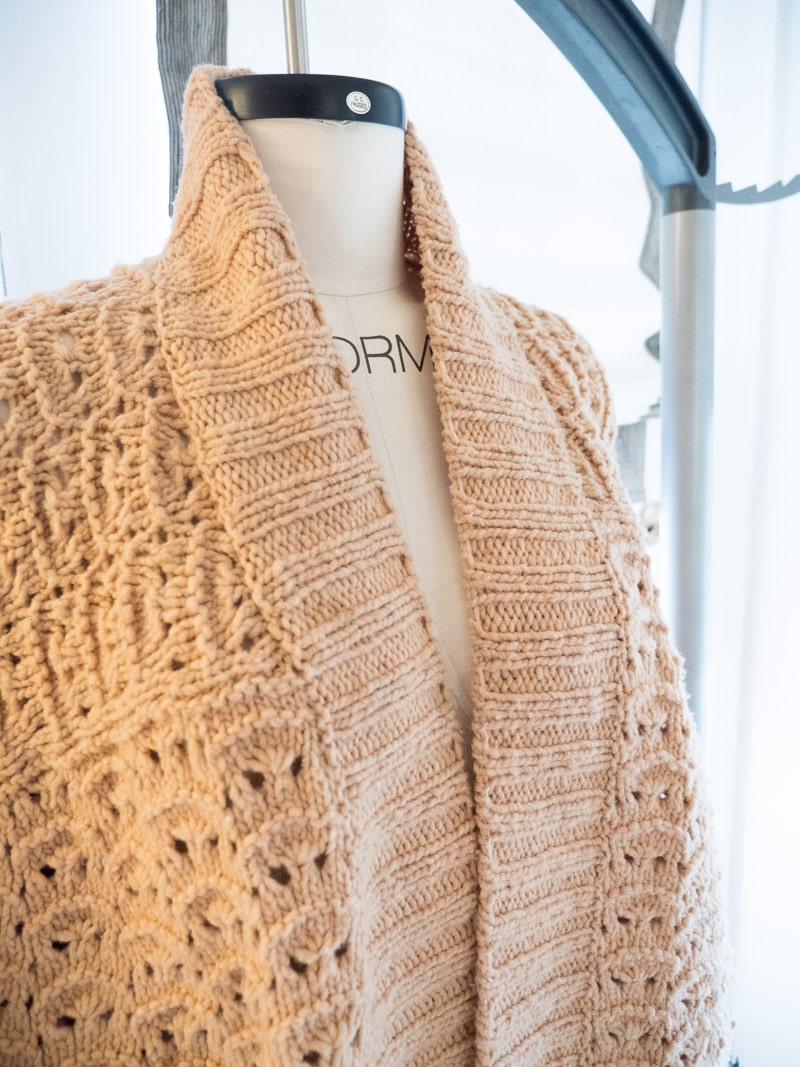
As I sit here on my front porch on a sizzling of a July day (it’s afternoon, the concrete is fuming and the mosquitoes are outta control), I can think of nothing else but a big, fuzzy cardigan of thick insulating yarn.
Right.
I’m just sweating thinking about it! Buut back in February I practically lived in it and it happens to be one of my favorite finished pieces of the last year. It’s been a long time since I posted some projects around here so I thought it was about time I checked in with my project queue.
A couple years ago I finally got into the knitting game and it gave me something to do that I’ve probably always needed–a way to create without the pressure of finishing. Unfortunately it doesn’t take long to amass a yarn stash, and in a matter of six months from taking on my first knitting project I ended up with more yarn than I knew what to do with.
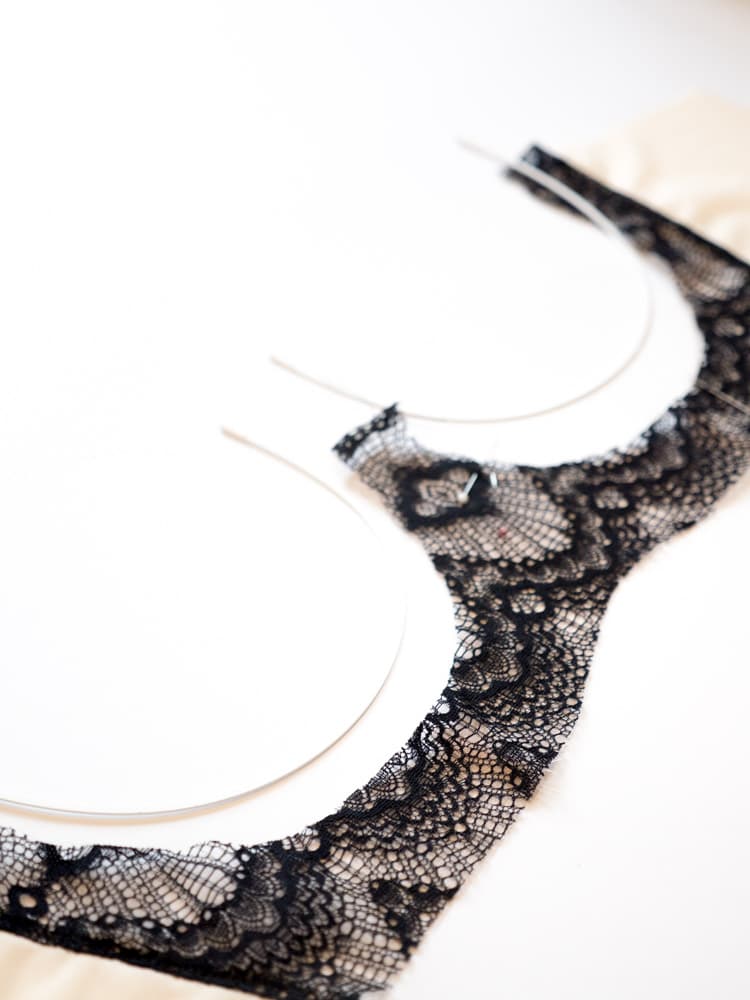
I’ve been on a little bit of a Harriet binge lately, in part motivated by a desire to use up a bit of my precious lace stash. While recently sorting through some of my bins, I had my first experience of supplies gone bad–I found a few rusted rings and sliders and elastic that actually crumbled when I pulled it out of a bag. Despite my careful inclusions of silica gel packs in tightly sealed rubber bins, I’ve discovered that “aging stash” isn’t always a good thing!
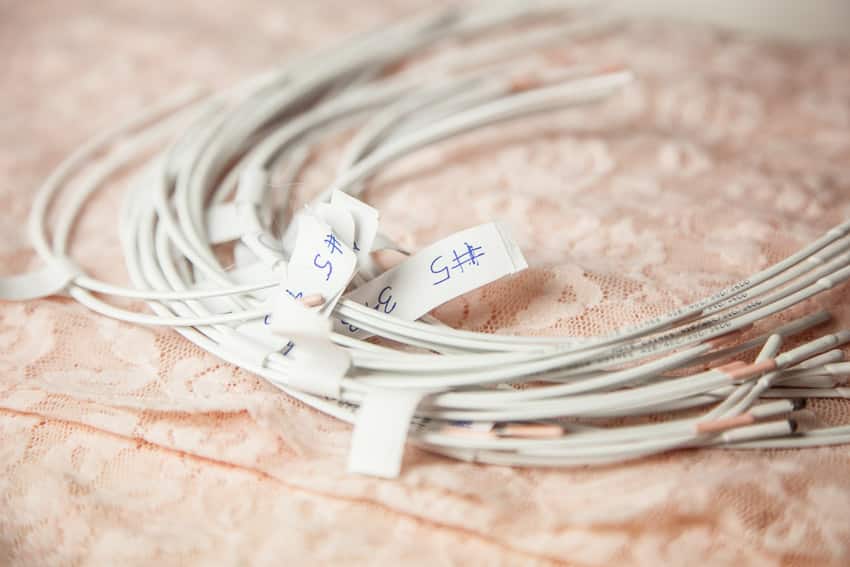
Anyway, this week I made the pattern in a 32G, and sometimes in the larger cup sizes I like to switch out to a wire with a narrower profile. The narrow wires I have happen to be a bit longer than the “regular” wires around which I drafted the pattern, so that also means I had to make some changes.
I get a lot of questions about substituting wires so today I want to share a few tips on choosing and underwire–and what to do when the wire you want doesn’t fit into the size you choose.
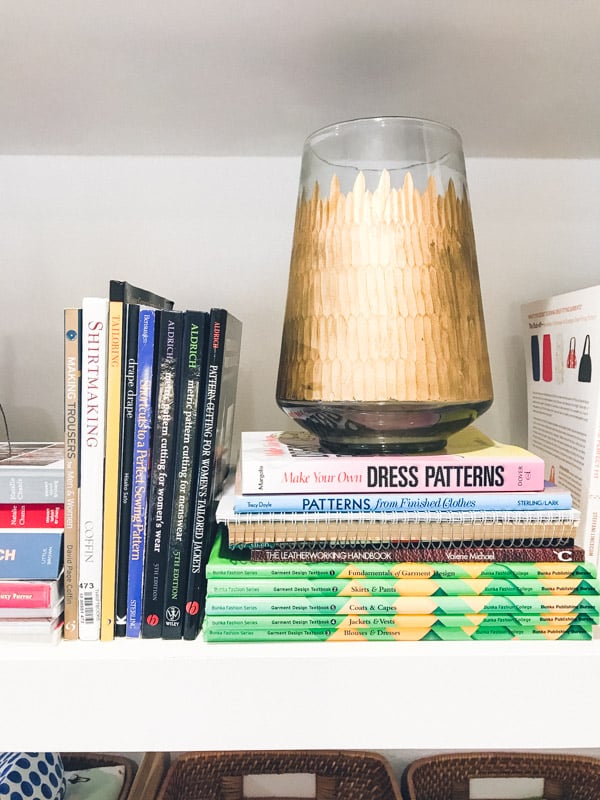
My favorite kind of sewing book is a patternmaking book, and I collect many, even in languages I don’t read. Every patternmaking book has a slightly different way of doing things so I hunt through them to find tidbits I might not see in another book.
One thing I have always wished for in any textbook is more insight into production patternmaking–and what I mean by that is the process of creating patterns according to how they would be sewn in a factory. The seam allowances and markings (if shown at all) are generic in most patternmaking books, and I suspect a large part of that is because these are specifics that are learned on the job, not in a university where most textbooks have their market.
However, I love making home sewing patterns a little more “production pattern” ready, if only because it often makes my sewing so much easier. And this is the kind of subject that deserves its own book.
Enter Design Room Techniques, a hunk of a workbook that fills the nichest niche for those wanting to learn more about production sewing and patterns.
Do I really need to use underwires?And can I just leave them out? Or: Can you help me find a pattern that doesn’t use underwires?
I get these questions quite a bit. Many women don’t want to wear underwires for health or other personal reasons, but so much bra advice and bra making tutorials online focus on underwired bras. I hear ya!
And here’s my short answer: many soft bras are designed exactly like an underwired bra, just without the wires. So yes, you can leave out the wires, and no, you don’t need a different pattern.