Happy February everyone! I hope you had a fantastic weekend.
We’re getting close to finishing the bra! Today we’ll be sewing in the cups and attaching elastic. I took a few extra photos to help with some of the tricky parts, and will be back tomorrow with all the finishing touches.
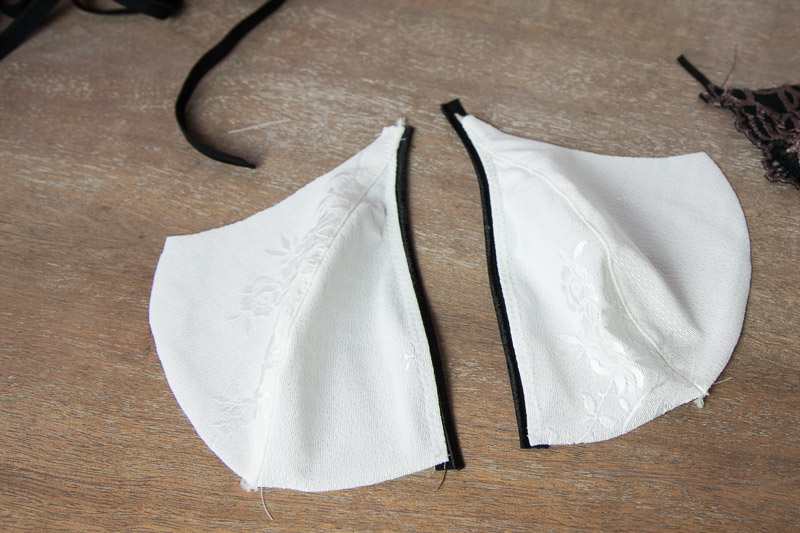
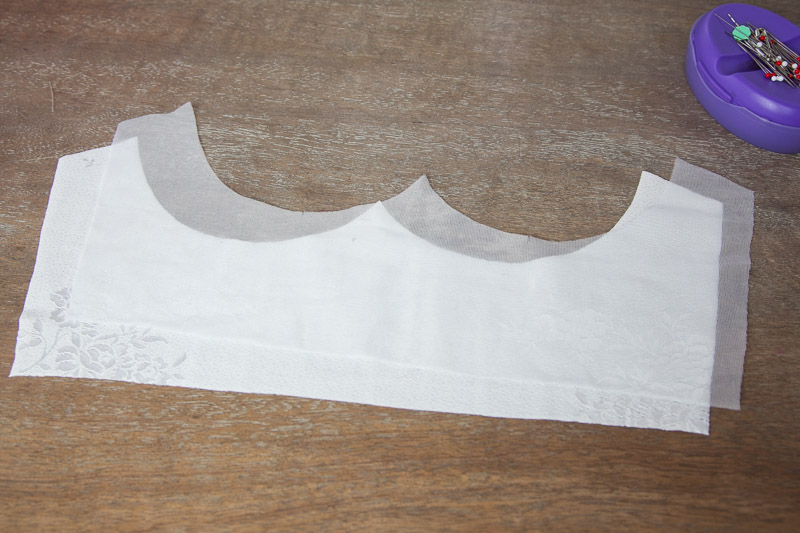
Insert the Right Cup
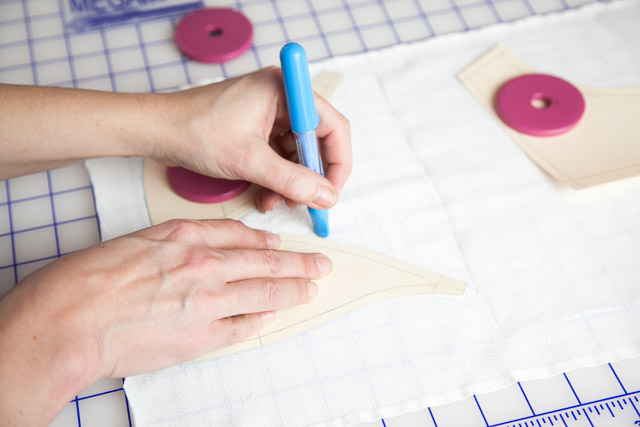
With a washable marker or chalk pencil, mark the center front point where the two cups will meet on the cradle.
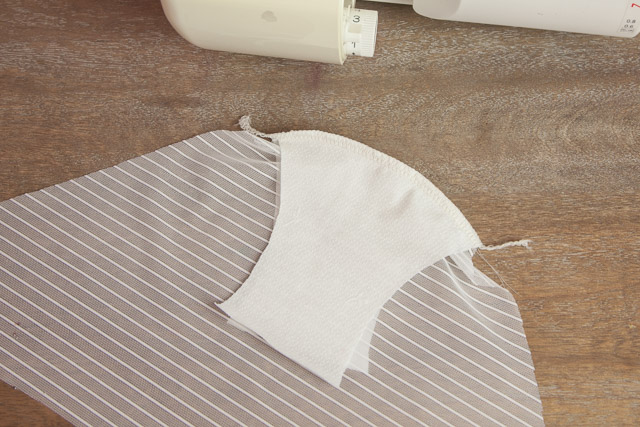
With the right side of the band facing up, begin sewing in your cup from the underarm.
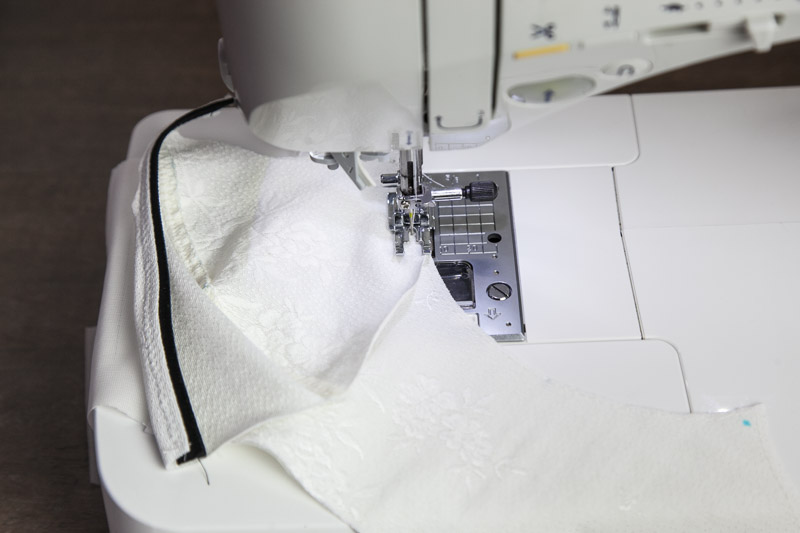
Pin the cup in, matching the cup seam to the cradle notch. (I sew in my bra cups without pins. It’s a great way to stitch convex to concave curves, especially when sewing with 1/4″ seam allowances.)
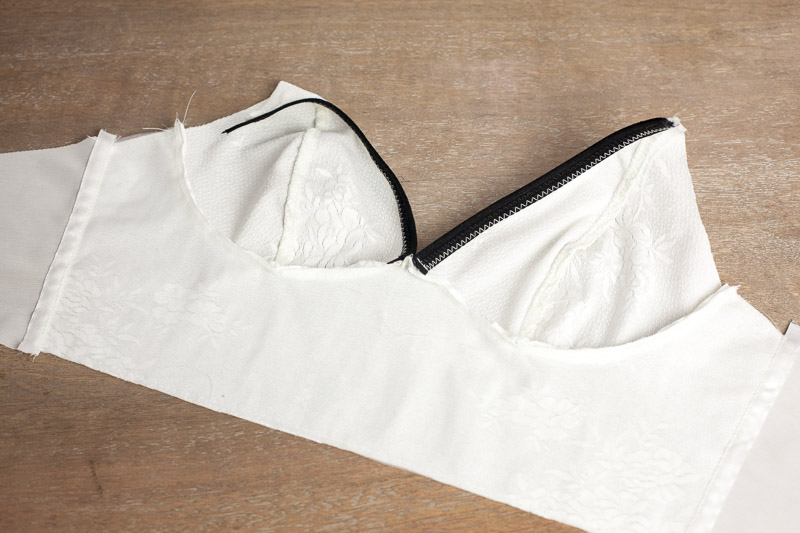
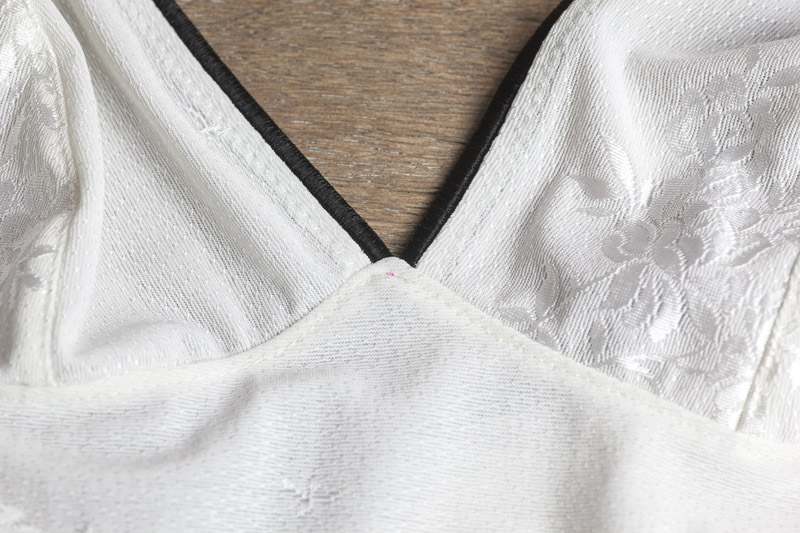
As you near the center front, make sure that the edge of the bra cup meets your center front mark:
This is a tricky intersection that requires sewing accuracy. If it looks like your cup piece is too long, either the cup fabric stretched out in sewing, which can easily happen because the stretchier fabric is being pushed by the foot, or your elastic has an edge that added width to the seam allowance. Remember how I adjusted for that extra elastic edge in my cup pattern? If this happens to you, unpick the stitches back to the notch and re-pin the cup, easing in the excess, or simply allow the cups to overlap at front.
Insert the Right Cup and Topstitch
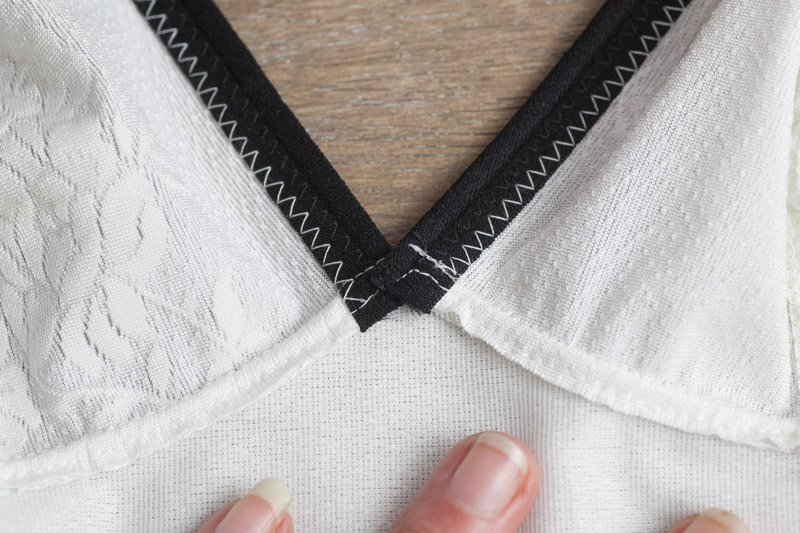
Line up the left cup so that the edges meet together at the dot.
Backtack a couple of stitches to secure, and sew all the way around to the end.
Trim away the little diamond in the seam allowance between the two cups. This will help create a cleaner seam when you topstitch. Be careful not to trim into the actual seam.
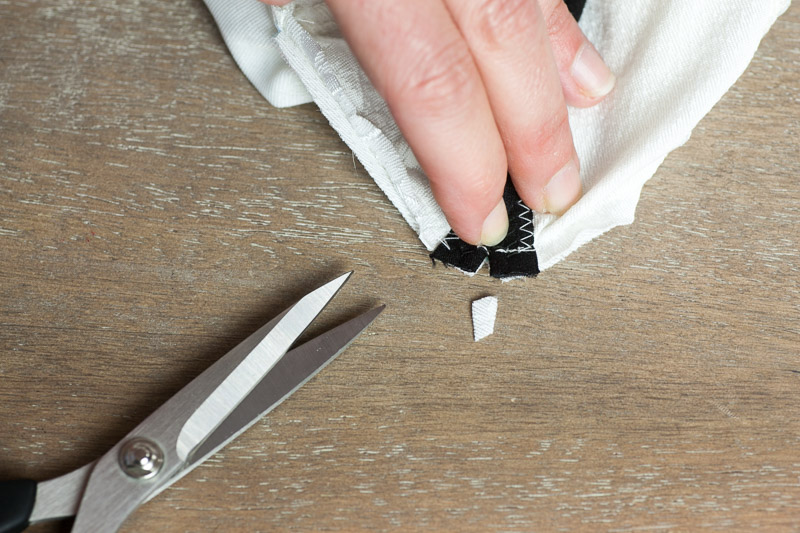
At the center front the two elastics will overlap underneath the topstitching. Don’t trim these elastic ends away–they anchor the seam allowance and allow for neater topstitching.
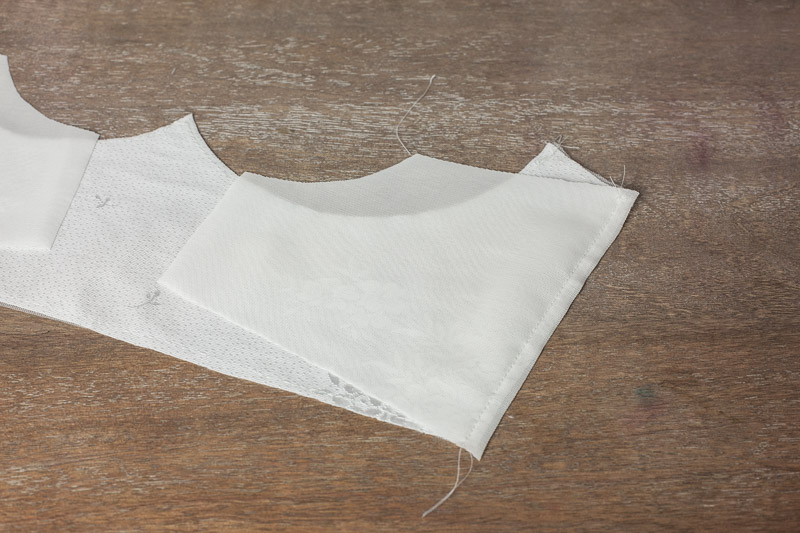
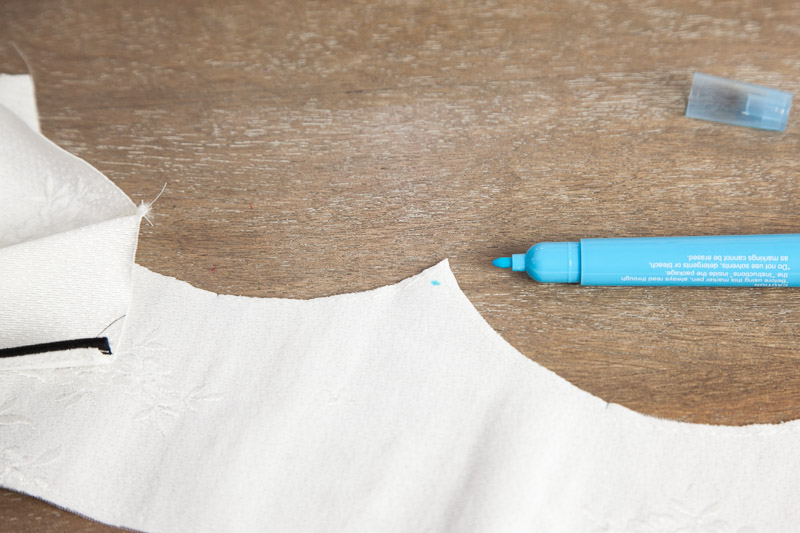
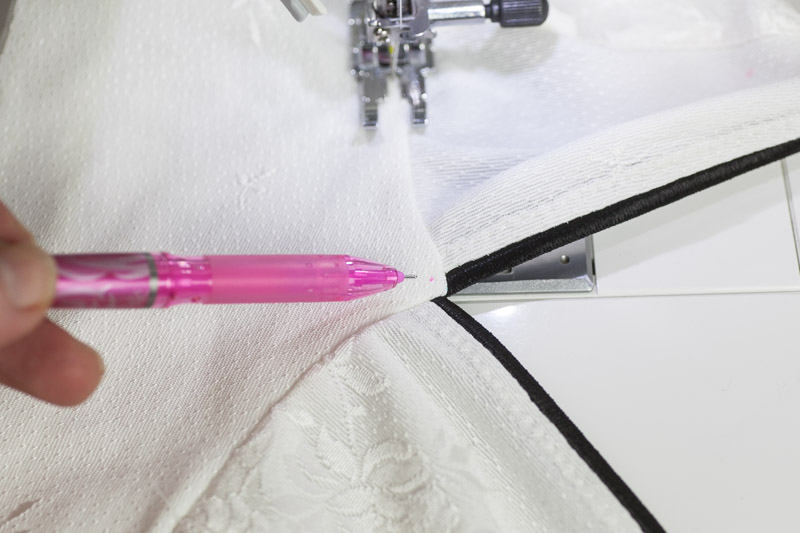
From the right side of the bra, fold your cup seams toward the cradle and topstitch them down, 1/16-1/8” away from the seam. For help in topstitching at the center front, use a fabric marker to mark the corner where you’ll turn your stitch direction.
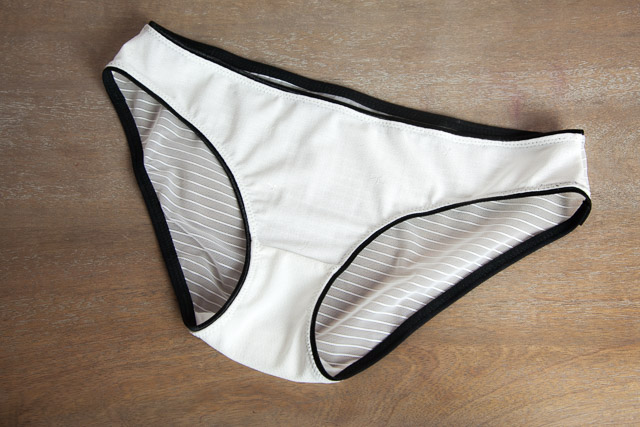
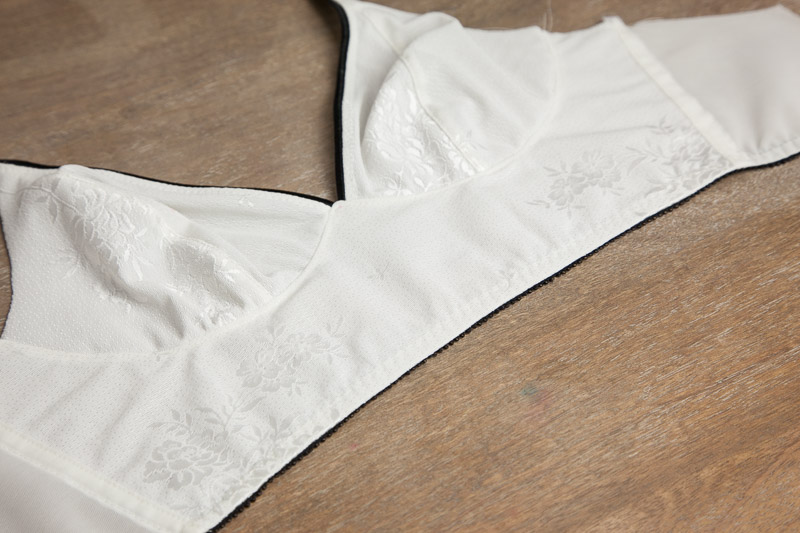
Finish topstitching around the rest of the cradle.
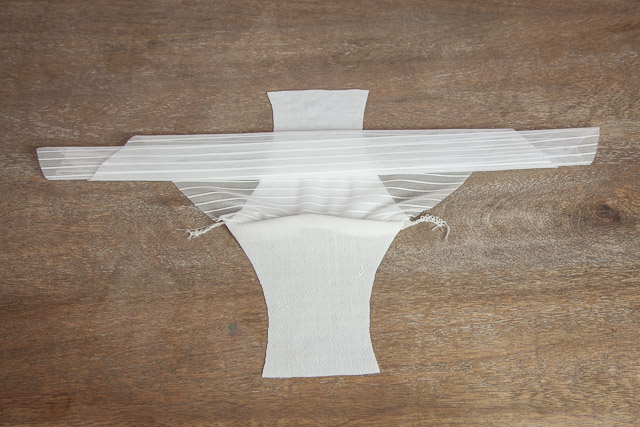
And what it looks like on the inside:
Don’t go crazy if you don’t get this part neat on your first try. I mentioned in the Facebook group that bows and trims are the bra-makers secret to hiding goofs!
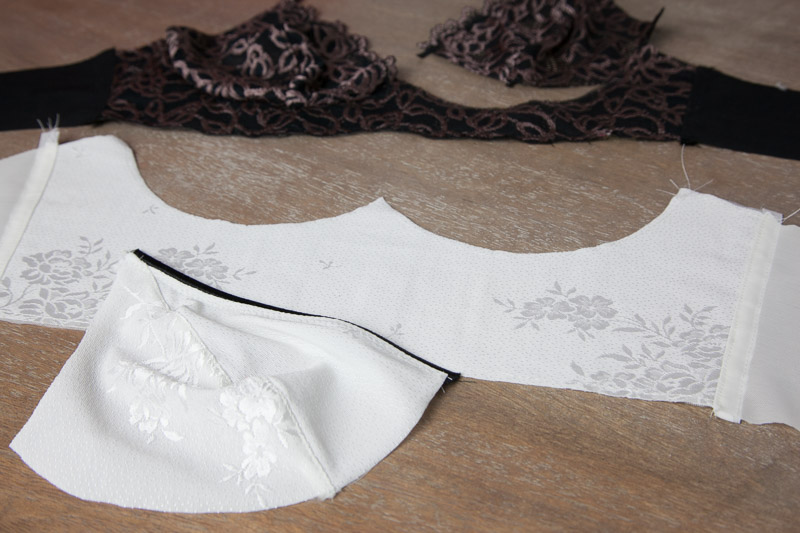
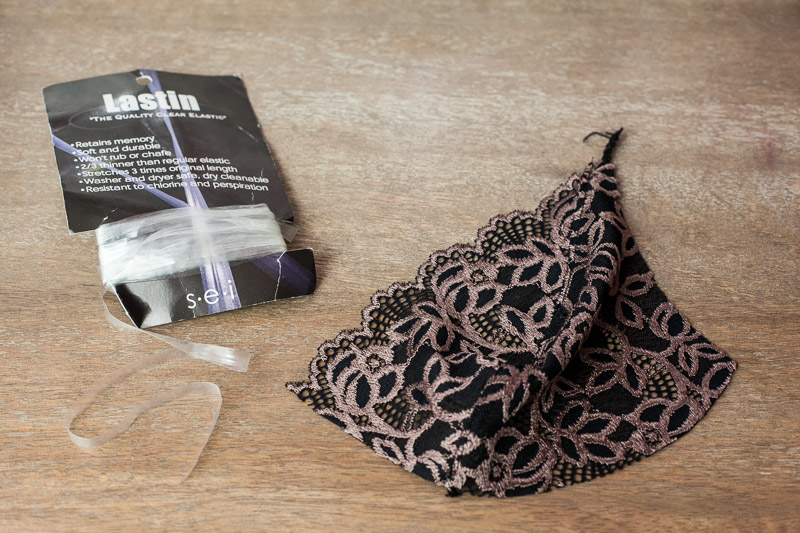
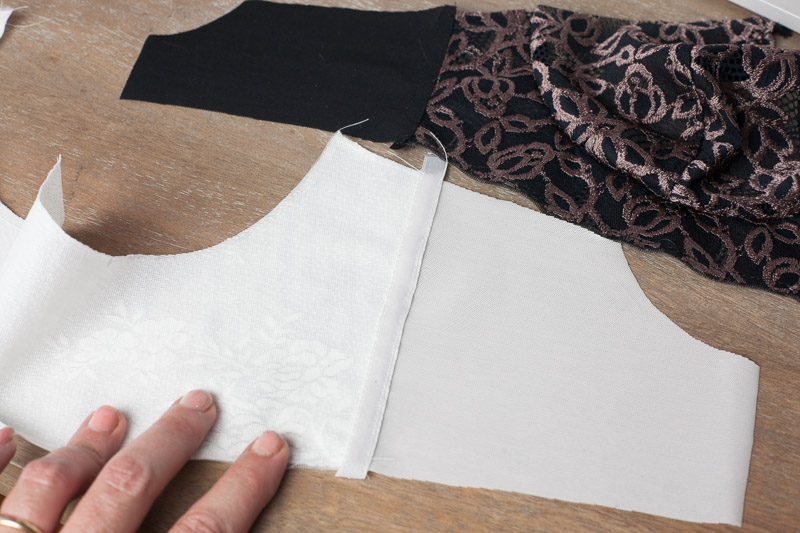
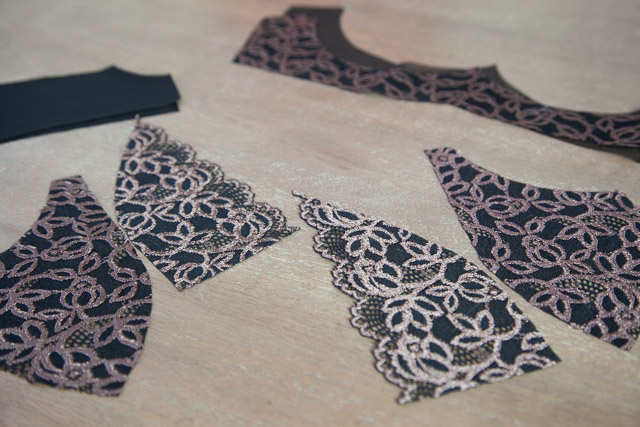
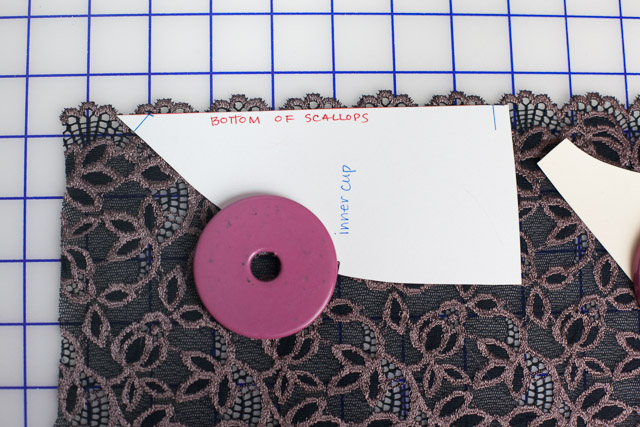
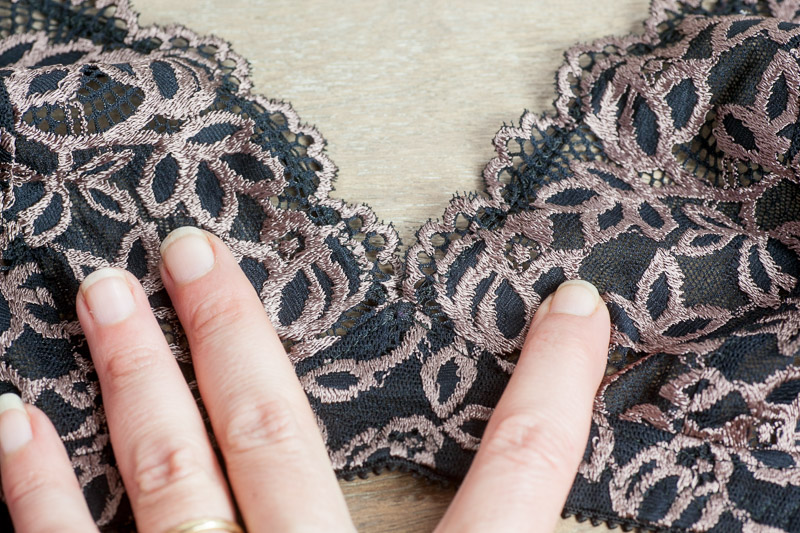
The steps are the same for sewing in scalloped lace cups. When joining the two cups at center front, they should meet right at the bottom point of the scallops. This is what it will look like when finished:
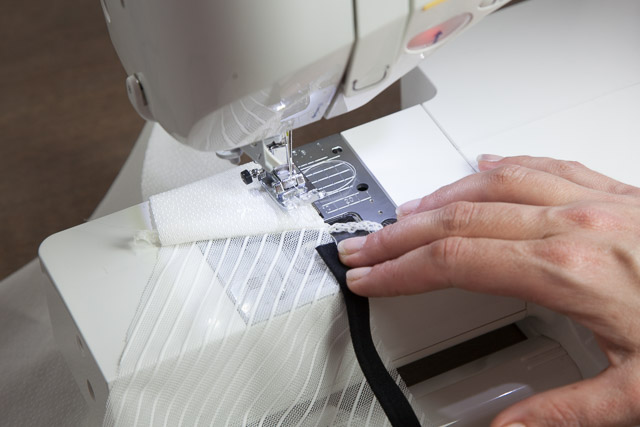
Stitch in Hem Elastic
Apply your hem elastic using the method in this tutorial. For the first pass, I used a 2.8 width, 2.0 length zig-zag. For the second, I used a 3-step zig-zag with a 5.0 length, 1.0 width.

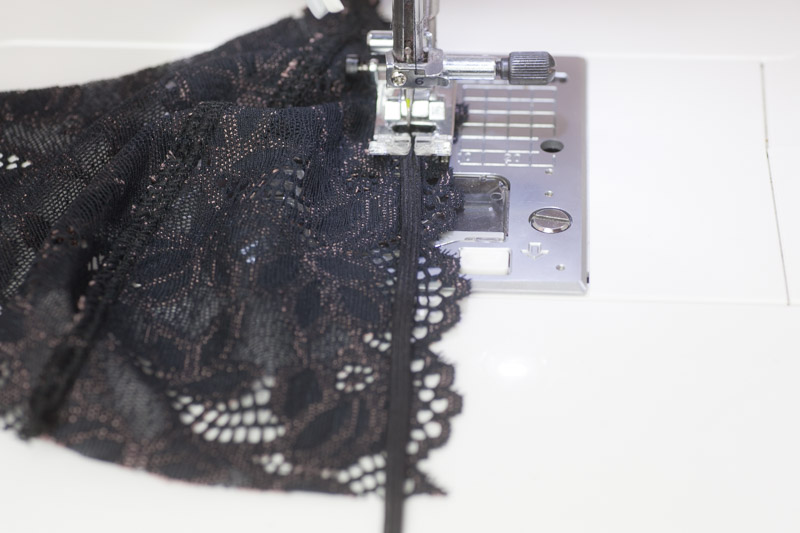
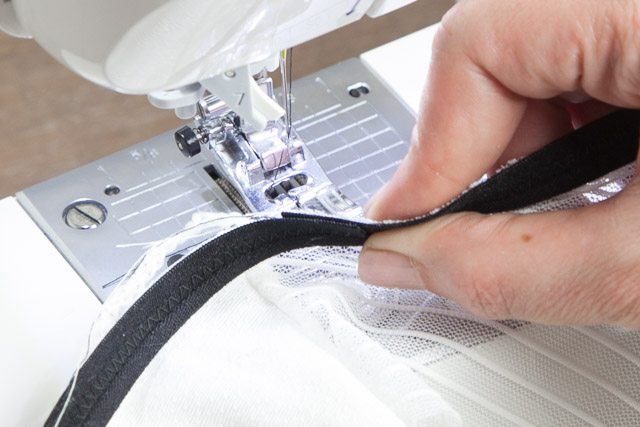
Stitch in Underarm Elastic
For my narrower underarm elastic, I used a 2.8 width, 2.0 length zig-zag on the first pass, and a 3.2 width, 2.0 length zig-zag on the second.
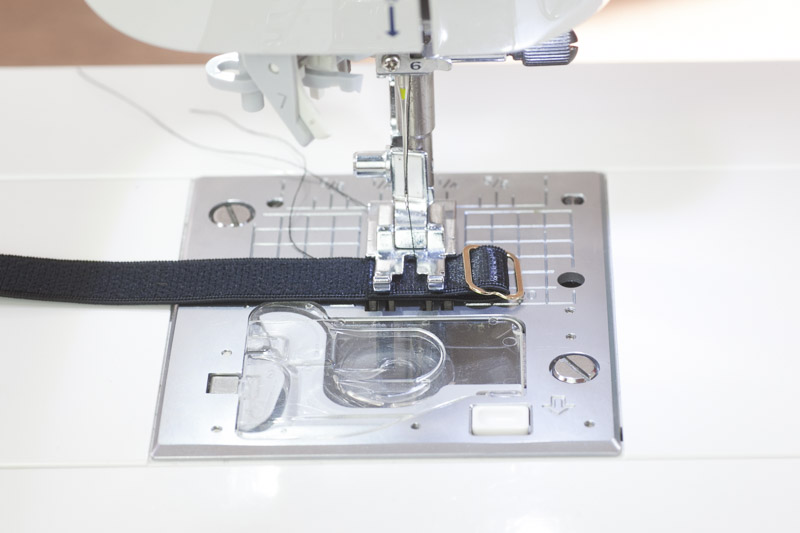
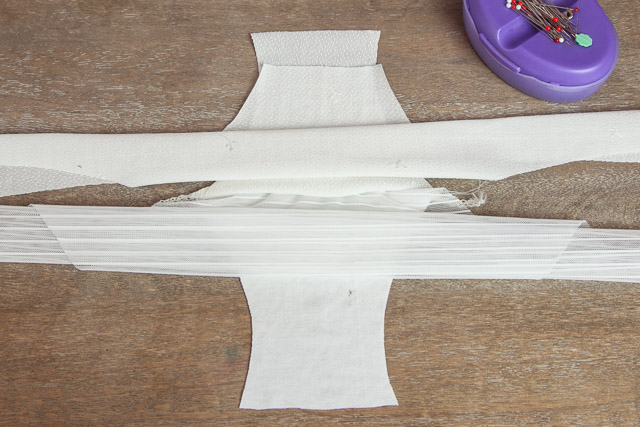
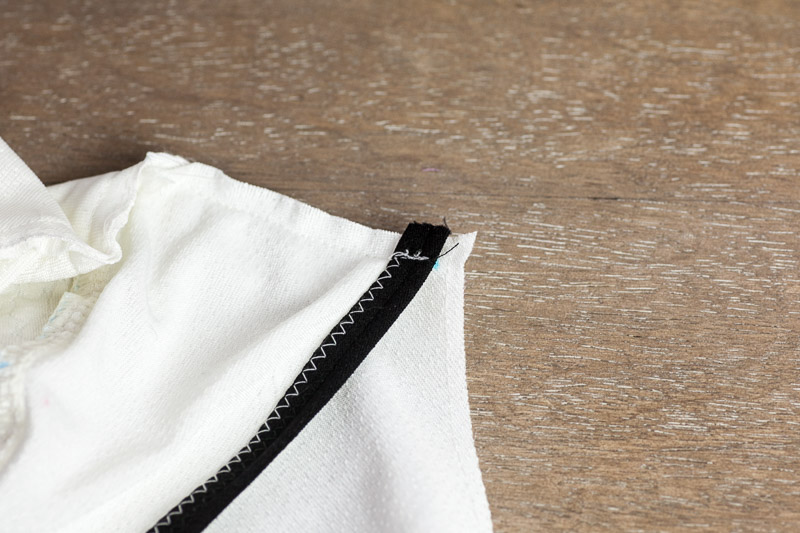
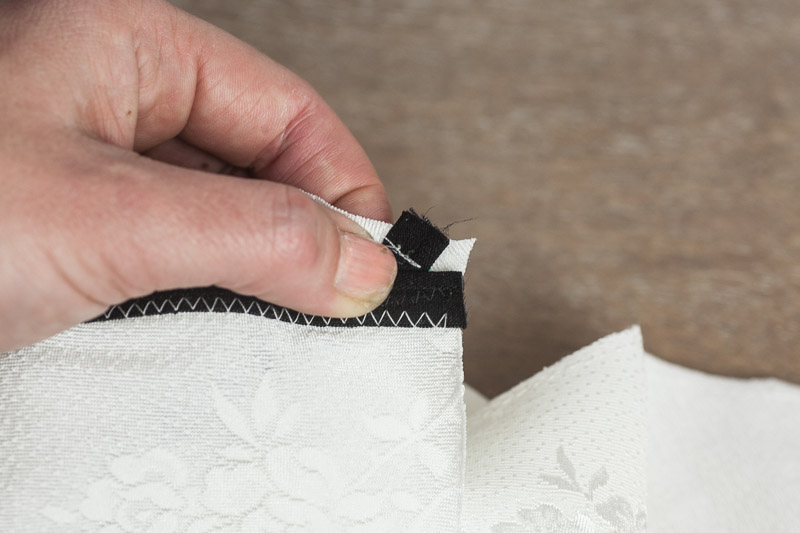
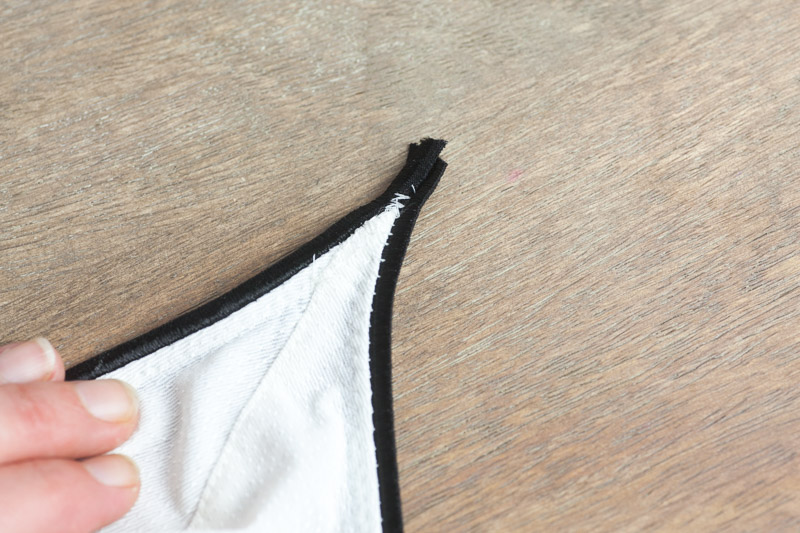
When applying your underarm elastic, it’s important that the area where the cup folds through the strap ring ends up with a finished width of 1/2″ (13mm). In order to make this happen, the second elastic will overlap the first elastic right at the strap fold. To make this easier, begin stitching the elastic about 1/2 to 5/8″ (13-15mm) down from the top of the cup, leaving an unstitched portion:
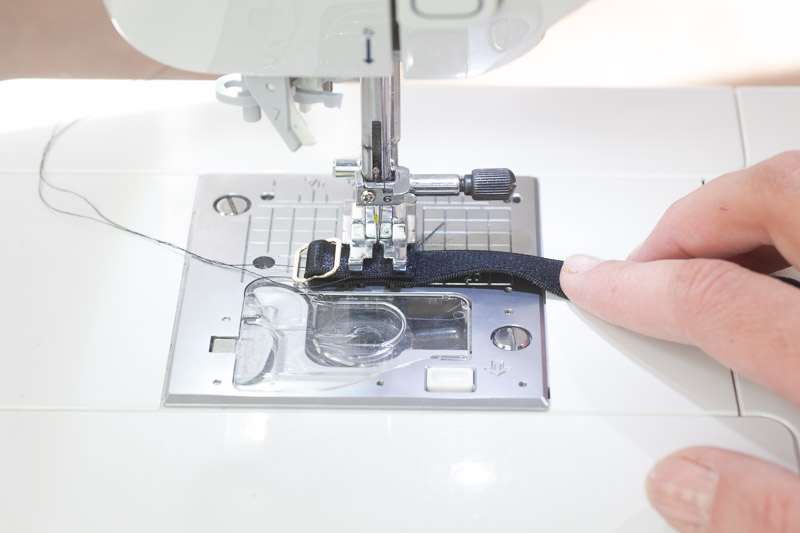
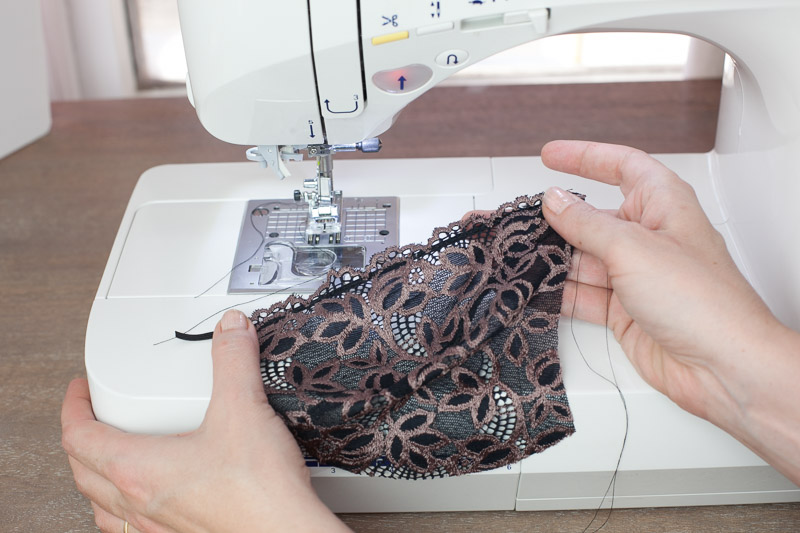
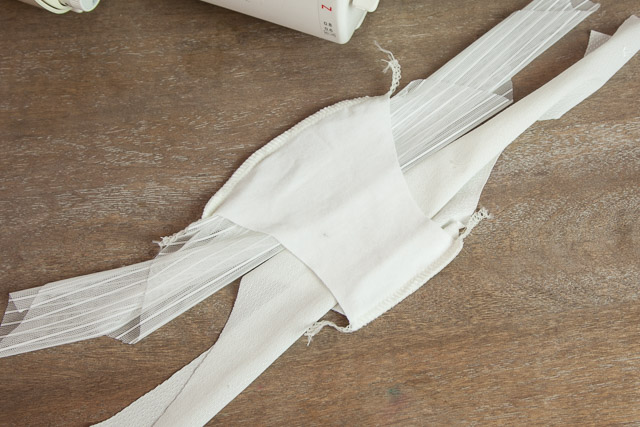
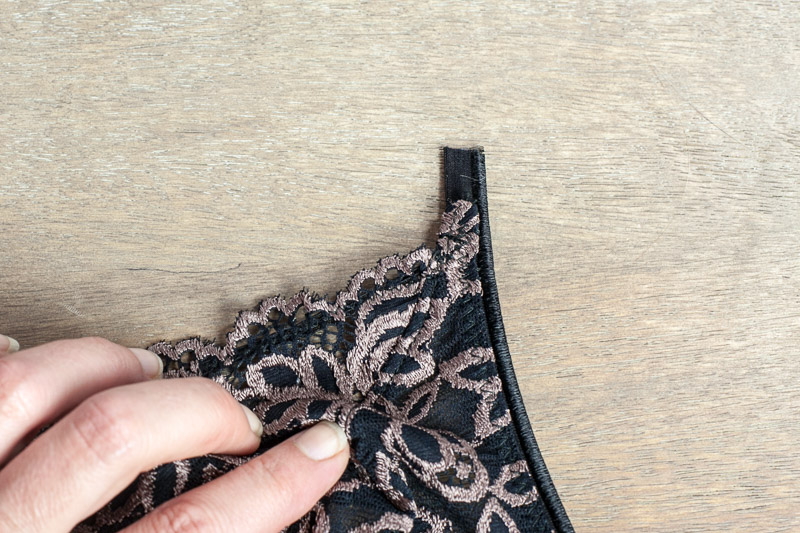
When stitching your second finishing zig-zag, wrap the unstitched elastic and the edge of the cup fabric over the neckline elastic. The two will completely overlap at the top:
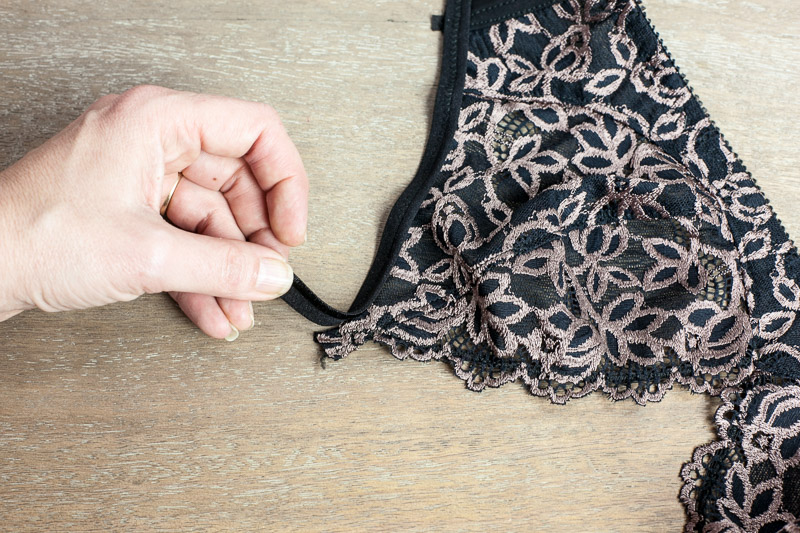
And how this might look on the scalloped cup:
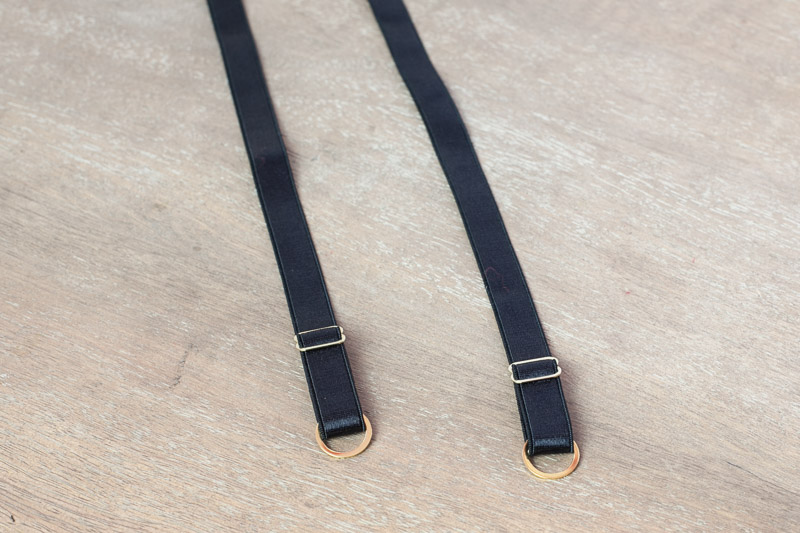
Another little tip: In both these cups, you’ll notice that I left some extra elastic past the end of the cup. This extra length will give me something to grab onto when I secure the loop through the strap ring.
I’ll be back tomorrow with the finishing touches–the straps and the hook & eye!