Sewing On the Road

During the first two years Derek and I were married, we were traveling almost non-stop. How it all ended up this way is a long story but the short version is that I fell in love with a man who has a huge taste for adventure. We had a whirlwind courtship, a two-week engagement, and were married in Prague. In the beginning our apartment felt more like a playground than a home. We wanted to sleep on the beach in Barcelona more than own furniture. Our Czech apartment on our wedding day, ten years ago this summer:
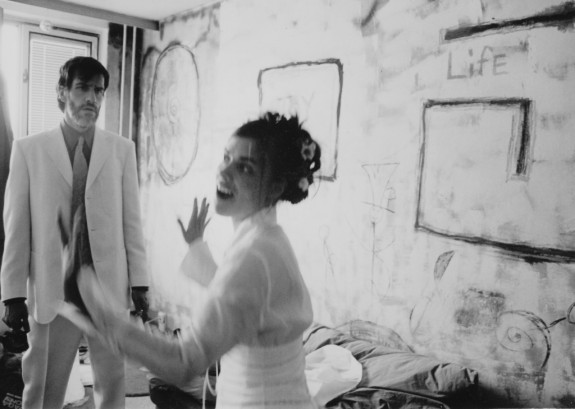

{The groom wore a white silk suit that he calls his Pentecostal preacher suit. I still have no idea where he found this and think he had the better costume! I scrounged mine up from a sale at Zara.}

I really like being a homebody now, so much so that when we travel I tend to want to bring my homesteader hobbies with me. And Derek likes to remind me I don’t have lightweight hobbies. I know with a little ingenuity some folks can make great art with an phone camera but sigh, I’m not one of those people. I like tools. I hauled a 40-lb bag of compost from Belgium to Poland during my phase of “pretend gardening” with little potted plants when we were making lots of road trips. I attracted a lot of affectionate looks toting a massive purple metal watering can through Heathrow airport. (I just had to have it, and the English have THE BEST gardening tools.) And so lately I’ve been wanting to take my sewing whenever I go somewhere.

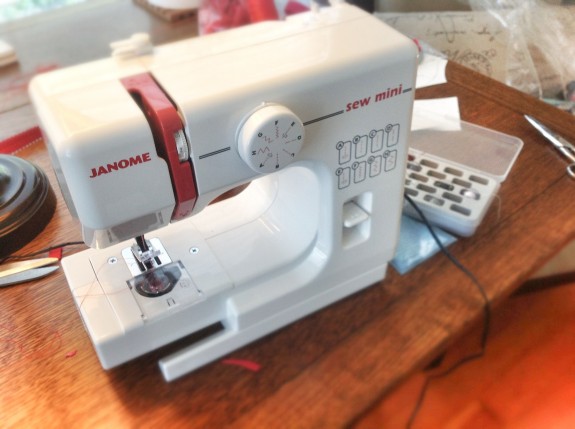
Have you seen these before? Derek’s so cool, he looked at the box and said, “Look at that, it’s a Ja-NOH-mee Mini!” I never knew that’s how you pronounced Janome. And there ya go.

This is a $50 machine and weighs less than a pair of shoes and is about twice the width of my hand. I’d read about it on a couple of quilty blogs as being a decent machine to tote around so I thought, why not? It actually has a nice feed, although it’s verrry slow and there’s no speed control. There’s no light, but it has six stitches, including 3 zig-zags, goes backwards and forwards and that’s pretty much all I really need!

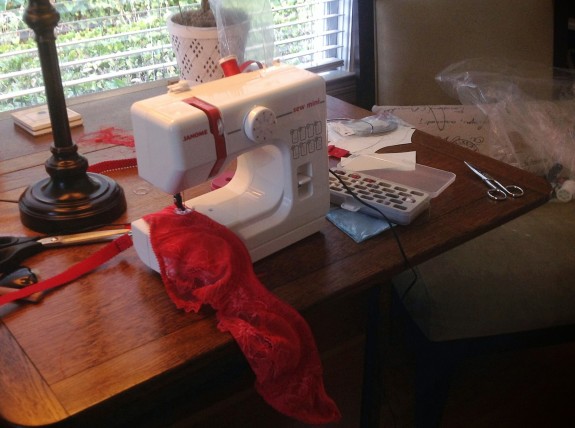
Of course I probably should’ve packed it better because it begs to be broken. Have you seen the way those guys throw suitcases onto the conveyer? The plastic bobbin winder broke off in my suitcase, and I ran out of bobbin thread before I could finish my project. But if any of you have a hankering for a travel machine, I’d definitely give this a cute and very useful thumbs up.

See, I got my lingerie-sewing fix.

And it sure beats hauling compost for a sense of home.
Late Summer Escapes

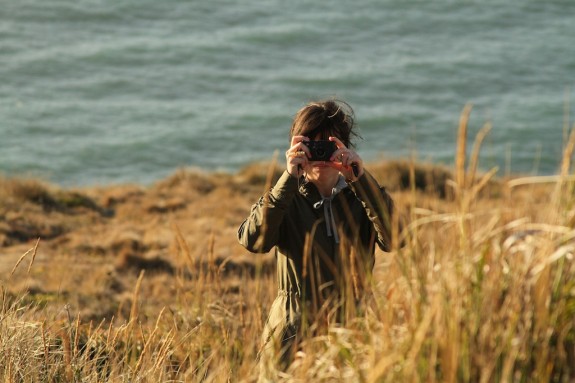
Well hello again. I’m writing this post from a somewhat sunny California, on a much-needed rest at the tip of summer’s end. Sometimes space is good, nobody knowing where you are is good.

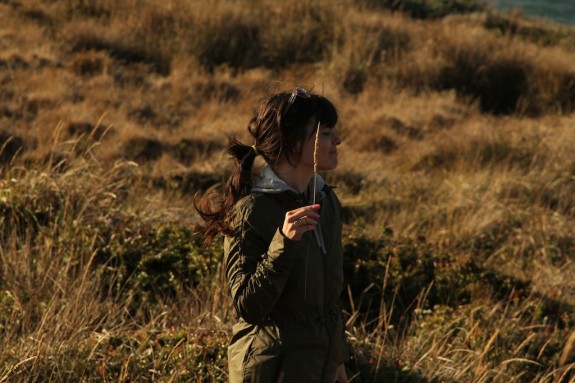
That I’m wearing a windbreaker should give you an idea of how happy I am! When I last saw Texas, the heat was still pretty killer. I experience a certain late-summer languishing akin to those late-winter blues in climates that actually have a sense of winter. Too hot to think, too hot to get inspired about clothes! I’ve been traveling quite a bit and have hardly been home in the last month but I’m hoping some of this time away from heat and le blog and interweb activity will bring some fresh perspective and direction, both in my sewing and my writing.

Not that I haven’t been sewing or at least thinking about it! My free time has been filled with visions of pretty underthings and a few experiments in my own designs. Friends, I am utterly taken with lingerie design. Making my first bra a year ago tapped into something deeper for me–more than just another thing I’d like to learn how to make. Gardeners often talk about “signature plants” and my flowers became sweet peas. I even tried breeding my own varieties. Their history, fragrance, short-lived ephemerality, small but radiant blossoms and attraction to bees essentialized everything I loved about flowers. You can probably see the connection. I might have to stop myself from turning this into a lingerie blog! But seriously, I might start a regular feature on lingerie design, sewing and sourcing.

But first things first. Thank you for your sweet comments about my silk bra. It’s already become one of my favorite bras and definitely one of better-fitting ones I’ve made. I can’t wait to get back home and experiment some more with the pattern. Several comments gave me some good ideas for later later posts. Katherine asked me about how I adjusted my patterns for stretch and this is a little something I’ve been researching and working on, with a help of a few books about lingerie design. I’ve even come up with a geeky cool calculator that is helping me adjust pieces for different stretch percents. In an upcoming post/s I will share more ideas on how to adapting and fitting bra patterns.

Now to catch up on all your lovely blogs… Or just keep enjoying the bits of cool sunshine on my face.

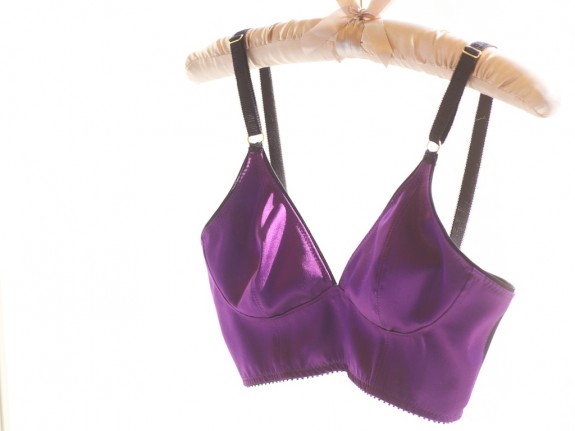
A Vintage Mood Silk Bra

Just when I thought I was done with purple silk, I was inspired to scour through the scraps for a new project. I try not to keep saving miniscule remnants of fabric but they keep piling up and now I have yet another reason than “oh, this one-inch selvage might make a cool bow thingy some day”: bras!

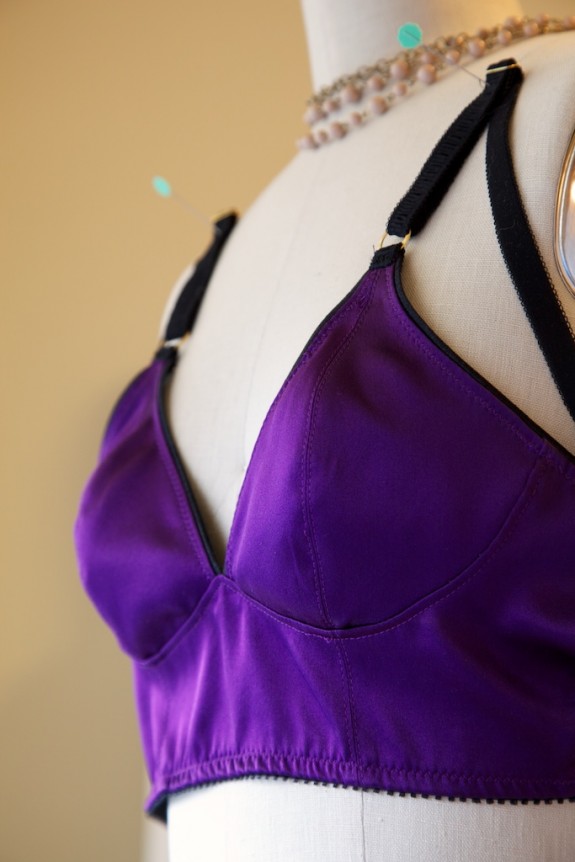
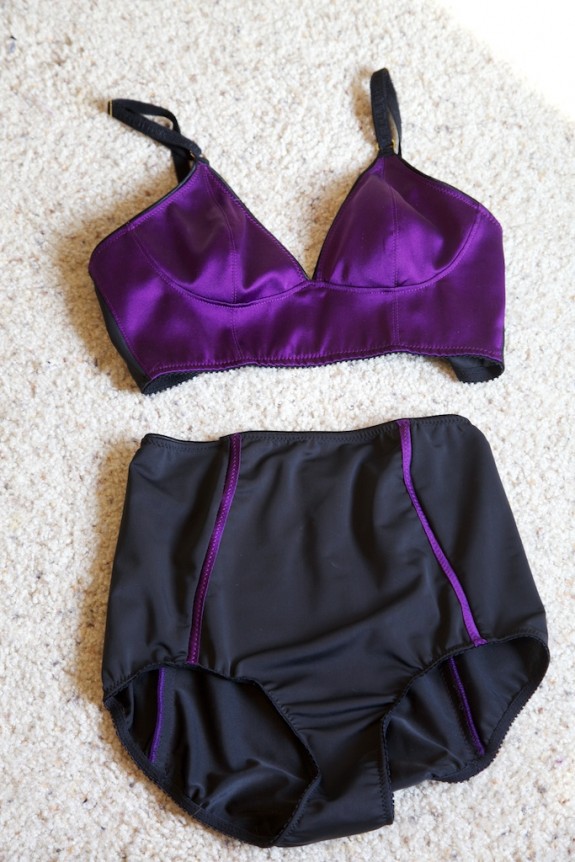
This is a little project I’ve been refining in bits and pieces over the last few months. Since the spring I’ve been filling a notebook with little lingerie design ideas and sort of immersed in learning whatever I can about bra construction and design. I’ve gone crazy thinking about bra patterns! I sometimes fall asleep thinking about them, thinking in abstract shapes. I’d hoped to test this particular design in a stretch silk so the charmeuse from my shorts was absolutely perfect. It all came together because I happened to have the right notions and elastic stashed for a future project. I love it when a plan comes together.

Shall I do a bit of show and tell?

[typography size=”12″](I wish I could give you a better view of the back, but my dress form is like two sizes bigger than moi.)[/typography]

Fabric: “Majesty Purple” stretch silk charmeuse from Mood Fabrics, nylon/lycra (“lingerie lycra”) from e-lingeria for the band.

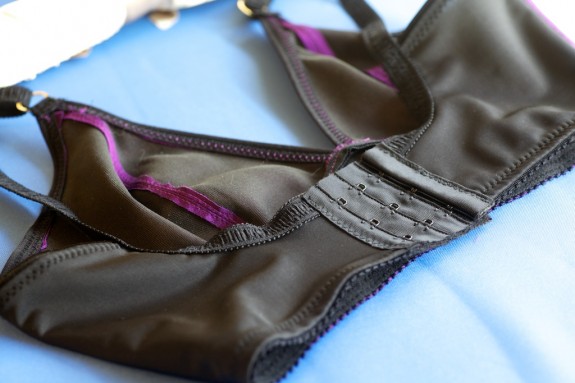
Notions: metal rings/sliders and picot elastic from e-lingeria, closure and piping elastic (I love this!) from Sew Sassy.

This bra started with me having a bit of an crush on vintage-inspired longline bras, and particularly these soft longlines from Fortnight Lingerie. Back when they had a shop on Etsy last fall, I almost almost ordered one but was far too taken with the idea of drafting something like it myself. My first challenge was to draft a vertically-seamed cup on which I could build other patterns. I really this kind of seaming but it seems difficult to find in bra and bustier sewing patterns.

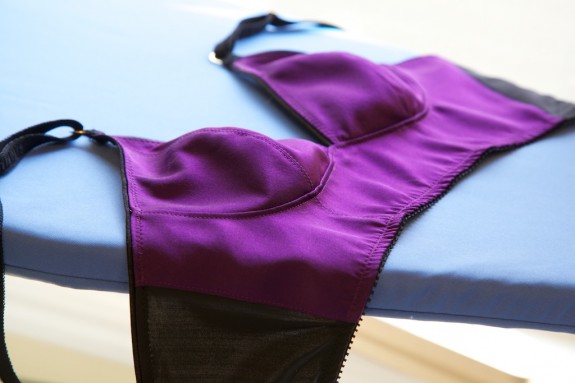
From there I came up with soft triangle-cup bra that plunges at the center front. Because it doesn’t have a bridge, underwires won’t work in this kind of style but it surprisingly holds its shape without them. (And it doesn’t really need them either with such a supportive band.) You can see I also split the front band because I didn’t have enough fabric for a single piece, but I think this adds a nice visual line with the cups. And just in case you’re wondering, do silk and bras mix? I think so. I have a couple of silk bras, one with quite a bit of structure and and underwired soft bra, and they wear and wash very well. I’ve fused my silk with a soft interfacing both to keep shape, reduce some of the stretch and also make an extra little layer of smoothness.

I’m so excited to have gotten this far on a bra design. I made my first sample out of non-stretch Duoplex and powernet, then adjusted the pattern to work with a stretch woven like silk, and I have another pattern which I’ve adjusted even further to make the cups and front band from a nylon/lycra jersey much like the Fortnight bra. That means 3 separate cup patterns! The more the stretch, the more the cup needs to be reduced in some way. (You would think I could apply that understanding to my other projects.)

Just for kicks, while I had all the remnants out, I tried out the OhLuLu Betty pattern for matching knickers, which I won back in May from A Good Wardrobe. They’ll need a bit of work to fit properly and I already had to chop off two inches so they didn’t reach up to my bra band, but I’m still deciding if I can do this style. It’d be more tempting if it had some mystery svelt-ing material to hold in my figure. I can just hear Bridget Jones: However, chances of reaching crucial moment greatly increased by wearing these… scary-stomach-holding-in panties very popular with grannies the world over… tricky… very tricky…

Silk Shorts, Deja Vu

My my, is it August already?

This has been one of the more pleasant summers we’ve experienced in Austin, but August is always the hardest, like an oven that’s been slowly heating for a few months. It’s that time of year I like to read more, just chill more, and generally halt all forms of pressure and deadlines. And really just enjoy basic Southern pleasures like sitting on the porch at night with a iced tall something. (I love making lemonade.)

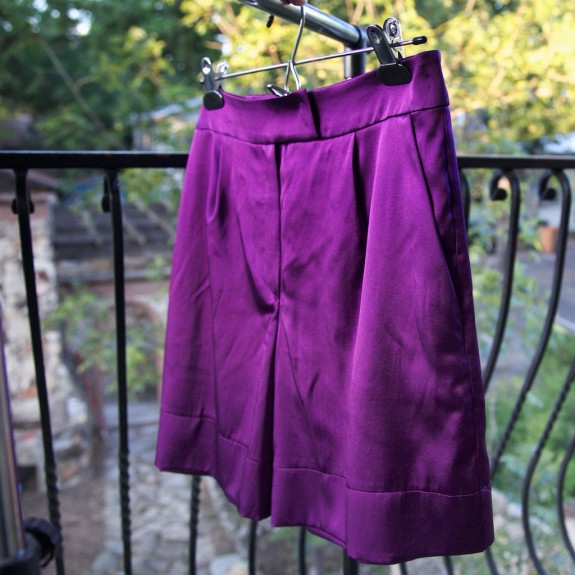
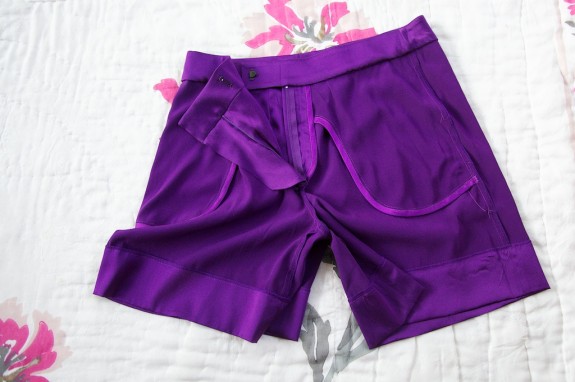
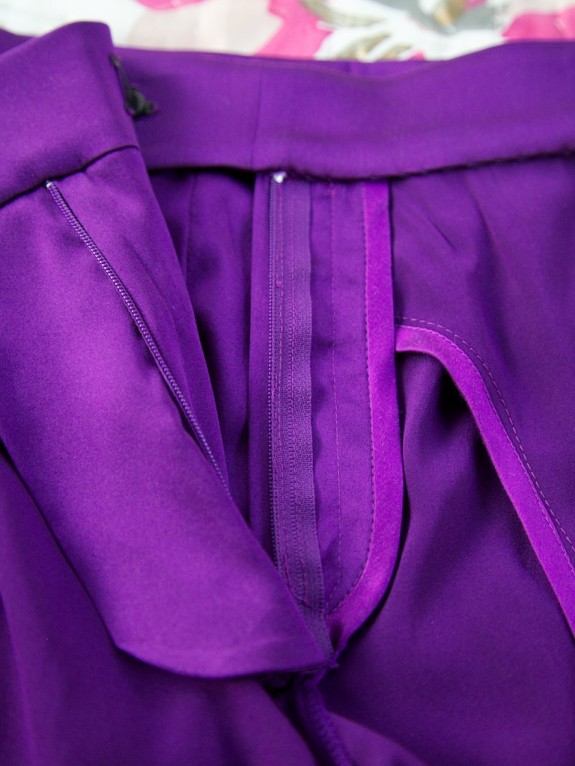
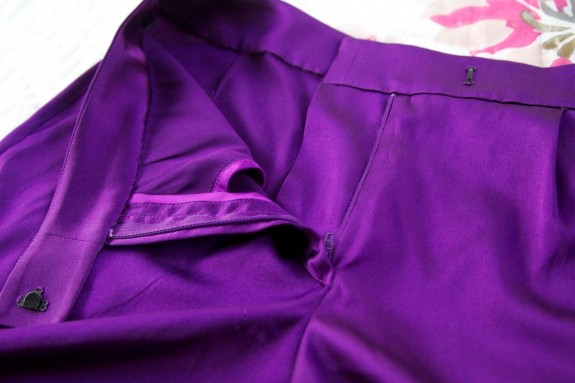
One of those summer pleasures was going to include that floaty pair of silk shorts, the remix of last summer’s ill-fitting pair. You are about to experience a bit of blog deja-vu because here I am 10 months later, posting some pretty pictures again of pretty purple silk shorts with pretty interior details, but NOT on me.

These became an epic do-over. I bought more of the same gorgeous silk charmeuse (this time in stretch, just in case) from Mood. I made three muslins and redrafted the leg to my liking. I hacked off the fly and just like my last pair drafted my own with a fly shield. I changed the waistband to a longer and folded tab front. I spent even more time on the insides than I did on the last pair. Things were going so well…

And then, you know what’s coming, I did a try on before sewing in the final buttonhole and hemming up the cuffs. They were girnormous! So much so that I can’t model on me or I’d be indecent without a paper bag waist belt. An epic do-over turned into another epically unwearable piece.

I went back over my fitting notes and realized two things: 1) Don’t try on muslins at night and right after you eat. I’d made a good adjustment to the waist and hips but then decided against the changes after trying them on again. And 2.) Stretch fabrics can play a number on you. I made my muslins in a light rayon challis which has gave me an idea of the weight and drape, but I really didn’t think about how the stretch would strettchhh. I so wish it was easier to predict stretch behavior… and perhaps I need to get in the habit of fitting as I go.

However… I love this fabric too much so I am going to unpick. I will have to unpick quite a bit of understitching and somehow make my way into my very tiny trimmed waistband seams. Unfortunately, charmeuse is prone to needle marks, but I will have to live with that. Am I crazy? I don’t know what it is about this project. Normally I’d be really disappointed but I wasn’t the last time, either. More than anything I feel as if I’m getting the hang of trouser interiors and perhaps am ready to attack the satin tuxedo pants I’ve always dreamed of making…

It Was all Yellow

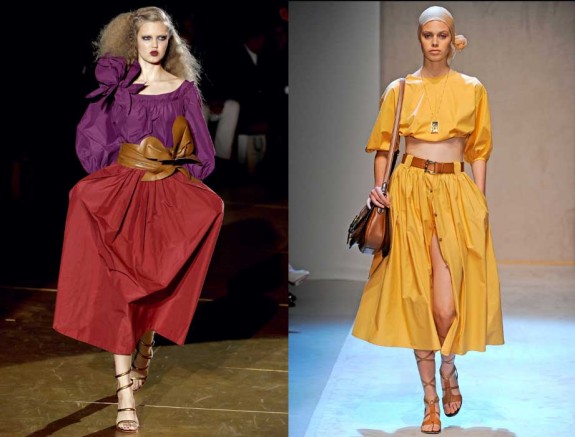
Last summer I was having a serious love affair with almost the entire spectrum of yellow. Gold. Ochre. Lemon. Canary. Sunflower. Mustard. There were a couple of spring 2011 runways that were to blame for this. Marc Jacobs clever use of marigold and diaphanous yellow with plum and coral. And Salvatore Ferragamo’s sun-kissed yellows falling into skin tones. It wasn’t just the color; I was very taken with the 70s influences of both collections and wrote about my plans to hijack one of these peasant looks back in May 2011.

Knocking off the Ferragamo outfit was near the top of my list last year and a must-finish this summer.

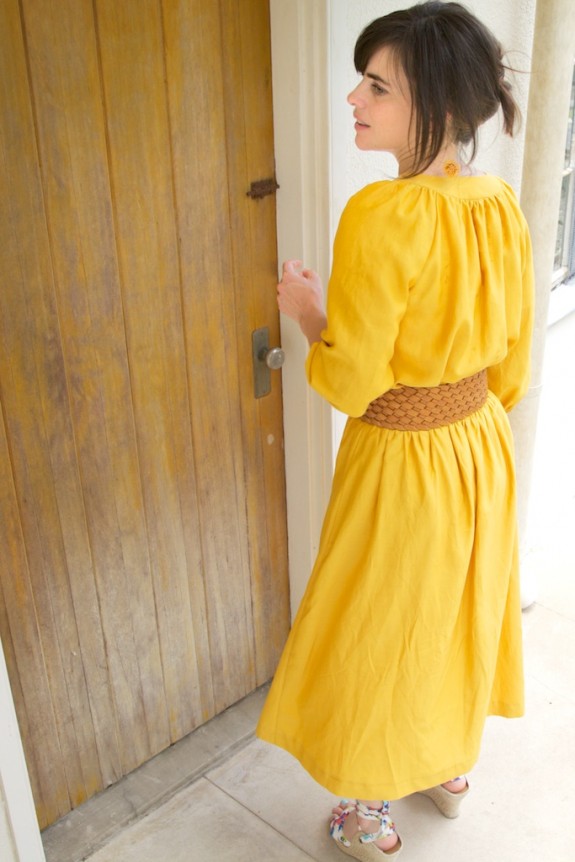
Normally, I’m not into big skirts but something about the easy Italian glamour thing appealed to me, romanesque sandals and all. How to translate without feeling too costumey is always a good challenge when being inspired by runway looks. And since I’m past the age for cropped tops, I wanted a similar cotton-y blouse without the belly-show.

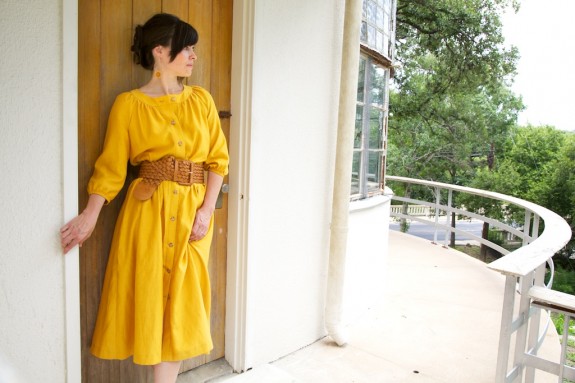
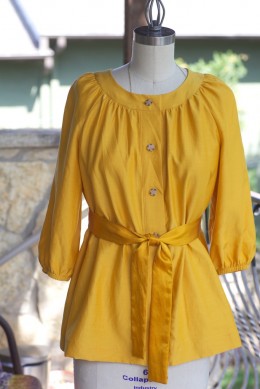
You got to see a sneak peak of the blouse earlier this week and I really love it to pieces! I’ve worn it a few times already. A few of you commented on my buttonholes, and I wish I could say I could do that by hand, but the hand-stitched parts were only the buttons themselves. I’ve been blessed for the last year or so to have a machine that makes buttonholes which don’t make me scream. I once spent a week of nights practicing tailored buttonholes with gimp and button thread and needless to say I think it would take me another year practicing until I actually put them on a garment.

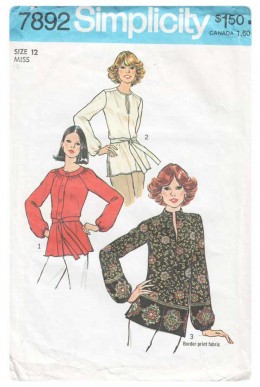
Blouse: Simplicity 7892, dated 1977. I dug this gem up on Etsy. It’s been awhile since I’ve sewn from a vintage pattern and boy, this one is a beaut. I don’t know if it’s the 70s cut, but it has a narrow-to-wide shaping from bust to waist that’s perfect for a pear-ish figure like mine. Here’s how it looks untucked:


There are a lot of little details I really liked about this pattern, like a curved sleeve hem–a drafting detail that seemed to disappear from patterns after the 70s–and lots of little helpful dots and notches to get all that gathering lined up. I didn’t make any fit changes but trimmed the seam allowances on the tissue to 3/8″, and raised the sleeves to 3/4 length (which I liked in the Ferragamo blouse).

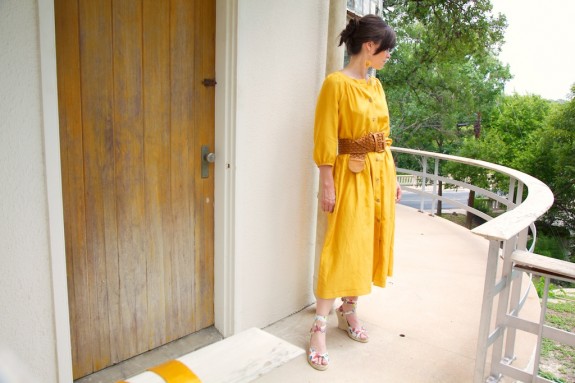
Skirt: I think both of my inspiration skirts are basically dirndls (two rectangles). So that’s what I cut. I measured my waist and multiplied by 3 to get the total skirt width and then measured down to mid-calf to get the length. I added a button stand to the front panel and a wide waistband with belt loops (which you can’t see because I couldn’t find a small enough belt!). That width is a good idea in theory, and true to the runway style, but the gathering was a beast and after an hour working it all out and trying it on, the cotton was so poofy it gave me an extra set of hips.

So I ended up unpicking and drawing in a hip curve at the side seams, taking in the waist by a good twenty inches. When you do this to a straight rectangle, the side seams will drop a bit. So I also drew up a little curve along the the hem to compensate.

Fabric: I really had in my mind a goldenrod colored cotton poplin to match the runway outfit. And I was absolutely delighted to find a Radiance silk/cotton poplin in–ooh, yes–butterscotch! Do you know about Radiance? It’s a lovely fabric, with a cotton-ish drape but one side has the silky sheen of a satin. It feels like heaven. I’ve used it before as a purse lining but never in a garment. Usually this fabric prettier and richer with the satin side facing out but I really didn’t want something that dressy, so I used the “homespun” side, and for a touch made the sash with the satin side.

Despite it being a waylaid project for so long, I’m glad I still feel inspired by it and think it adds some fun pieces to my wardrobe. Isn’t it fun to be surprised when a style risk clicks? And this golden Klimt yellow is surprising, bringing out the amber in my eyes.

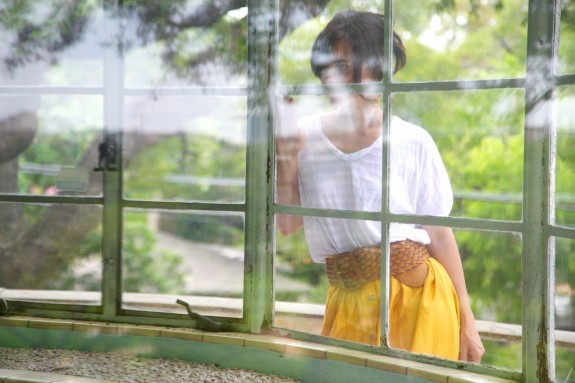
And p.s. the photos were taken on a very grey day, in an uninhabited but historic art deco home that we’ve adored for years. At one point we trespassed (tsk tsk) just to get a look at the truly surreal deco fish tanks in the living room. We tried to get inside again but…