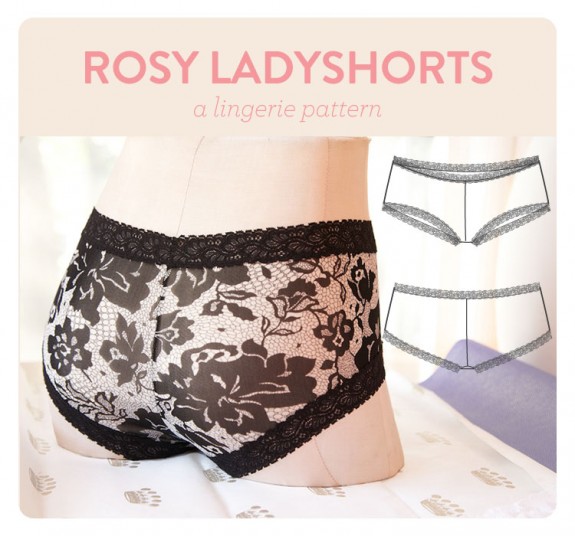
Lingerie Friday: The Rosy Ladyshorts Pattern

I’m so excited I’m beside myself. My first lingerie pattern!
Get the Pattern

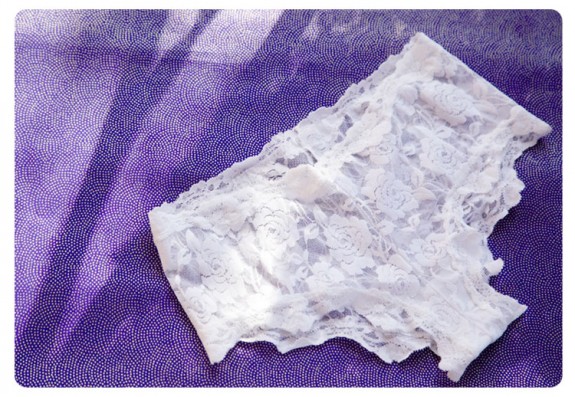
The Rosy Ladyshorts pattern–free to download here.

I really loved making this pattern and I foresee more in the future! But phew, even for a small pattern, there is so much work that goes into it from start to finish and I have loads of respect for those who make downloadable patterns and tutorials.

Underwear is a really fun and easy way to gain a bit of experience sewing lingerie and its sometimes delicate fabrics. I really wanted this, my first pattern, to be a beginner-friendly type of project, something to dive into to gain some confidence working with little seams, lace, elastic, etc. You could make about five of these in an afternoon!

The pattern only has text instructions but if you’ve made underwear or swimwear before, it’s fairly self-explanatory. I thought about a sew-along but I think it might be easier if I post a couple tutorials in the next week or so, with tips on fabrics and pattern adjustments, as well as a step-by-step of making these.

Sizing

For today, let’s talk the very basics! First, I wanted to make this pattern as easy as possible to fit, so there are 8 sizes. I think that allows for more refined fitting than the usual 4-sizes-fits-all undies. For this pattern, you pick a size based on your hip. I’m right in between two sizes so I went with the smaller of the two sizes but I could probably just as easily go with the larger if I wanted a slightly looser fit.

Materials

To make these, you need:

  • 1 yard/meter lightweight stretch lace fabric (45-60″ wide)
  • 1″ (1.25cm) elastic lace trim
  • little piece of light cotton knit for the liner

I originally designed the pattern around lightweight stretch lace that stretches from 60-70% comfortably. But there are tons of possibilities for fabrics–rayon or cotton jersey, stretch mesh, or lingerie lycra. Really, whatever feels comfy! The main thing is that your fabric needs to be able to stretch 60% without making it taut. That eliminates most woven fabrics so I would definitely go with lace, jersey or mesh. If you know a lace or knit has spandex/lycra, chances are it’ll have a good enough stretch. But since all fabrics behave a little differently, test! Stretch lace is very open, soft and loose and so even when it stretches as much as a jersey it often doesn’t feel as tight–this is why I like the lace boyshorts so much! I’ll share in another post how to make some educated adjustments for different stretch fabrics.

That’s it for today, short and sweet! Let me know if you have any questions about fabrics, pattern printing, whatever!
Lingerie Friday: Ladyshorts

Mmm, it’s technically Saturday here but who’s keeping track? This week I was working mad late-night hours on a special treat for you. It was a little ambitious and I got reallly far, but at some point (i.e., very late last night) I had to take a break before carpal-mouse-tunnel or brain-fry-tunnel took over. Read on…

My passion of the week is boyshorts–and butts. I can say that with totally comic ironic distance. I’m so analytical I forget how funny I sound, and when I stepped back for a second, I realized I’d been staring at butts a lot over the last week, or at least mannequin butts in underwear. Did I ever think for a minute I’d be writing about these things in public? Noooo. But even funnier:

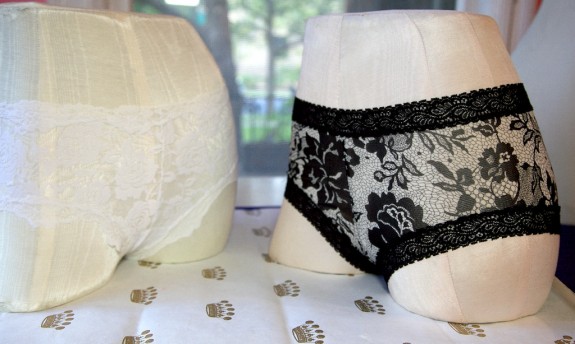
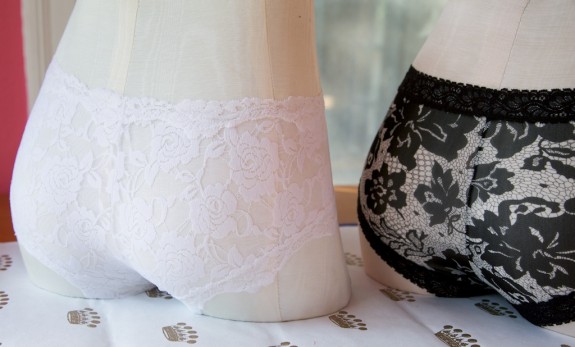
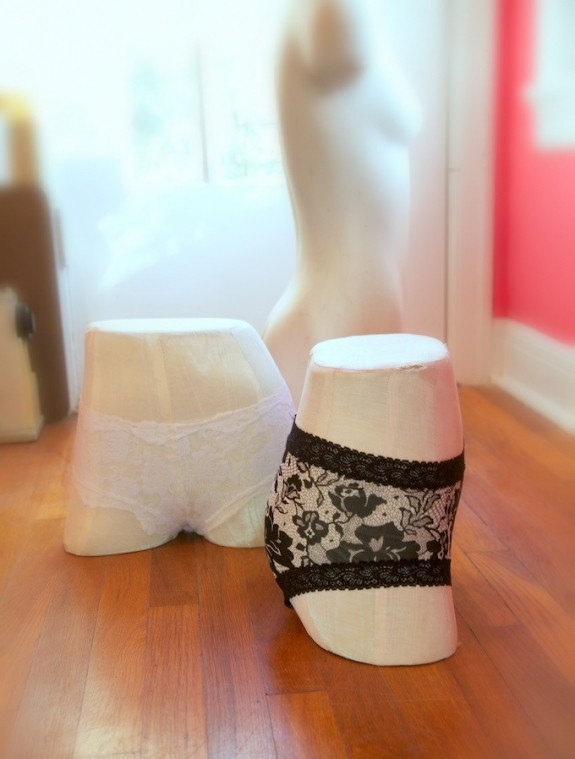
Booty mannequins! I’m trying to find some fun ways to shoot lingerie, and I squealed when I found these last week at a local store fixture warehouse near my neighborhood. The guys running this hoot of a place are sweet old-timer Austinites with old-timey Texan accents. They were eager to sell me just about every mannequin in the joint to move their inventory. I was quite happy, having found a cheap torso in good shape, when they encouraged me to go upstairs and have a peak at another massively dusty floor of fixtures. Squirreled away on a shelf were these satin-covered lingerie forms for $5 a pop. I gave them a good clean and I’m probably going to re-cover them at some point. Another project!

And they’re wearing my new pattern. A few weeks back, the lovely Heather Lou suggested I make a pattern inspired by my favorite lacy boyshorts. So I took on the challenge; I wanted to figure out the “secret” that made them fit so well.

I have a bit of a love/hate relationship with boyshorts. So many of them fit me terribly.

I remember when they were first becoming popular, sometime in the mid-90s or so. Overnight, boyshorts practically colonized Victoria’s Secret, packed with pairs in every collegiate color. They were everything their previous counterparts weren’t–boyish, high-cut and athletic-looking. And unlike their sisters, they didn’t have any elastic in the legs–at most a lightweight stretch lace holding them to the body–which is genius for comfort and eliminating that thing that everybody got obsessed with eliminating after the 80s: VPL. (Of course, now VPL the brand celebrates that very thing. Ironic distance in design!)

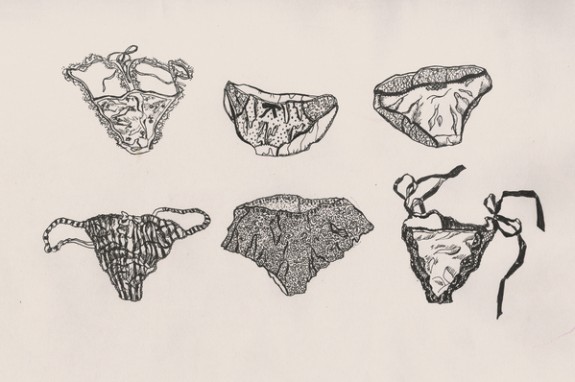
The boyshort has certainly grown up in the last couple of decades, the cuts gone up and down, and even at times crossed genes with the thong. Boythongs–now who invented that name?

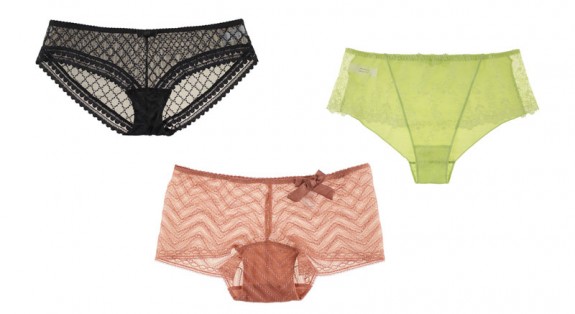
{clockwise: Mary Green silk knit, Hanky Panky Signature, Forever 21, Simone Perele, Huit Icone and Huit ‘Lucky Doll’}

There’s a style for just about any body if you like them, but they usually hold in common the seaming at the center front and back. Here’s the “secret” to my favorite pair, or at least part of it: they are cut a little like a boyshort in the back and a little like a brief in the front. They curve right along the hip, not falling low like hot pants or creeping up over the day like some boyshorts. (You know of what I speak?) I love having a drawer full of laceys like this because they cross that wonderful line between ornamental and everyday comfort.

The pattern for these is almost finished. I’ve been working a little crazy on it the last couple of weeks, making samples in different fabrics and grading it into eight sizes. I ambitiously thought it’d be done by yesterday but since it’s my first, I needed to make templates for everything so I could make the process easier the next time. I’m calling them the “Rosy Ladyshorts”. Ladyshorts, because that’s what I think they’ve grown up to be. So stay tuned, it won’t be long and I’ll be sure to post with a little how-to and some fabric tips along with the pattern!

Have a great rest of the weekend!

[sc name=”VisitMoreLink”]

Lingerie Friday: Illustrative

About 10 years ago I flirted with the idea of doing a fashion design program. I didn’t need another degree nor career option but wanted that little push to take my love of sewing and clothes further. At the time, the interwebs obviously wasn’t the place it is now so one really had to hunt information. So I ended up enrolling in a few part-time semesters of art school which if anything fueled my passion for collecting illustration books. Perhaps it’s because I was first exposed to fashion through sewing pattern envelopes and late 70s/early 80s fashion magazines–which used to feature a lot more illustration in their ads and editorials–that I have a bit of a thing for fashion illustration. I love a good line.

So for my first Lingerie Friday, how about a glance at illustrators who’ve given life to underthings?

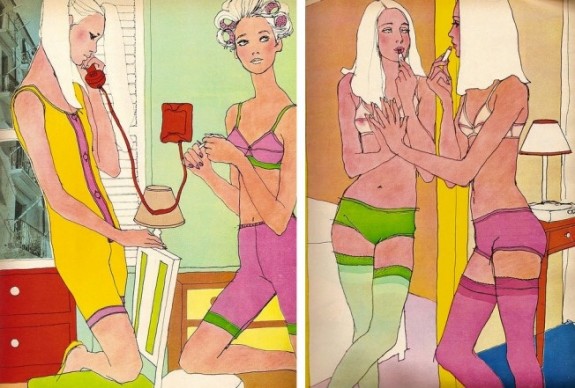
Antonio Lopez was a part of the Warhol crowd and a personality in the fashion scene of the 70s and 80s. His signature styles were glamorous, marker-saturated 80s illustrations, but I love his earlier more whimsical styles. What can I say, I like the 70s. W magazine recently published an article about Lopez in conjunction with an exhibition and beautiful new book of his work.

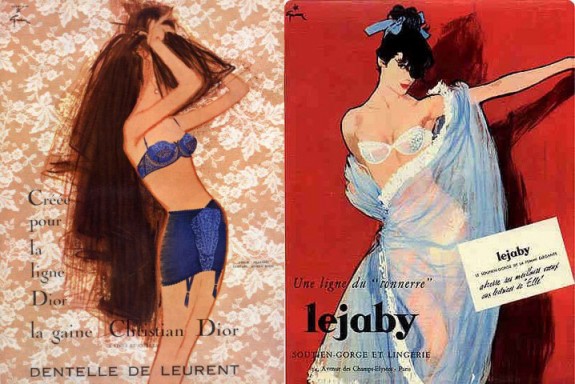
René Gruau. I love his ads for Dior.

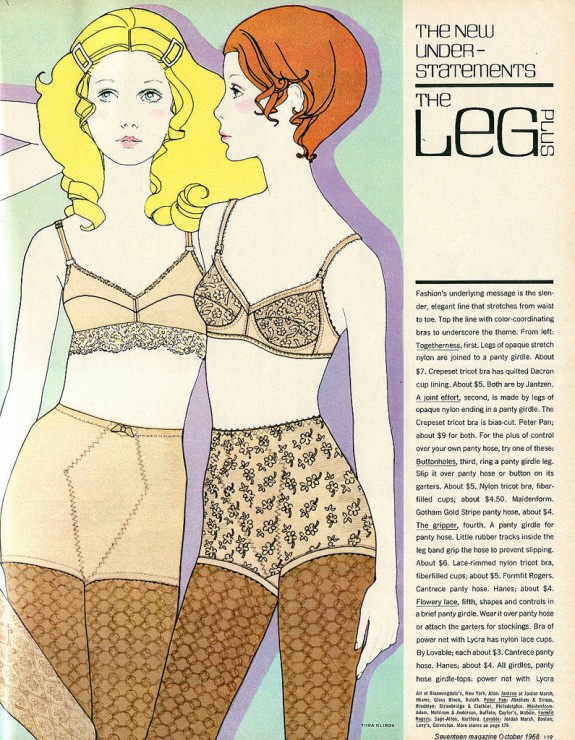
Thea Kliros, from a lingerie editorial in Seventeen Magazine, October 1968. (More of these here.)

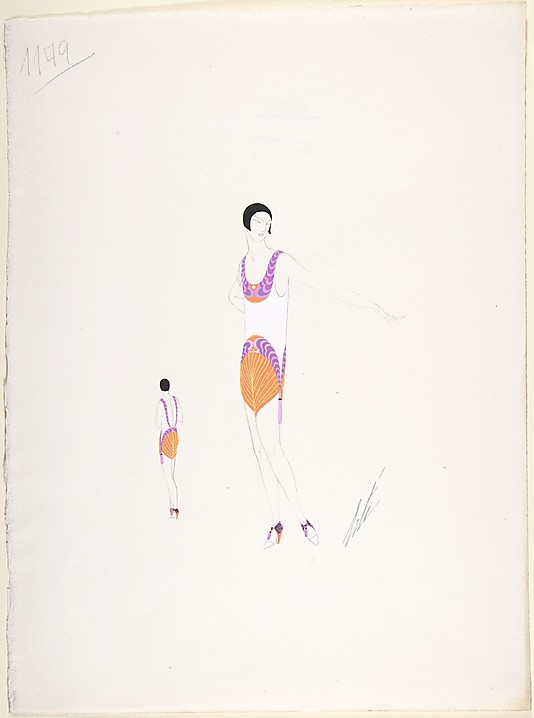
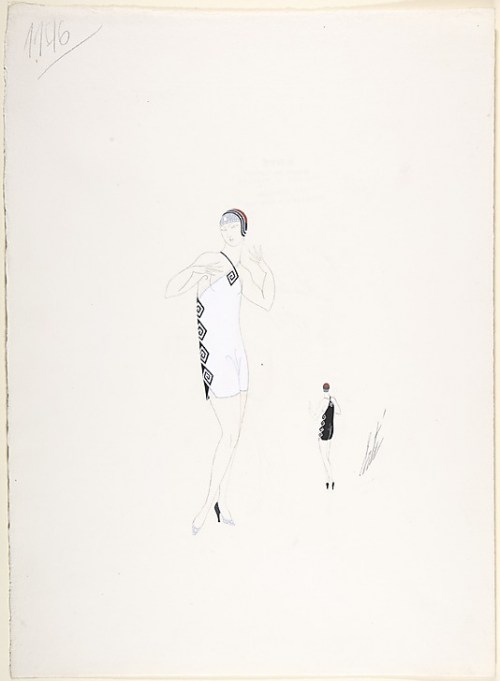
Erte-illustrated lingerie for the theater. (Lots more at the Met archives.)

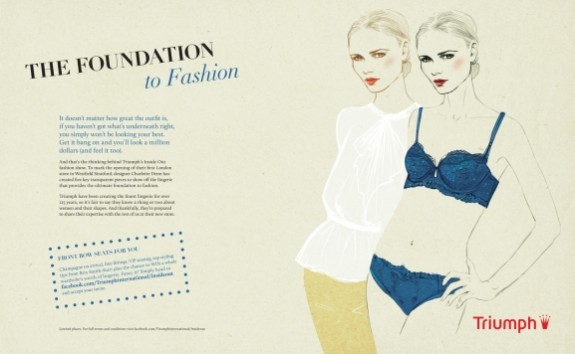
Sandra Suy is one of my favorite contemporary illustrators. This isn’t the prettiest example of her work but it seems rare for an international brand to use illustration anymore.

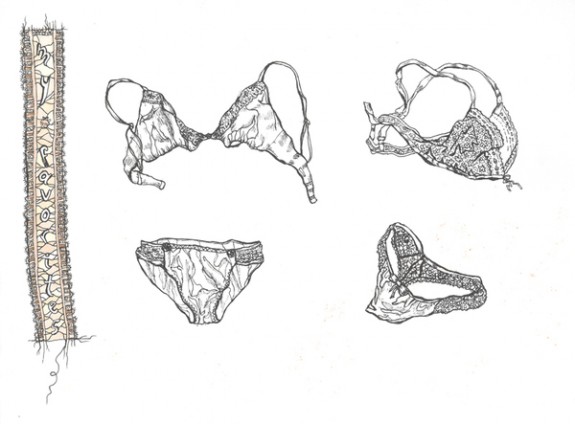
Sometimes I get lost browsing portfolio sites like Behance. That’s how I found Kateryna Kyslitska. Edward Gorey underwear! Sort of how it usually looks all crumpled in the drawer, right?

Almost as if they read my mind, Sarah at Pattern Vault has just shared about the illustrator behind the Vogue ‘Practical Dressmaking’ book and Sallie shared some sneaky peaks from her fashion-y sketchbooks. Don’t miss!

Do you have any favorite illustrators?

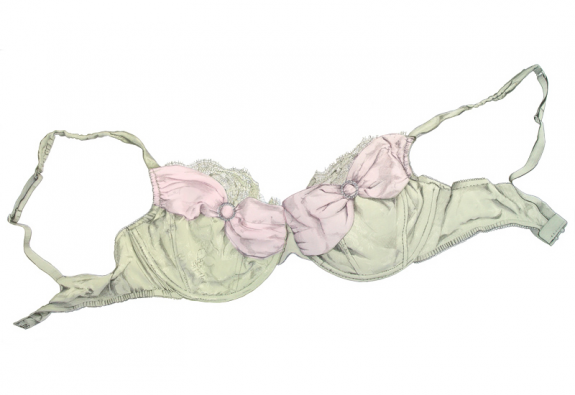
{Bra illustration at top: fashion illustrator Coco for Galliano.}

Fresh Starts and Wish Lists

Happy Happy October! I love this month. It cools off, the weather is gorrrgeous, the roses come back out to play. It’s my favorite time of year and alright, I’m not totally unbiased. I’m an October birthday.

It’s a few weeks away but I’m already starting on my wish list. Here’s one fantasy…

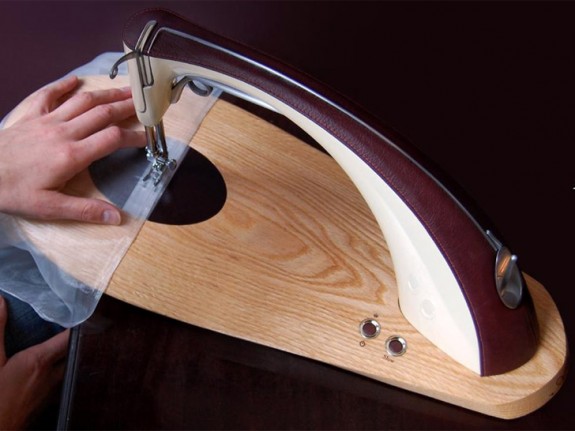
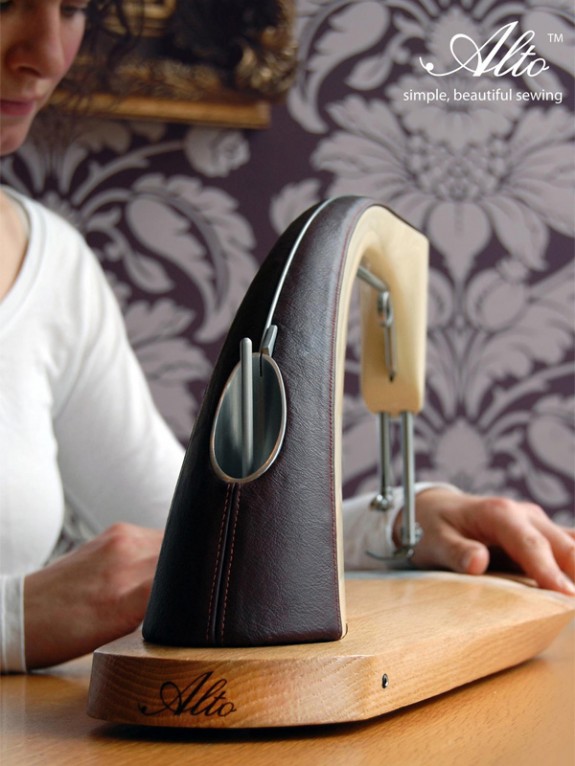
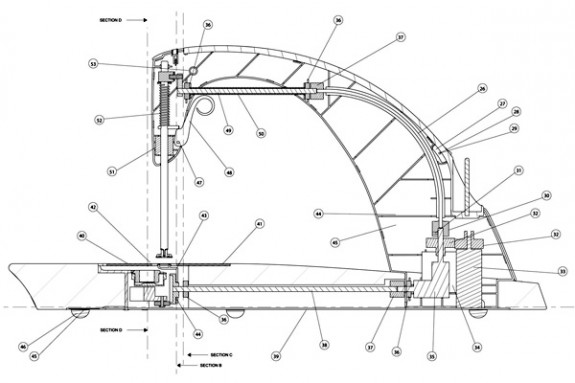
Have you seen this beauty? It’s not in production but a finalist in this year’s James Dyson Awards. UK university student Sarah Dickens designed her “Alto” as a basic make-do-and-mend machine. (I love the name, too–I’m an alto!)

This would be an awesome Kickstarter project. About time someone made the “Mac” of sewing machines, right? You can read about the Alto and watch a video of it in use at Ecouterre. (Thanks Steph for the link!)

Wish list aside, I like fresh starts and I almost always hit the reset button on a lot of things in October. Maybe it’s that beginning-of-school-year feeling. And I have a confession for this new year… Over the summer I got bored with blogging. Maybe restless is a better word. Every time I went to write a post, I’d write and rewrite sentences 15 times before I’d blast the whole thing and assign it to blog draft purgatory. There are a lot of lonely ideas in there that would like to be free. A month-long break from blogland helped, but I still wanted a bit more focus, perhaps some new direction. Up till this point I’ve written mostly about personal sewing projects. The problem is, I start to feel pulled and nagged by a project queue, rushing toward the finish line just to have something to blog about and that’s no fun, is it? Blogging is an art in itself and I want to get better at that.

So sat down for a few hours and wrote out some thoughts about the topics I like, where I’d love to go with this whole blogging-sewing-fashion-thing and how to keep a natural rhythm with it. And one thing really stood out to me. I LOVE to teach, and more than half of my blog ideas were teaching about sewing and designing, not just sharing my own makes. I spend far more time experimenting with patterns and fabrics than finishing them because I love to learn more than I want finished clothes. I love the process of problem-solving, too, and my constant instinct is to help others solve problems. But teaching is a skill and I need to sharpen it.

So to that end I’ve just initiated a local sewing workshop with friends. It’s still in the planning stages but I’m so excited about this! I’d like to bring that here too by sharing some of my own patterns, technique tutorials, re-fashioning. And I heard y’all about the bra-making sew-along. It’s in the works! Friends, that will really sharpen my scissors.

I’m going to start simply this week, with a new weekly post called “Lingerie Friday” featuring some of my favorite designs with a big sprinkle of DIY. I like having a little something to hang my hat on each week no matter what I’m working on.

And thank you to all my readers and friends for following thus far–you are amazing people and I hope that what I express here can be a source of refreshment for you.

A Little Bit of Red Lace… and a Cat

I’m so glad to be home, and boy did I miss all the cat and dog cuddles.* They were in good hands, but it’s hard to be away from our zoo.

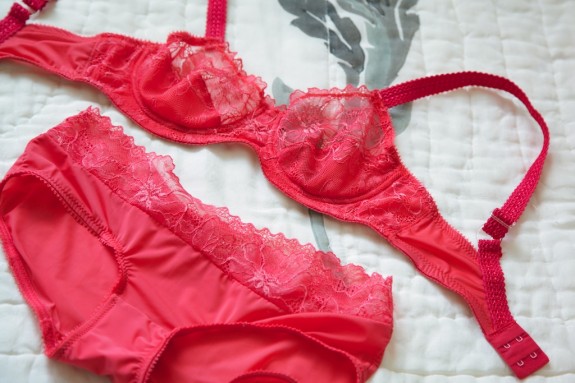
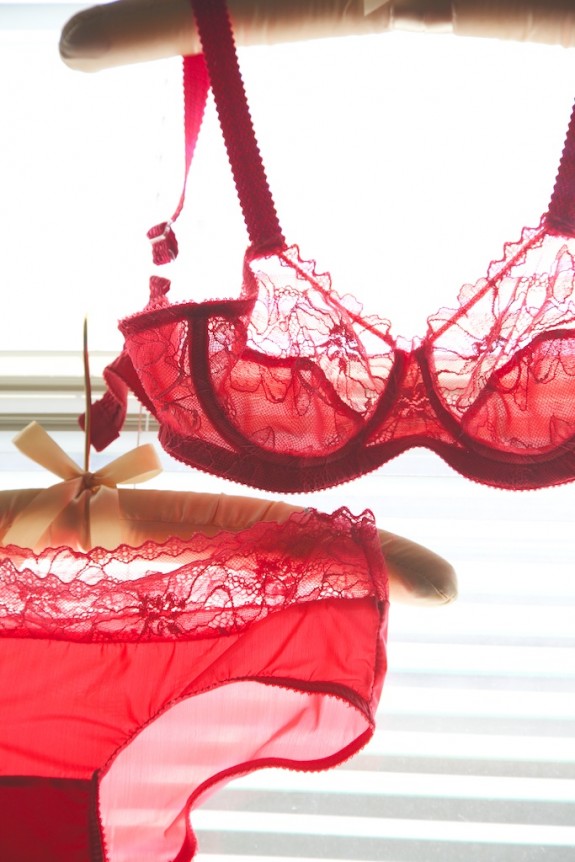
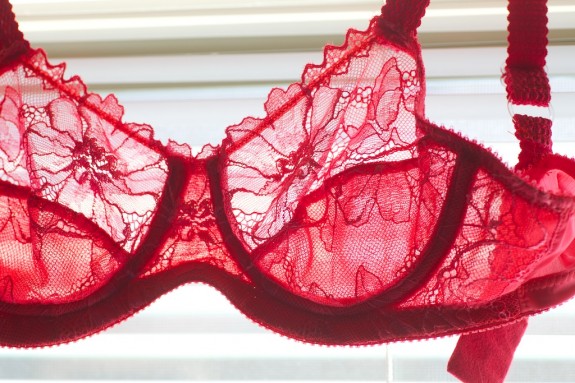
During most of August I had little time to even sew or think about sewing so it was fun to have my mini sewing machine with me on our holiday. My Janome managed to get most of the way through a bra project until I ran out of bobbin thread, so the second thing I did (after the pet cuddling of course) before even unpacking was to finish off this red lace set.

I’ve used the old standby pattern again–Pin-up Girls Classic, with the adjustments for stretch I made on my last lace bra. I’ve been far adrift in bra-drafting-land for the last couple of months, and have made more tester bras than any finished project. It’s armed me with a few good ideas for bra-making tutorials! But it’s still nice to be able to have an easy project and familiar pattern to fall back on. The hipsters are a recent draft, and not my favorite–they’re a little too low cut. I’ve made a lot of underundies that I just don’t like so I think it’s time I focused on those for awhile and at the very least copied my favorites. My absolute favorite unmentionables are $29 a pop. I know, crazy.

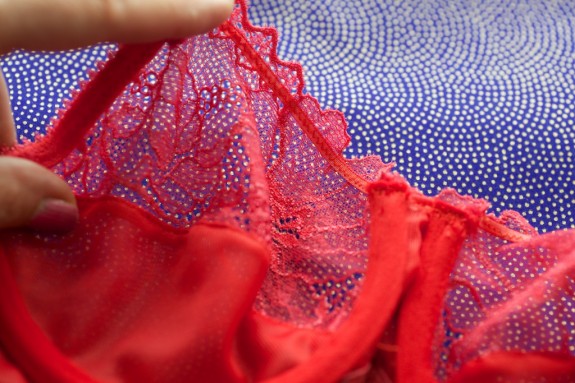
This time I paid extra careful attention to the seam allowances on the front where the lace scallops meet the bridge.

I thought you might want to see how the tiny decolette elastic is sewn to the top of scalloped cups. This is a little colored ribbon elastic that Merckwaerdigh sometimes includes in their kits, but many of my favorite bras use a 1/8″ clear elastic for the same purpose–to help the cups stay flat. It has to be stitched onto the cups before they are sewn into the band, so the channeling can seal it up.

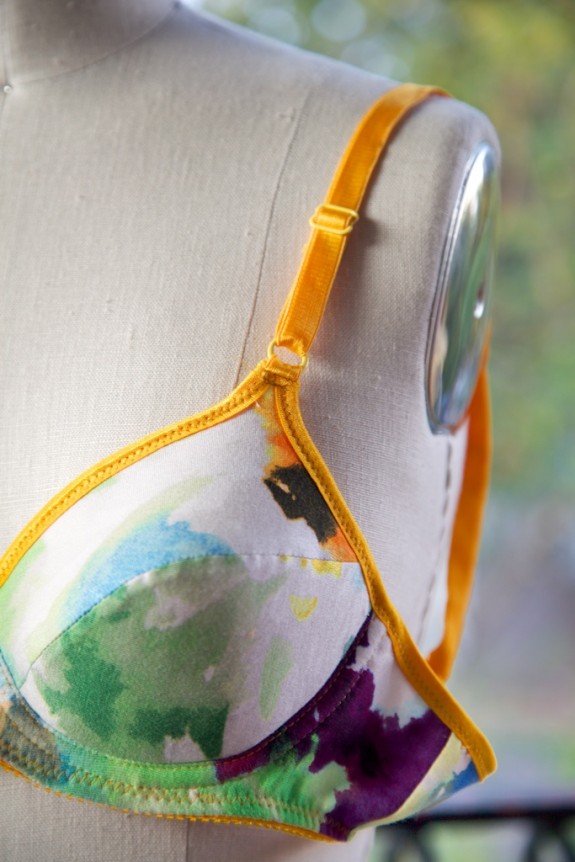
All the materials are from a Merckwaerdigh kit. Kits are such a great way to dive into bra-making so you don’t have to mess around with collecting all the odds and ends, but I’ve not always been ecstatic about the materials or elastic quality and color. The lace is always pretty. One of the ways around the bra-notions-collecting conundrum is to buy the basics in bulk. Some of my best elastic came from Bramakers Supply but their costs can be pretty hefty. Sew Sassy is much closer to my home (shout out to Alabama!), has nice lingerie elastic that gets cheaper by the bulk, and some great prices on hook and eye tape and channeling and whatnot, so I plunged and bought enough notions for 10 bras, which came to about $4 a project. Sweet! Now of course if you’re going the bulk route, you have one color to stick with, but if it’s white that’s nothing 30 minutes in a pot of good ole Rit Dye can’t change. Here’s a little peak at a test bra I made this summer with all the elastics dyed to match:

Have any of you dyed elastic before? I’d love to hear about your experience…

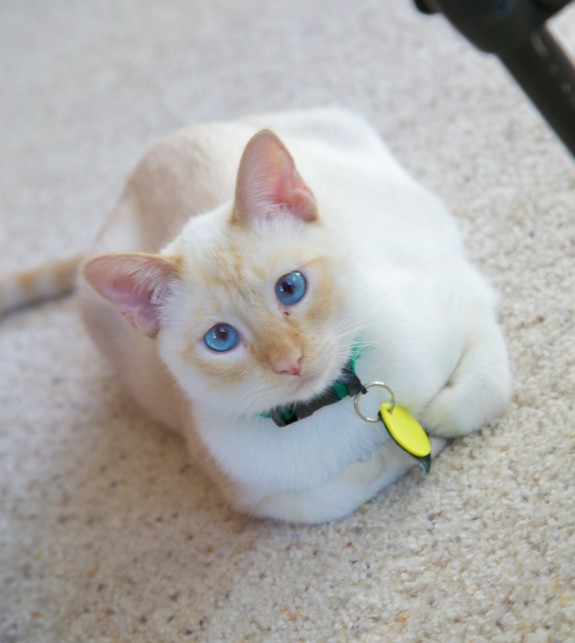
*Oh, and this is Charlie. He has a twin brother, T-Bone, who’s hiding under the bed.

Normally Charlie is shy but he liked my tripod or maybe the dangling camera strap.

See how I managed to finally sneak a cat photo in after a year and a half of blogging?