Lingerie Friday: Vintage Lingerie by Jill Salen

a peek into one of my favorite books, Vintage Lingerie by Jill Salen | Cloth Habit

The history of lingerie and underwear is a fascinating subject, and I wanted at least one book that would give me a peek into the pretty underthings of the past. Corsetry, of course, remains its most popular subject and there is no end to the amazing resources for the beginning corsetiere or costumer. One of my favorite blogs is Bridges on the Body–I love her attention to period detail and and am in awe of the all the handwork that goes into making a corset. I don’t know if I’ll ever make one (but you never know!), but just watching the process of corsetry reminds me how much I love sewing as a savoring artistic process.

Still, I wanted something that ventured away from corsetry and was thrilled to discover this beautiful book, Vintage Lingerie by Jill Salen.

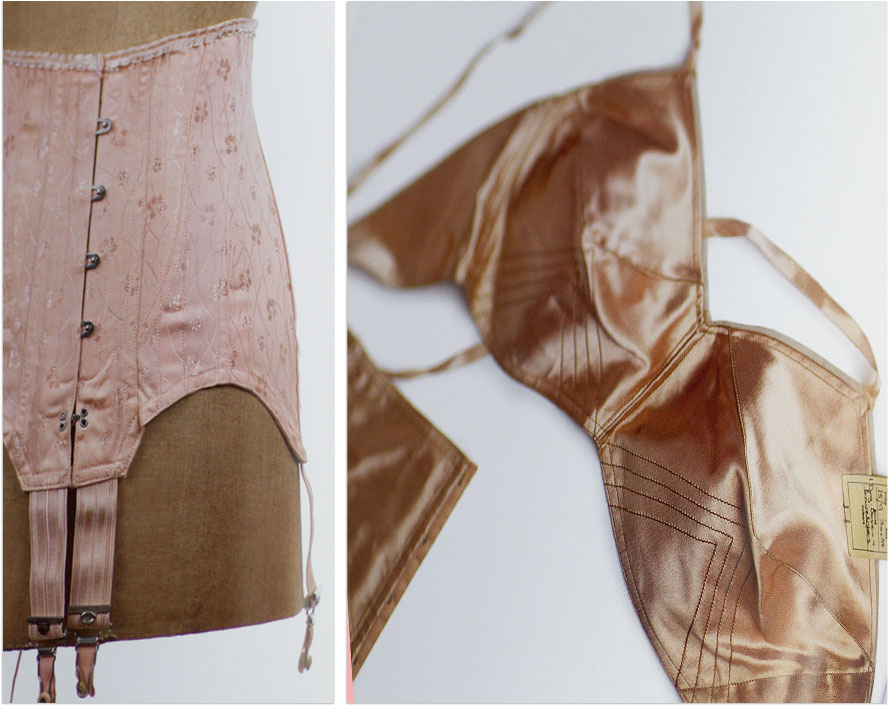
Salen is an English costumer who previously published a similar book on corsets. She wrote in her preface that she initially wanted this book to be about bras and brassieres exclusively but found that she couldn’t leave out all the other undergarments intended to be worn with them–the garter belts, girdles, knickers and slips. This is a hardback book with 30 examples of vintage pieces from her own collection. The garments mostly range from the 1920s to 1960s and are accompanied by scaled, gridded patterns detailing each piece.
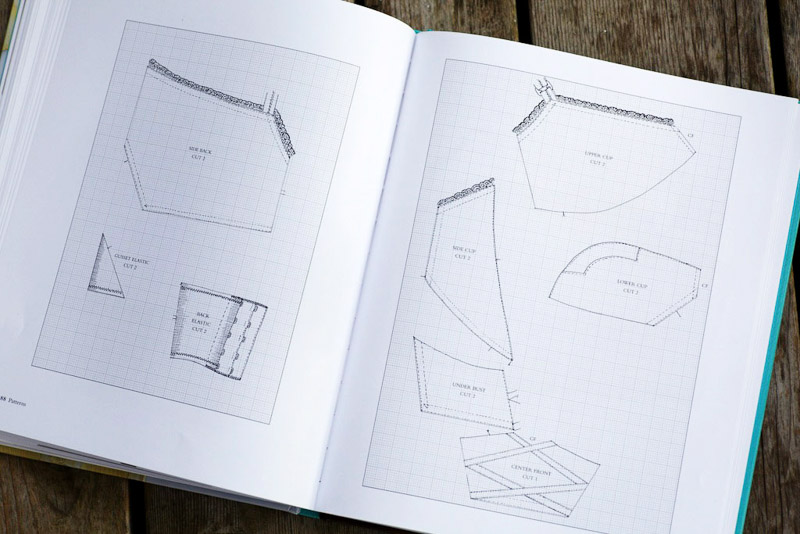
a peek into one of my favorite books, Vintage Lingerie by Jill Salen

The pattern pages themselves are rub-offs of each piece, marked on a grid that’s meant to be scaled up to one-inch squares. If you’ve ever worked with a Japanese pattern book, or something like the Betty Kirke Vionnet book, the pattern process will make sense. I’d say the value of these patterns is more in the experimentation than wearable garments–especially because they’re all just one size. However, the back of the book includes two start-to-finish projects–a black mesh bra (pictured below) and a waist slip–in which Salen walks you through scaling the patterns, cutting and sewing.

There is one post-50s corset but it is much closer to modern shapewear, because it’s made with elastic fabric. It’s obvious how quickly undergarment fashion shifted after spandex came on the scene–for instance, one doesn’t need garters to hold up stockings anymore. Did you know that spandex was an anagram of “expands”? DuPont invented spandex in the U.S. in 1959 and we usually know it as the DuPont/Invista brand name Lycra (outside of the U.S., its common name is elastane).

The comfortability, technical fiber science, and the “ideal” body silhouette may have changed, but it’s surprising how little some of the basic design has changed, especially among bras. This little black mesh bra from the 30s may not have comfortable spandex or underwires like my stretch mesh bra, but the pieces and design are virtually the same.
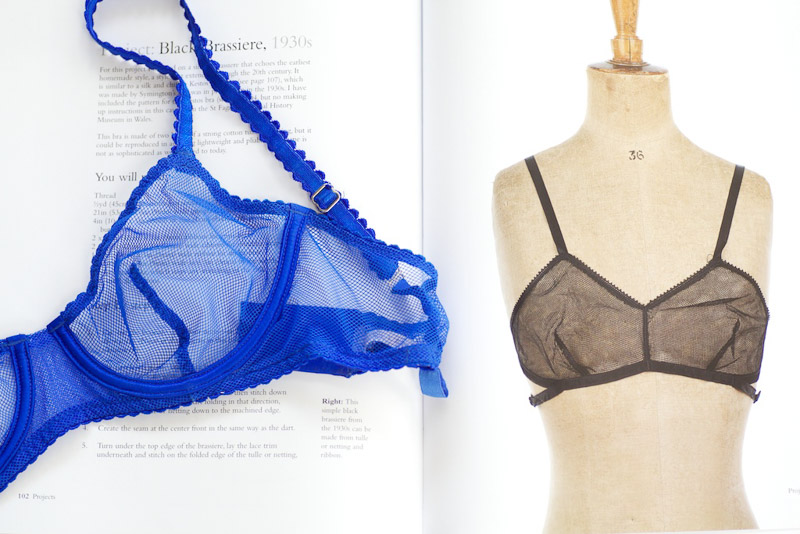
a peek into one of my favorite books, Vintage Lingerie by Jill Salen

This early strapless bra from the 50s could be one of the celebrity plunge bras of today.
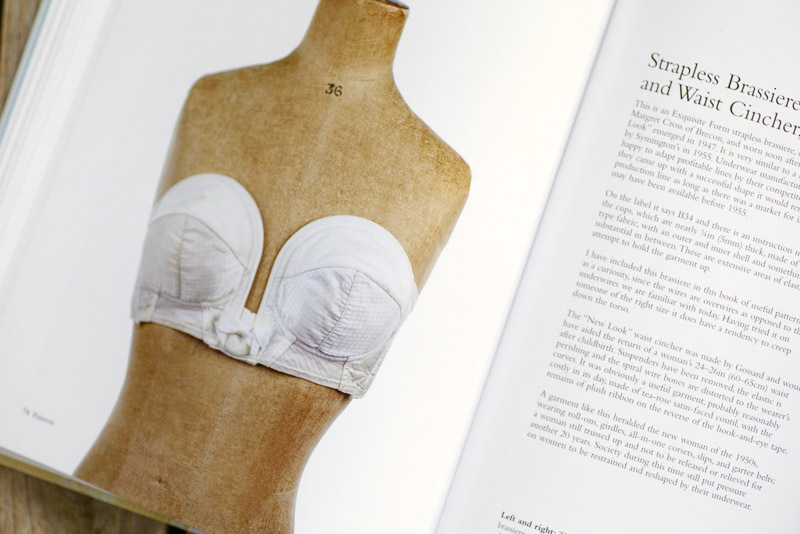
a peek into one of my favorite books, Vintage Lingerie by Jill Salen

My favorite is the sweet little pale yellow silk bralette and French knicker set that’s featured on the cover.
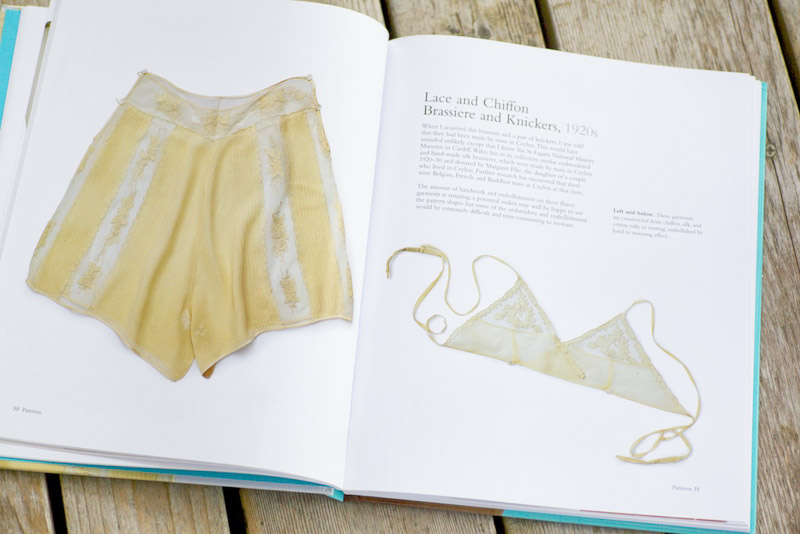
a peek into one of my favorite books, Vintage Lingerie by Jill Salen

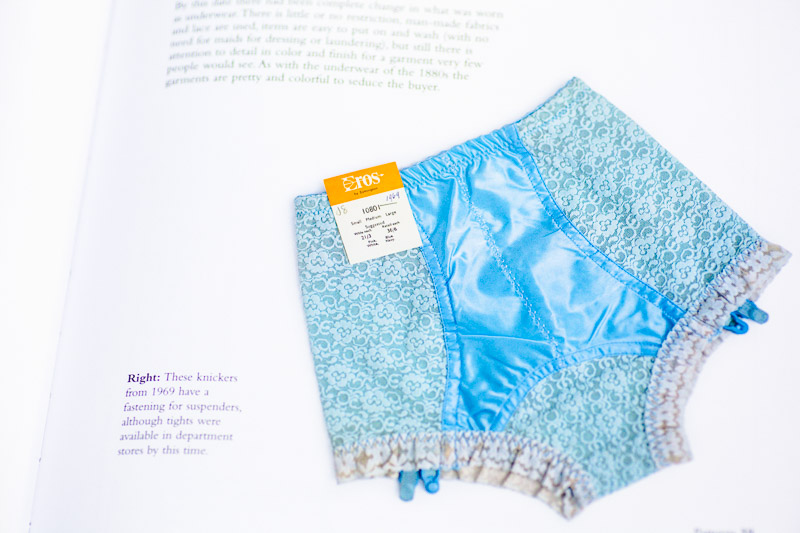
And then there are these rather thick-looking high-waist knickers with a tummy panel. (We’re still doing that!)
a peek into one of my favorite books, Vintage Lingerie by Jill Salen

I may not get around to the patterns but I can certainly learn from the details. All in all, it’s a very lovely book, full of amazing close-up photographs, that I think is a worthwhile addition to a sewing or fashion book library.

Jersey Love and Cloth Habit 2.0

My sister and I saw Illegally Blonde in this theater.

I am feelin the Jersey shore today. I have so many childhood memories of funnel cakes and salt-water taffy, of tacky jewelry and pinball machines. I’m from Michigan, but nearly every summer, my mother packed us kids up in the green station wagon and we went to visit grandma and many of my 30-some-odd cousins in New Jersey (my mom is one of 10). There was always a trip to the shore. I cherished the boardwalk memories so much that when I was in college, I spent a couple summers working crazy waitressing hours morning and night during the tourist season in Ocean City. (Good way to make college money!) Some very late nights after work, a bunch of us would drive up to Atlantic City to blow our tips on slot machines. During the calm midweek, we’d take a drive down to North Beach Island to watch the surfers or Sea Isle City for a coffee. For my 27th birthday, I drove out to Asbury Park to visit Bruce Springsteen’s old haunts. For my 30th birthday, my roommate and I drove all night from Ohio through the Pennsylvania turnpike to do some vintage shopping in Philadelphia and then straight to the beach just in time for sunset. (I had to have a slice! Sorry New York and Chicago, there is no pizza like Jersey pizza.)

Anyway, I hope those in the storm are staying peaceful and dry.

In other news, I’ve done a bit of site redesign. Whenever I get a new creative bug or project going on, I turn my house inside out. I have to re-arrange everything. I’ve dragged 300-lb furniture between rooms. I want new things on the walls. If I had time and money I’d re-paint the entire house and replace all my cat-destroyed chairs. This time, I went at my blog. I wanted to re-do my blog design a year ago but the project sat on a shelf while my headers and other little designed navigations slowly started to go wonky as I continued to upgrade my WordPress theme. I got most of the new look up today and I hope you like it!

On a very important tech note, if you subscribe to my blog, you might need to resubscribe. I am no longer using Feedreader so my subscription links have changed.

If you use Google Reader, you can either go into your account, click the big red “Subscribe” button and add my website name. That’s it. (An even easier way to subscribe to blogs in Google reader is to add their bookmarklet to your bookmarks bar, which is in the “Goodies” tab of your Google Reader account. Any time I’m at a website I want to follow, I just hit that button and bam! it’s in my Reader.)

If you use Bloglovin, you shouldn’t need to do anything, but I’ll keep checking on it to make sure it’s working. FYI, here is my site’s feed on Bloglovin.

Annnd, if you use something else like an email program to read blogs, you will have to re-enter the feed address, which is https://clothhabit.com/feed/

And alright, while I was at it, I made a Facebook page. A little birdie told me that more people are reading blogs through Facebook, so I thought I’d shoot my feed through FB, too.

Rosy Ladyshorts: Construction Tutorial

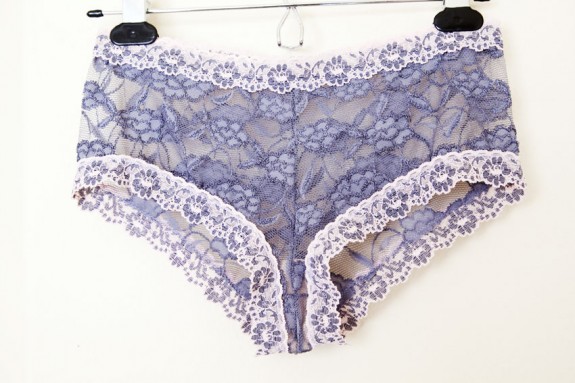
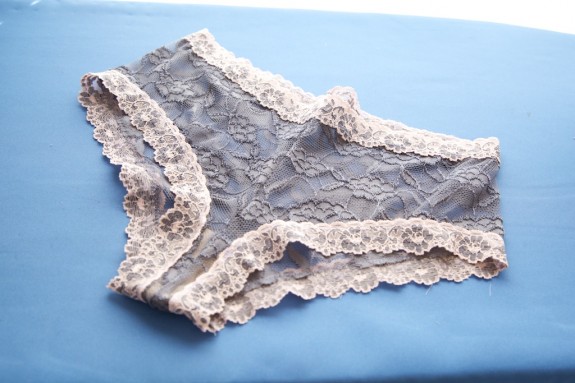
This is the new pair of Ladyshorts I wanted to make for a construction tutorial, but I was getting a little tired of black and white so I went with… grey.

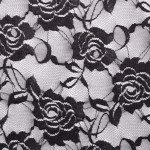
Radical, huh? Actually, the dye I used on my white lace was named “silver grey”, and on my dye chart was a pretty pale silver but turned out a very dark lavender grey (the water was purple!). I’m still a newb with dyes but it’s easy and fun and I like getting surprise colors.

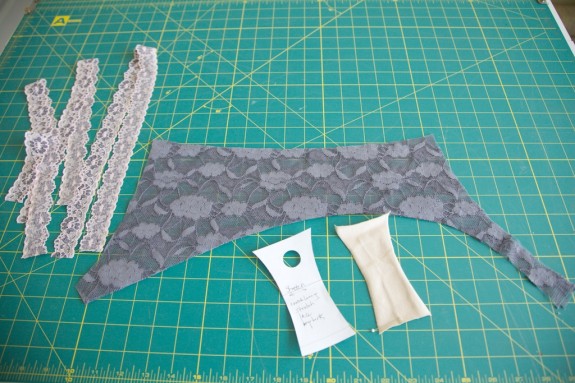
The pieces

Just so I don’t get the two ends of the lining confused I put a pin in the end that’s going to be sewn into the crotch seam. (This end is marked with a dotted line at the seamline on the pattern.)

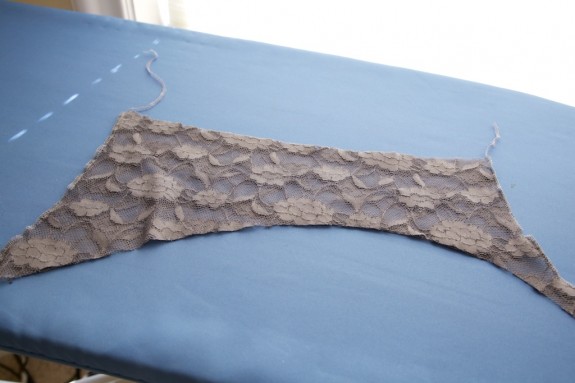
1. Sew the front and back seams

Pick up the main pieces just as they are and take them right to the machine and sew the seams on each side. (Assuming they’re already right sides together.) You can either serge or zig-zag these together–the seam allowances are 3/8″ (1cm), which allows for some of the edge to cut off if using a serger. I like using a really narrow 3-thread stitch on my serger because it’s soft and I think it looks and feels better in lace or sheer fabrics. (Even if I’ve zig-zagged, I trim the seams down to 1/4″.) But that’s up to you!

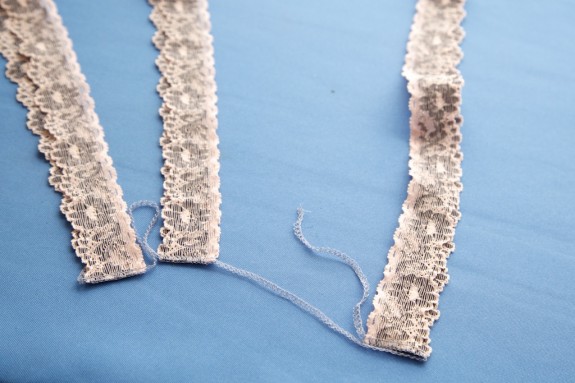
2. Stitch the trim ends together

Sew/serge the ends of each trim piece together with a 3/8″ allowance.

If you like to have the free edge of the lining finished with a serger, do that now. (I forgot! It won’t ravel so it can be left raw, too!)

3. Sew the crotch seam

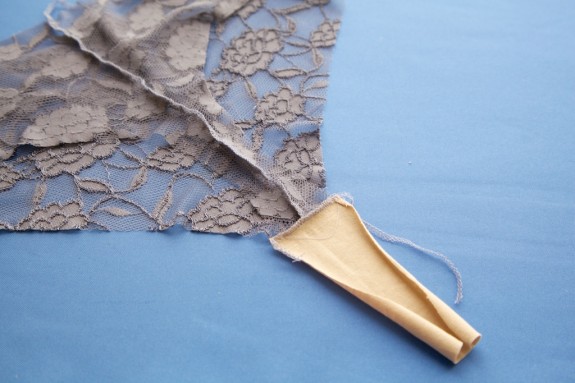
You can see my liner fabric doesn’t want to be flat…

Sew the front, back and liner in one “sandwich”. In the top photo you can see the ladyshorts are wrong side out, the front is on bottom, the back is in the middle, and the crotch lining is on top. The wrong side of the crotch lining piece is facing out. Again this can be serged or zig-zagged (it will be completely hidden). I usually like to serge, but sometimes it can be hard to send three layers through the serger without one layer bunching. When I was first practicing serging delicate laces or knits, I’d first sew a long basting stitch on my sewing machine to keep the layers in place and then serge.

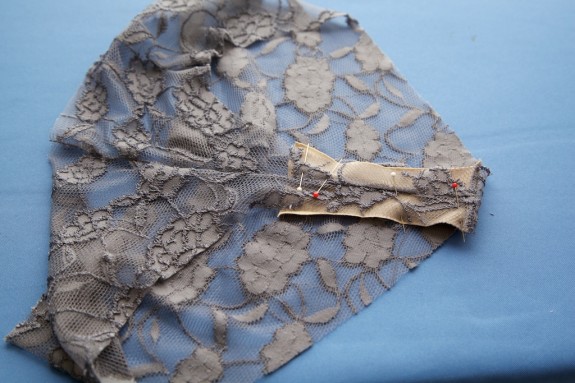
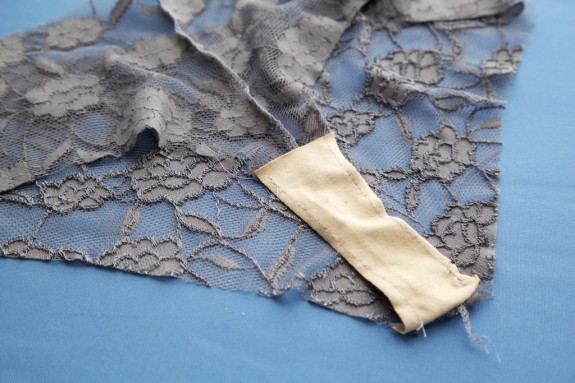
4. Baste the lining

Now fold the lining toward the front and baste it to the edge of the lace.

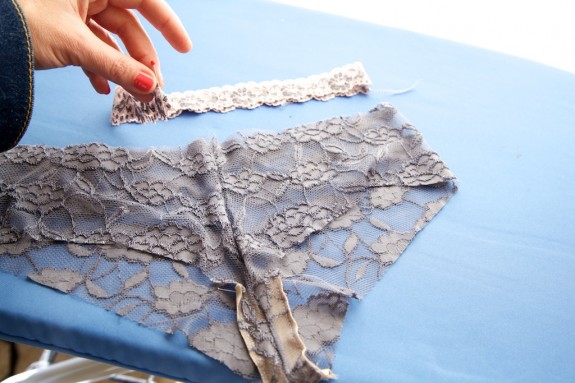
5. Add the trim

There’s just a tiny bit of ease in the legs and waist so I pin the trim at a couple of spots to try to even out the fullness. In this photo I “half” the waist trim and mark the center front. The seamed side is sewn to the back seam and the pinned side is sewn to the front.

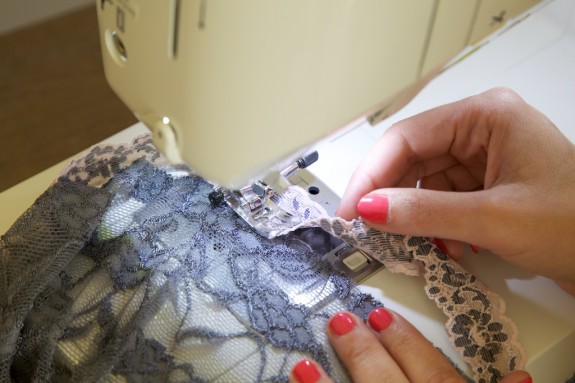
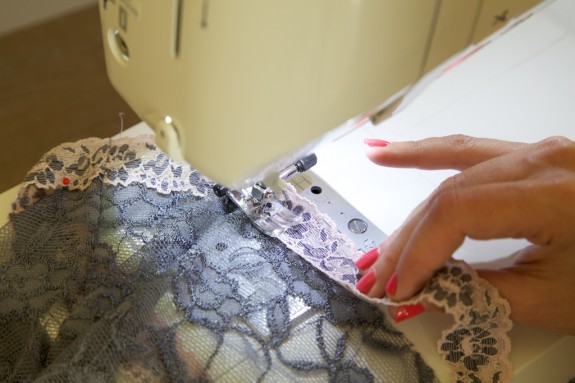
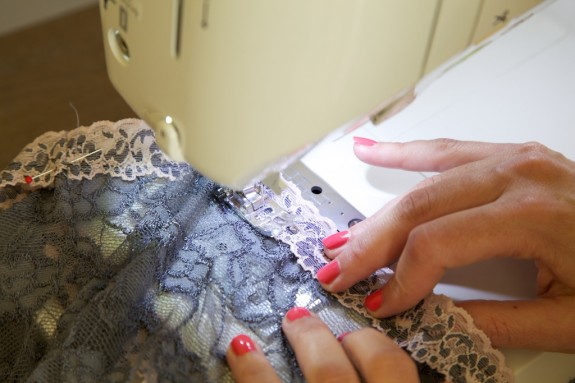
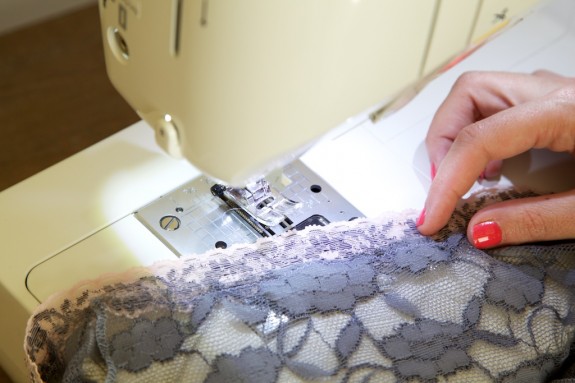
Place the edge of the elastic trim so that it overlaps the waist by 1/4″ and start sewing with a narrow zig zag right in that overlap. Sometimes you have to stop every couple of inches to rearrange the layers.

In these pictures, I’m stretching the lace trim a bit, holding it down to the edge of the fabric and then letting it relax as it goes through the machine. I use my left hand to ease the fabric into the elastic and the feed dogs do the rest of the work. In other words, I’m trying not to pull on everything as it goes under the presser foot. If you stitch while pulling, the elastic trim stays stretched and you want the trim to keep most if not all of its original elasticity. It’s much more comfortable! (I really have to thank Katherine from SewBlooms for sharing this elastic-sewing tip with me.)

Repeat for the legs.

And this is what it looks like on the inside!

Optional little tip: I like to do one last little securing step, a little something I learned from my store-bought undies. I like to flatten the seam allowance on the edges of the lace trim by zig-zagging over it a couple of times. This is also a way to secure the thread tails or chains.

That’s it! Pretty and comfy!

Rosy Ladyshorts: Guide to Materials

Alrighty! Today I want to write a bit about different materials you can use for the Rosy Ladyshorts pattern. It took me awhile to finish this post, with surgeries and birthdays and whatnot going on. But first I want to thannnk you for your enthusiasm about the pattern! It really reminded me that I love designing things. I love sewing!

Onto the materials… Friends are often asking me where I find my fabrics. For lingerie fabrics in particular I like to hunt! So I’ll also include some possible online sources.

Main Fabric

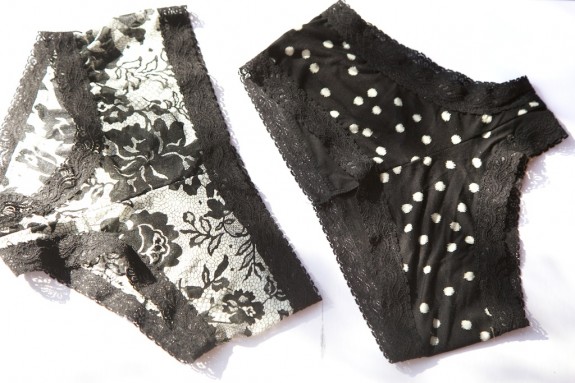
For the main fabric of the Ladyshorts, the possibilities are wide open. I designed them around stretch lace, but I know it might not be everyone’s choice and some of us prefer natural fibers. Any kind of lightweight jersey would be beautiful! I made these pairs out of a stretch mesh and a rayon/lycra jersey.

Jerseys are easier to find so I won’t focus on those so much. Stretch lace for lingerie is usually a nylon fabric and may have some spandex/lycra in it. Look for something soft and lightweight, that stretches at least 60%.

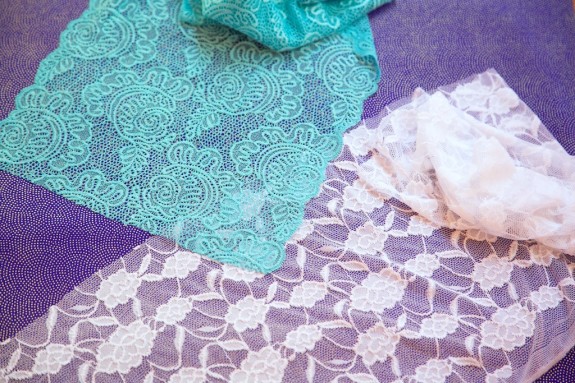
White stretch lace fabric (which I’ve already cut for another pair) from Sew Sassy, turquoise galloon stretch lace from Merckwaerdigh.

Most of the time galloon lace trims like my turquoise lace are too narrow to cut an entire underwear pattern. It just so happens that this one is extra wide and enough to fit my pattern. Galloon laces often have a strong design pattern with scallops on both edges, so they’re a bit harder to work around. A wide stretch lace fabric, with a consistent design repeat like the white lace, is usually easier to work with. I’ve since dyed the white lace because I had some extra yardage and really want to play with dyeing!

Trim

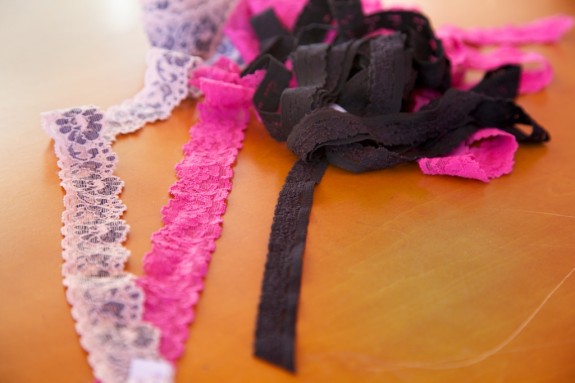
For the legs and waist you need an elastic lace trim. Sometimes called elastic lace or stretch lace trim, it’s basically a narrow lace trim that stretches like elastic. There are a lot of folks making baby headbands out of this stuff on Etsy. Who knew baby headbands were such a booming business?

This is really fun to use in underwear in place of regular lingerie elastic. You can try other widths than 1″ but keep in mind that the trim goes around the leg and so the wider it is the wider the crotch will get. I found that 3/4 to 1″ were just right. Look for a trim that has a fairly straight edge or small scallops.

For the liner, I usually just use whatever light jersey I happen to have, sometimes cotton, sometimes rayon. No one’s going to notice what color it is… but if you plan to make several pairs of undies, a light cotton jersey in nude is always a good thing to have around.

Sources and ideas

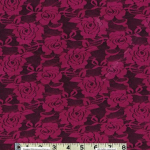
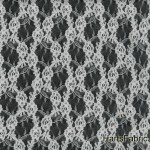
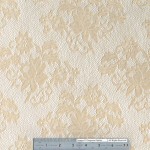
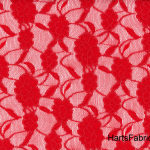
Sources for stretch lace fabric: Sew Sassy, Spandex World, Spandex House. Some of the European lingerie-supply-sellers like Merckwaerdigh and Elingeria may have some stretch lace fabric although they usually carry the galloon types. Harts Fabric sometimes sells soft stretch lace fabric.

For some ideas to get you started, these would all make cool Ladyshorts:


(click on the photos for more info)

For lace trim: Most of the same places I listed for fabric carry it. Sometimes you can find it in the trims section of a fabric store. Mine are mostly from Sew Sassy, but I’ve also found some nice trims on Etsy. I like to narrow down the search by adding “lingerie” to it so I’m finding something soft enough. (On Etsy, sometimes you’ll get “vintage lace” which isn’t always a good thing when elastic is involved!)

And I’m making a new pair with my dyed fabric over the weekend so you can have a picture tutorial soon! But in the meantime, please feel free to shoot me any questions about fabrics.

More ideas for materials are on my resource page: Where to Shop: Lingerie and Bra Making.

A Birthday Stroll

This week was a bit of funny one. I had a long-overdue surgery and my first stitches ever in 20 years. Nothing major, only a skin surface thing, but it was hard to move for a few days and I’m of the low-pain-threshold variety. The tiniest toe stub sends me screaming across the house in high-pitched drama.

But it was birthday week! Around here “birthday day” usually means ‘do favorite things for an entire day at your own pace’, but you can pace it out all week long if you want.

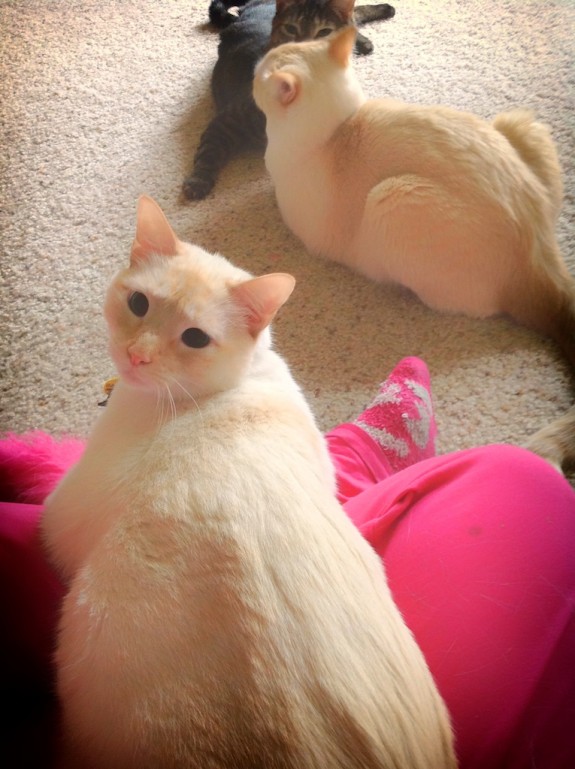
Birthday cuddles with T-bone. Well really, it’s my favorite part of every morning!–he’s a very spazzy cat but I love when he’s so sleepy and sweet.

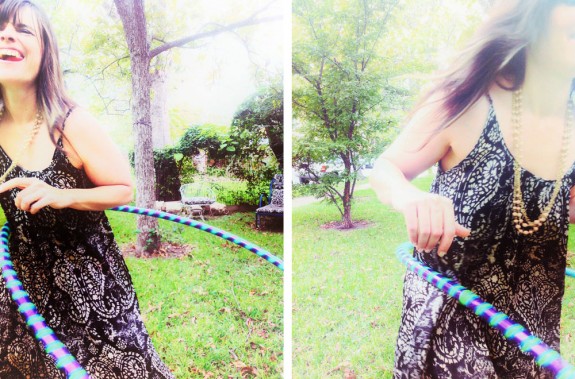
In my front yard with my brand new hula hoop!

On a recent trip to California, we ended up being in the middle of two hula hoop jams in separate parks. I had no idea how big hooping really was, nor how acrobatic people are with these (I thought, ‘you just go round and round?’), but it is crazy fun. Everybody gets into it, all ages, and everybody laughs the whole time. So I got addicted by the idea and threw a hoop jam over the weekend with friends and all the kiddos. The kids were inventing “robotic hooping” which just makes sense with Daft Punk as soundtrack.

My actual birthday day almost always involves a stroll through a garden of some kind or perhaps a hike through a preserve. Austin is really at its most beautiful this time of year. Things are blooming madly.

Birthday dinner involved beets with sorrel puree, olive oil drizzle and parmesan crisps at Contigo. I’ve been on a serious beet kick this year and this was so perfectly done. (Main course was rabbit stew with cipollini onions and sage dumplings… Yummmm.)

I love to eat.

Contigo is a great place to sit outside and chill over a drink on a warm Austin night. I’m severely proud of my Scottish roots so I always have to have a taste of scotch at the very end of my birthdays and they have a great selection. (This year it was Oban.)

All in all, a perfectly chilled out birthday!