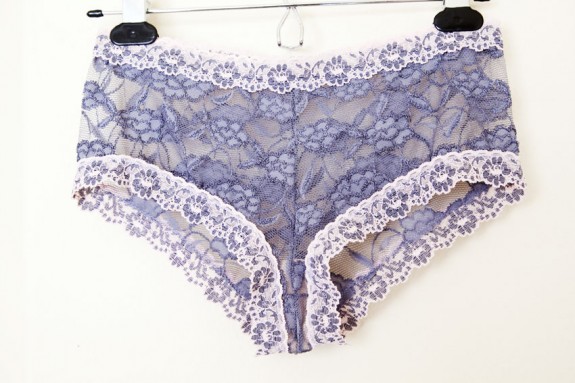
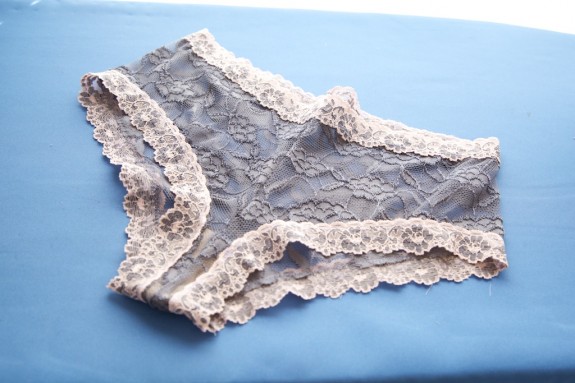
This is the new pair of Ladyshorts I wanted to make for a construction tutorial, but I was getting a little tired of black and white so I went with… grey.
Radical, huh? Actually, the dye I used on my white lace was named “silver grey”, and on my dye chart was a pretty pale silver but turned out a very dark lavender grey (the water was purple!). I’m still a newb with dyes but it’s easy and fun and I like getting surprise colors.
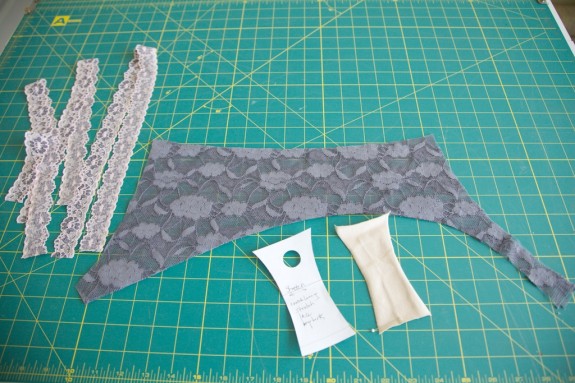
The pieces
Just so I don’t get the two ends of the lining confused I put a pin in the end that’s going to be sewn into the crotch seam. (This end is marked with a dotted line at the seamline on the pattern.)
1. Sew the front and back seams
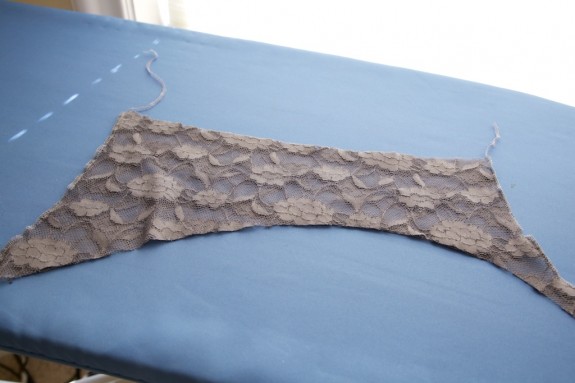
Pick up the main pieces just as they are and take them right to the machine and sew the seams on each side. (Assuming they’re already right sides together.) You can either serge or zig-zag these together–the seam allowances are 3/8″ (1cm), which allows for some of the edge to cut off if using a serger. I like using a really narrow 3-thread stitch on my serger because it’s soft and I think it looks and feels better in lace or sheer fabrics. (Even if I’ve zig-zagged, I trim the seams down to 1/4″.) But that’s up to you!
2. Stitch the trim ends together
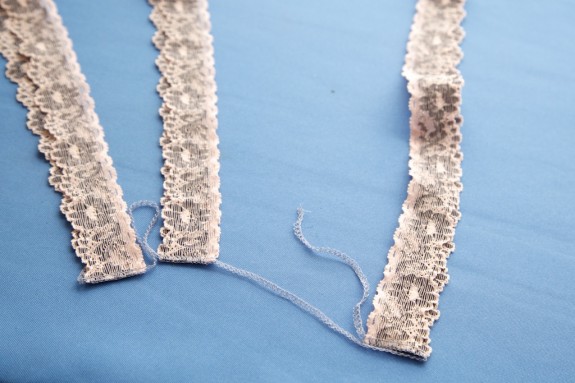
Sew/serge the ends of each trim piece together with a 3/8″ allowance.
If you like to have the free edge of the lining finished with a serger, do that now. (I forgot! It won’t ravel so it can be left raw, too!)
3. Sew the crotch seam
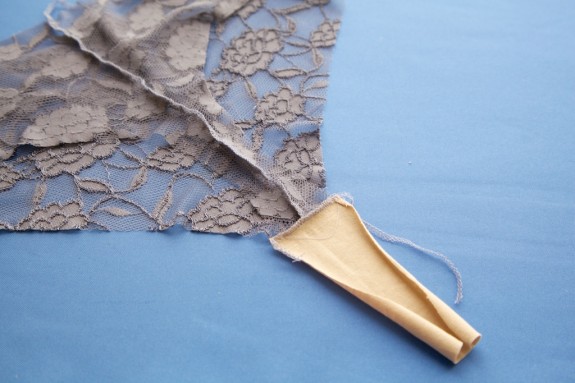
You can see my liner fabric doesn’t want to be flat…
Sew the front, back and liner in one “sandwich”. In the top photo you can see the ladyshorts are wrong side out, the front is on bottom, the back is in the middle, and the crotch lining is on top. The wrong side of the crotch lining piece is facing out. Again this can be serged or zig-zagged (it will be completely hidden). I usually like to serge, but sometimes it can be hard to send three layers through the serger without one layer bunching. When I was first practicing serging delicate laces or knits, I’d first sew a long basting stitch on my sewing machine to keep the layers in place and then serge.
4. Baste the lining
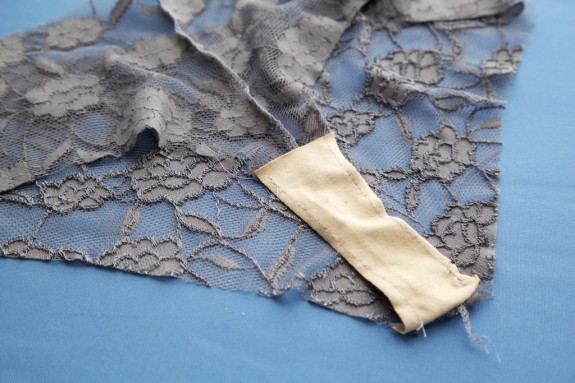
Now fold the lining toward the front and baste it to the edge of the lace.
5. Add the trim
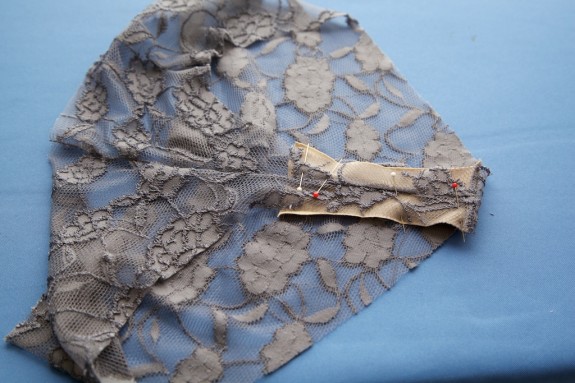
There’s just a tiny bit of ease in the legs and waist so I pin the trim at a couple of spots to try to even out the fullness. In this photo I “half” the waist trim and mark the center front. The seamed side is sewn to the back seam and the pinned side is sewn to the front.
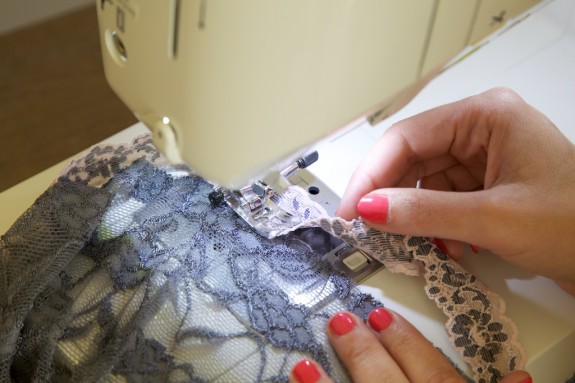
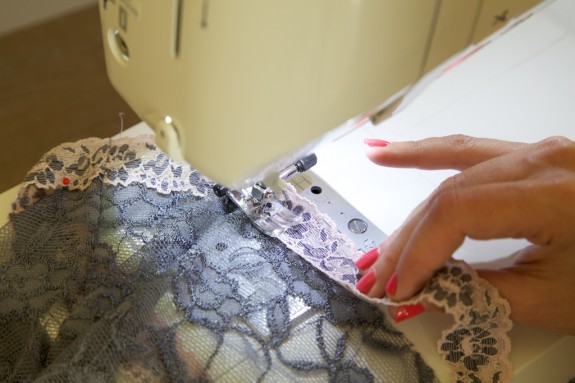
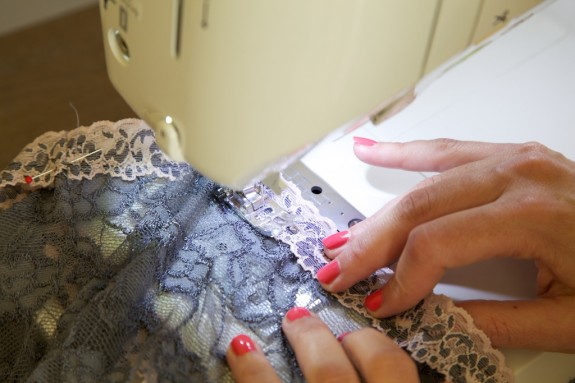
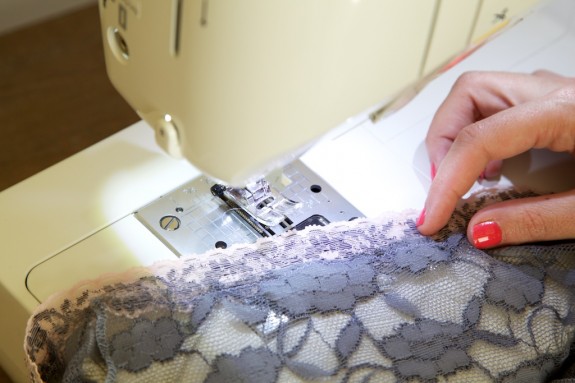
Place the edge of the elastic trim so that it overlaps the waist by 1/4″ and start sewing with a narrow zig zag right in that overlap. Sometimes you have to stop every couple of inches to rearrange the layers.
In these pictures, I’m stretching the lace trim a bit, holding it down to the edge of the fabric and then letting it relax as it goes through the machine. I use my left hand to ease the fabric into the elastic and the feed dogs do the rest of the work. In other words, I’m trying not to pull on everything as it goes under the presser foot. If you stitch while pulling, the elastic trim stays stretched and you want the trim to keep most if not all of its original elasticity. It’s much more comfortable! (I really have to thank Katherine from SewBlooms for sharing this elastic-sewing tip with me.)
Repeat for the legs.
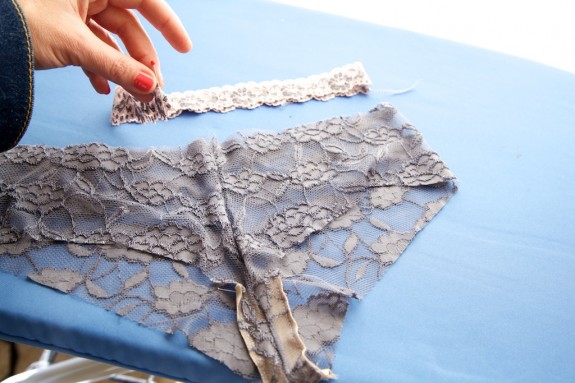
And this is what it looks like on the inside!
Optional little tip: I like to do one last little securing step, a little something I learned from my store-bought undies. I like to flatten the seam allowance on the edges of the lace trim by zig-zagging over it a couple of times. This is also a way to secure the thread tails or chains.
That’s it! Pretty and comfy!
Would you like tips and inspiration in the craft of lingerie sewing? Sign up for my weekly eletter The Lingerie Maker.


Lovely!
Thank you so much for your lady shorts pattern….I wanted to say that I made my first pair yesterday and they are a dream! Great shape and easy to sew. I haven’t blogged just yet about them, but will in the next week, making sure to point back here to this fab tutorial too. Thank you again, I really believe they are my best pair of home made knickers yet!!
Awesome! I’m glad you like the fit.
I love the lady shorts! You did a fantastic job at creating the PDF pattern and a great job at creating this tutorial! Thank you and thank you!
Thanks, lady!
LINDO OBRIGADO PELO TUTORIAL FELICIDADES
Thank you for the freebie! I think it would be a good idea to add a pdf or print widget to the blog posts, especially for the tutorials.
You’re welcome! That’s a good suggestion. I’ll go back and add in the links.
Just sewed up a pair of these today! They were my first garment sewing project, and they turned out just great. Thanks!
Thanks for the feedback, and congrats! What a fun first garment!
I am eager to try this pattern! We have new stretch lace yardage fabric in the Spring 2013 collection at Hobby Lobby!
I just want to let you know that you have inspired me soooo much! Fr the past get years I’ve either been pregnant or breastfeeding and bc I couldn’t find any pretty underwear to suit my needs I was resigned to wear comfy but horrible looking underwear. All that has changed now that I’m learning to sew lingerie! I’m making delicate feminine items that I can breastfeed in. I feel like a woman agin! I cannot tell you how much this means to me! Thank you, thank you, thnk you!
I just made a pair in less than an hour! Thanks so much!
I’m new to sewing and these where the first garment I’ve made (apart from a few craft things) They took a little while as I’m learning as I go but they turned out great and look spunky on my girlfriend, she said they’re super comfy too. I made them out of cotton jersey for an ‘every day’ undie. I’ll do some racy lacy ones once my confidence improves a bit. Oh I’m a bloke btw, just love beautiful classy lingerie. Go figure… Thanks for the pattern and tute. Couldn’t have done it otherwise. xx
These are lovely undies but I cannot buy this style in the shops as the way the seem runs between the crotch can be uncomfortable, it seems to rise into the never regions lol, I would cut off the part below for the crotch and put a one piece in between the front and back, this would make the undies much more comfortable,
Hi Jan, that’s the beauty of making your own. It’s easy to tweak them to your liking! The way these are drafted requires a seam for better fit (so that there isn’t lots of fabric bunching at the bottom) but the lining covers the seam.
Great tutorial, thank you Amy. I’ve never tried sewing with stretch lace before, however you make it look so easy I might be tempted to give it a go.
Merci pour ce tuto, le résultat est magnifique!
Thanks for the pattern and the great instructions, I just finished my first pair. I lowered the back a bit since I prefer a lower cut. You can tell that the pattern is made by a designer since they fit perfectly (I tried some nice diy I found online, they are good but…don’t fit as well as your pattern). Thanks again!!
Hi Vicky, I’m so glad you like them! That’s a really kind compliment.
What type of. Fabric is used for the middle part.I am concerned about skin reaction
the gusset is usually a 100% cotton jersey. hope that helps.
Buenas noches Amy. Soy de Venezuela y no entiendo el ingles, pero la pagina se traduce automáticamente y puedo entender bastante. Estoy encantada de todo lo que haces. Te quedó hermosa la ladyshorts Rosy, se ve sencilla de hacer. Ya he realizado algunos modelos, aún ese no lo he hecho y lo voy a realizar, espero me quede tan lindo como el tuyo. Gracias por compartir Amy.
These look great. I am going to go start them right now! One quick question, How did you determine the length of you elastic pieces. Are they just an inch or so smaller than the openings to allow for that ease that you were talking about? I couldn’t find anywhere where you reference the actual length you had cut them for each of the sizes of patterns.
Hi Karen! Do you have the pattern? The lengths for each size are included.
This would apply to elastic lace trim. If you want to use regular elastic, my rule of thumb is to use a length that is 5-8% shorter than the length of the opening.
Tried these today and they fit like a dream. Thank you very much for sharing your pattern.
What a cute pattern! I’d love to try and make some swim bottoms using this tutorial. I’m a total newb. Any suggestions or alterations I should know if I’m going to be using Lycra/Spandex?
Hi Sarah, I have made these from lycra but not as swimwear (with a lining and swim elastic). Of course they’d be super cute as a swim bottom! You’d really only need to change the seam allowances on the edges to accommodate sewing and hemming in the rubber elastic. As far as other suggestions, since you are new, I’d read up on swimwear construction to understand how linings and elastics are typically sewn. You may want to consult another swimsuit pattern or an online tutorial. (Closet Case Patterns has two great swimsuits and tutorials!)