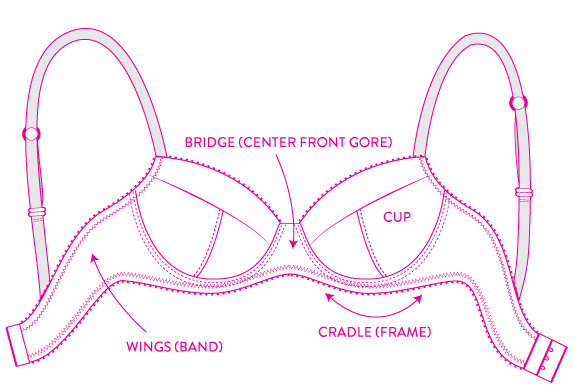
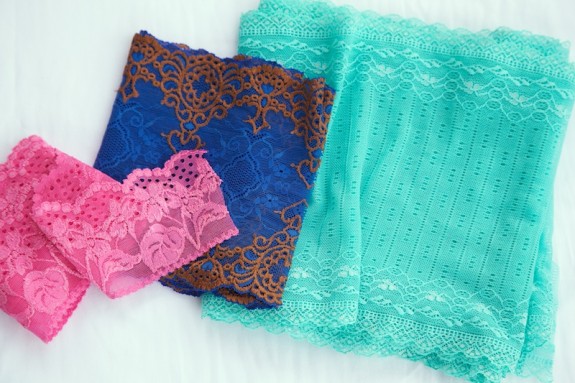
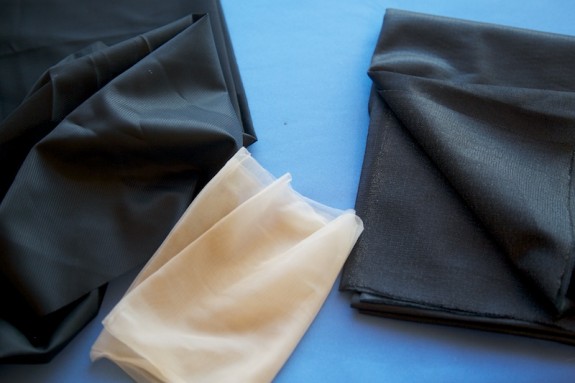
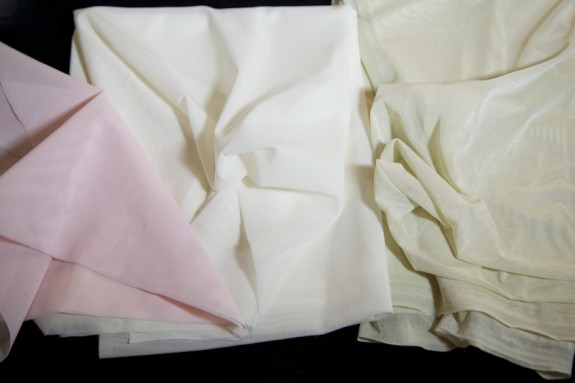
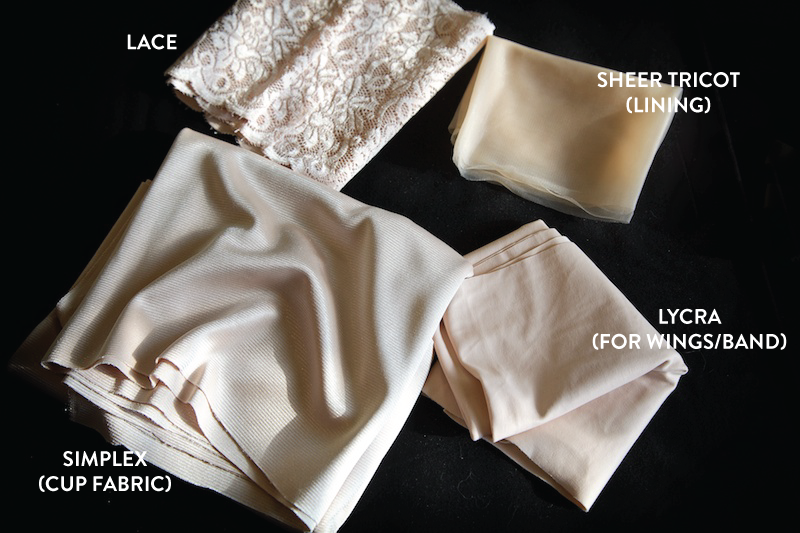
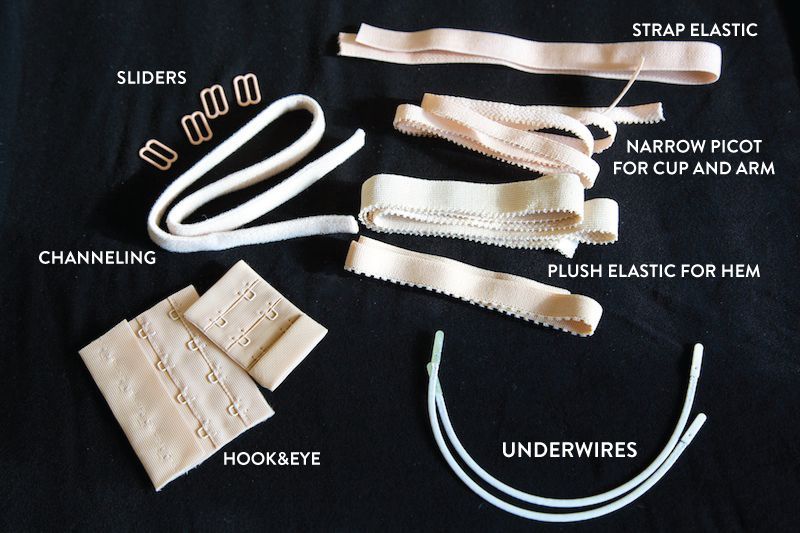
Hello everyone and welcome to the first day of the Bra-making Sew Along!
I am so excited to have such a diverse group of women from all over the world joining along. And I’m glad you all share my enthusiasm for sewing lingerie. New Year, new skills, new bras!
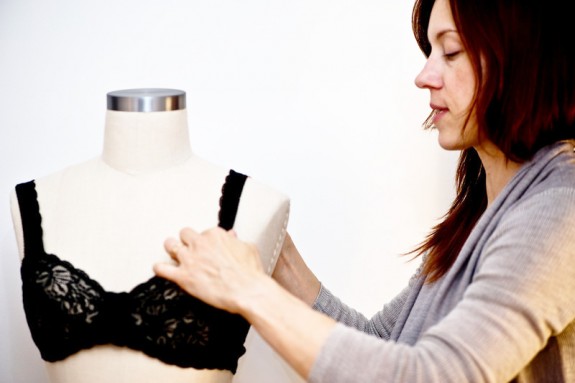
Over the next couple of weeks I’m going to sew along with you and share how I like to make my bras. My personal passion is in design and pattern-making, and I hope to impart how easy and fun it is to do some design magic to a bra pattern. For the first week and a half, I’m going to focus on pattern fitting and alterations for style. A friend of mine enlisted as a volunteer to let me fit her a new bra (lucky gal), so you can follow along basic pattern fitting.
Along the way, please feel free to share your own tips and experience with each other, either here in the comments or in the Flickr group. 50 minds are better than one! And don’t forget we also have Norma from Orange Lingerie joining along with us. Norma is a custom bra-maker who has graciously offered to answer some reader questions in an “Ask the Expert” feature which I’ll include in some posts. Let’s pick her brain and experience!
On an organizational note, I’ve updated the schedule on the central Bra-making Sew Along page so you can see where we are at and what’s coming up.
So, let’s get down to business–measuring business! This will be the longest post but I want to get this out of the way right at the beginning in case you are new to bra-fitting.
bra sizing
The patterns I suggested cover everything from 30AAA to 30H and 32I, up to band sizes 48A to H. These are some of the better-graded bra patterns out there as they have some sophisticated differences between sizes. I know these are missing some smaller and larger band sizes. Bands are a relatively easy thing to adjust if you had trouble locating yours.
And few of us will get a perfect fit right out of any pattern. Two women with the exact same measurements may be different cup sizes. We have various breast shapes, muscle development, and bone structure, which affect our fit. This is why a custom bra can be so wonderful–no matter your size.
For an underwired bra pattern, I have found that the best way to find a starting size is by locating an underwire and band size. If I get those two right, the cups will be easier to fit.
find your band size
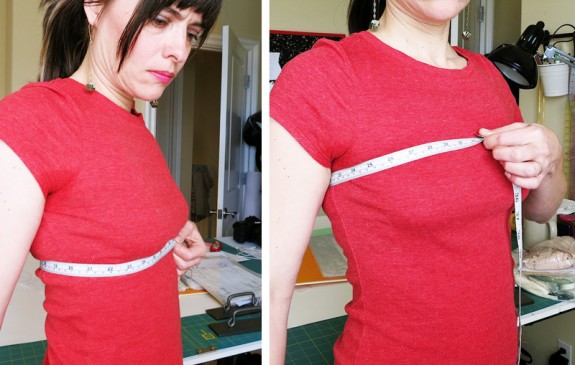
To find your band size, measure yourself snugly around your ribcage, right under the breasts. I exhale all the way out, then measure. If you want a very snug band, this measurement or the next even number up can be your band size.
If this sounds too small to you, try measuring your high bust, just above your breasts and going under your arms. The closest even number to this would be your band. Basically, your band needs to be close to the width of your chest as if your breast tissue weren’t there!
My underbust is 29″/74cm and and my high bust width is 31.5″, and I usually use a 32 band. Sometimes I go down to a 30 in a bra with really stretchy materials. In European sizing, I use a 75.
Note: If your pattern tells you to add four/five inches to get to your band measurement, I recommend that you ignore it! When making a custom bra, you can always adjust the band for comfort by lengthening or shortening later, and most likely you will do this anyway for different stretch fabrics.
underwire fit
Do you know which underwire fits you best? The bra patterns I’ve suggested all use a regular length underwire, but in the future some of you may want to explore using a shorter or longer one, depending on your support or comfort desires. It’s good to experiment!
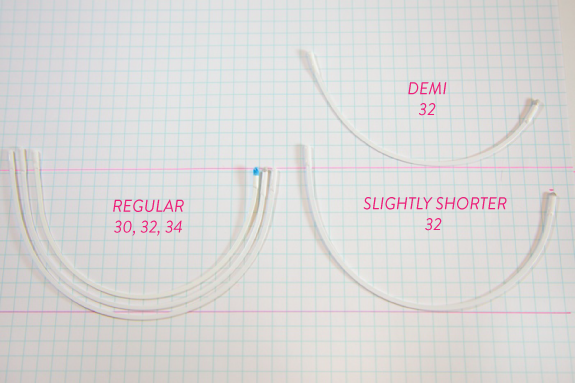
I found my best wire size by comparing 3 sizes of wires, going one size up and one size down from my usual size.
The wire should closely hug the natural curve where your breast meets your chest wall. No poking into the underarm, sitting on your breast tissue, or dropping below that crease. Underwires increase in diameter by about 1/4″/8mm per size–that’s a really small difference but it could be a crucial one! If you are having trouble finding your natural curve, you could use a washable marker to draw on your crease and see how the wire fits into it. I know that sounds funny but some of us have probably squeezed our breasts into too-small underwires and seeing that crease helps!
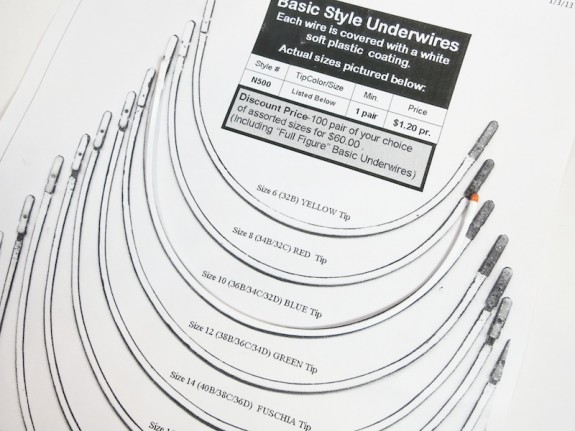
For my friend I tried on several European underwires. Her best wire was an 85 and to find the corresponding U.S. wire size, I compared it to the Fabric Depot wire chart. I’ve made a page with links to wire charts, if you need them to compare wires.
find your cup size
For those who want to leave out underwires, one way to find your starting cup size is by subtracting the width of your high bust from your full bust.
I know this doesn’t work for every shape and you need to be wearing a good fitting bra while measuring. If any of you have tips for cup measuring, let us know! If you found an underwire that fits, you can get even closer:
Take your underwire size and compare it to your band size to find a cup size on this chart. My underwire is a 32 wire, so I move over to find my band size and its corresponding cup, a 32B. (In European sizing, a 75B.) My friend’s size is in green.
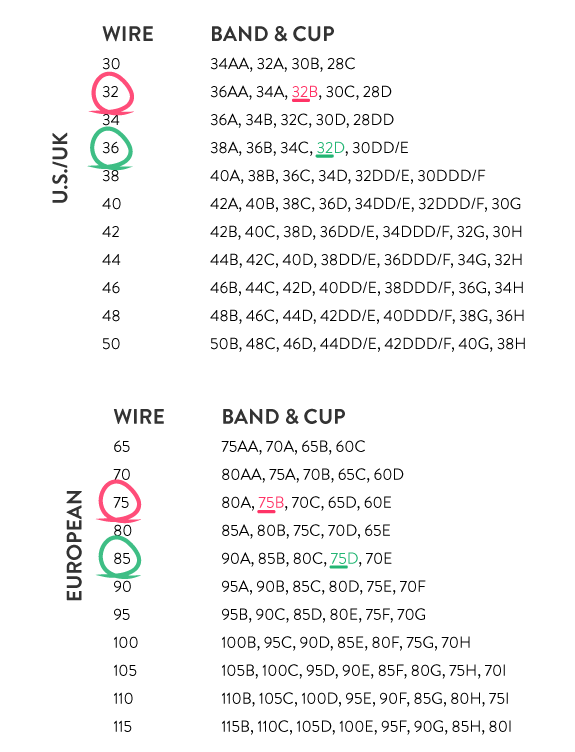
I know US/UK cup sizing gets a little whacky after D but hopefully the chart makes sense. I don’t think any of the patterns I’ve suggested use the DD/DDD cup sizing anyway.
Some women with very large cup sizes may find that they need a larger cup to go with a smaller wire. Smaller busted women may need a larger wire with a smaller cup. If you have a feeling this might be your case, you can adjust the volume in your fitting.
I hope this information helps! We’ll get to tracing the pattern Wednesday and start in on our tester bras. If you are still having trouble finding your size, please don’t hesitate to ask questions!
