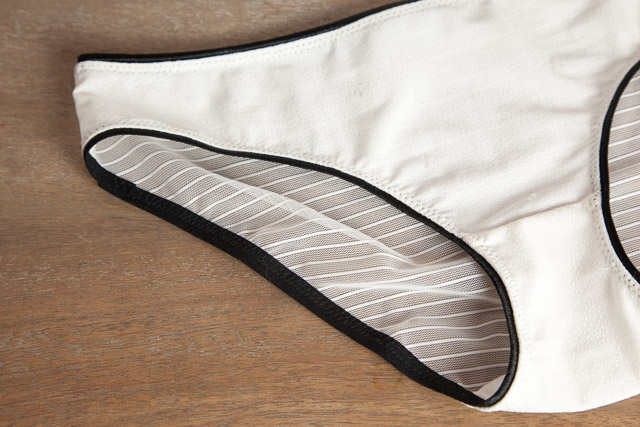
Alrighty, it’s finally time to do some sewing!
You may have noticed that I’ve changed up the schedule a bit. I decided to save the dyeing tutorial for a future day. That gives us room to focus on sewing the bra and keeps things a bit simpler for the beginners. Sound good?
Today we’re going to cut and sew our bikini. It’s very short and sweet, just as a bikini should be. You can probably make five in the amount of time it took me to write this post!
In this tutorial I’m going to be sewing the bikini a little bit differently than the method that is illustrated in the pattern. Instead of leaving one seam open, both crotch seams are enclosed inside the lining. You can use either method–your choice! I use both and it depends on how fast I want to sew. For the pattern I chose the faster method because it was easier to illustrate without the benefit of photos.
Cut Your Pieces
Cutting is simple! you need to cut four pieces: front, back, crotch and crotch lining.
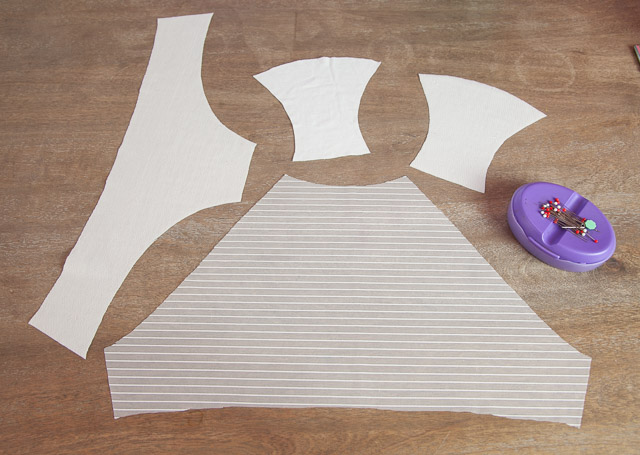
In underwear, crotch linings are often cut from light cotton jersey. The lining is there for breathable, absorbent protection. If you are already cutting your bikini from a rayon or cotton jersey you can use your main fabric as a lining. For other fabrics like lycra, lace or mesh, you can use a scrap of jersey from your stash. If I want a quick pair, I often just cut it from my main fabric (even if it’s mesh). For this pair I’m cutting my bikini from a lingerie stretch fabric in front and a stretch mesh in back. I happened to have some matching ivory cotton jersey in my scrap bin to use for the lining, so I’m getting lucky with the matching!
Sew the Crotch Seams
Sew the back to the crotch pieces with a 3/8″ (1cm) seam allowance. Arrange the layers like this, from bottom to top: the crotch lining should be right side up, the back should be right side up, and the outer crotch piece right side down.
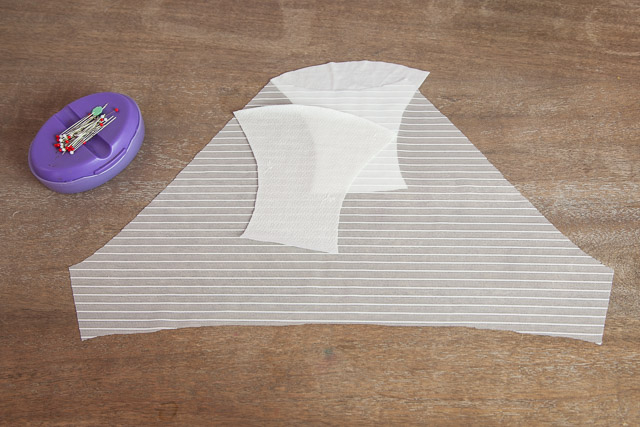
Pin the layers together then stitch or serge. I like to baste this seam first, which keeps the layers from shifting around with the serger foot. If you don’t have a serger, a straight stitch will do just fine. This seam doesn’t need to stretch. If using a straight stitch, trim down your seams afterward to about 1/4″(6mm).
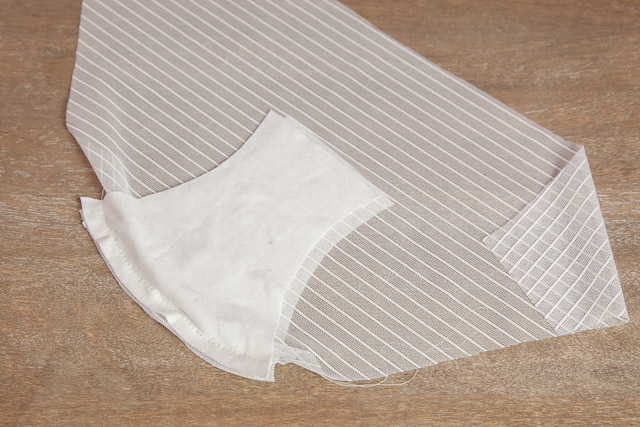
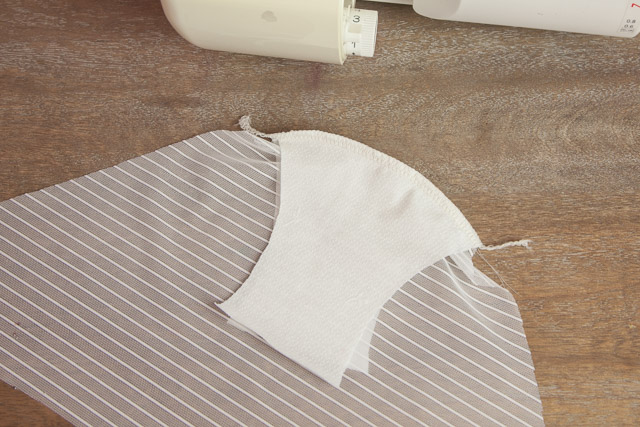
Roll up the back piece between the two crotch pieces.
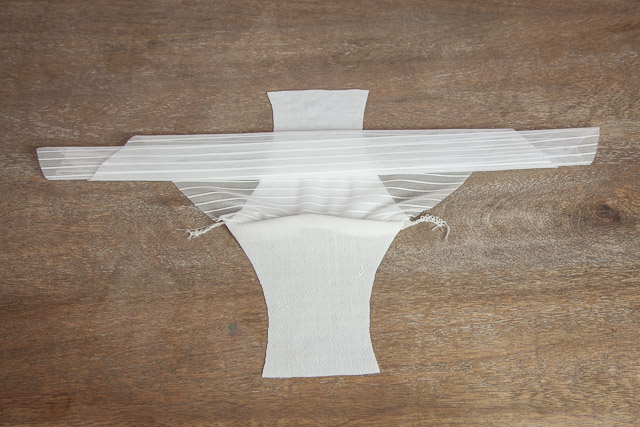
Take your front piece and roll this up, leaving the crotch seam free. Lay the rolled front piece next to the rolled back piece. The right side of the front crotch seam should be facing the right side of the main crotch piece:
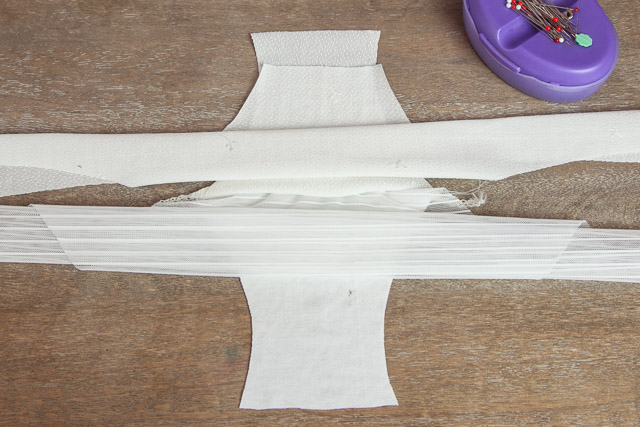
Roll up the crotch lining (the bottom piece in the photo above) so that it meets the other two layers. You’ll basically have a little taco. (Some people call this a burrito method but I live in Texas and this seems more like a taco!) Pin these seams together and serge or straight stitch, just like the first crotch seam:
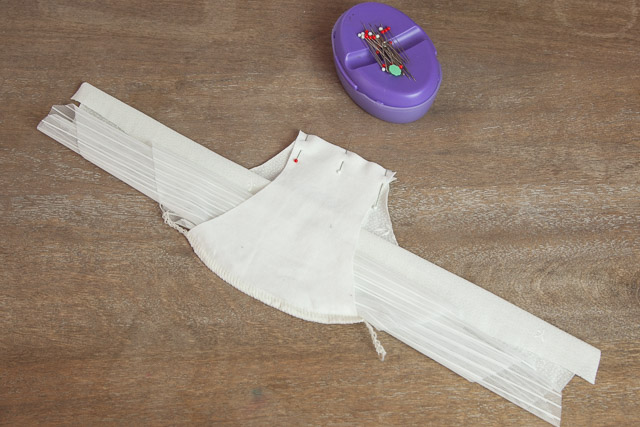
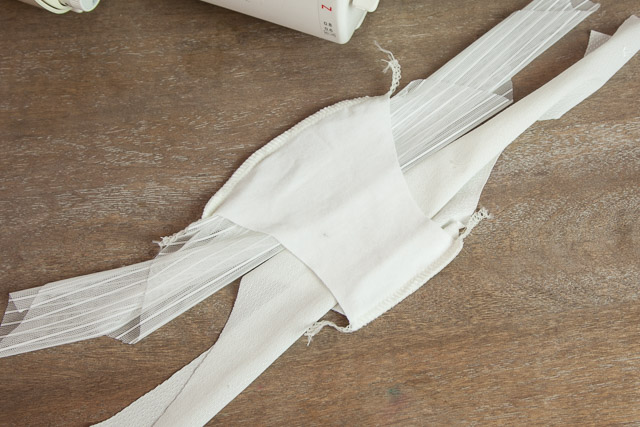
Pull the rolled pieces out from one side of the crotch, and keep pulling until the crotch seams turn inside out. And voila–completely enclosed seams!
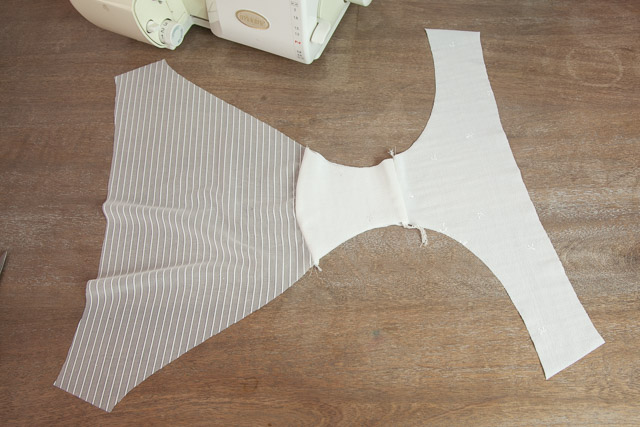
Stitch the Side Seams
With right sides together, stitch the side seams with either a serger or medium width zig-zag. (Medium is about 3.2 width and 2.2 length.) Turn the bikini right side out.
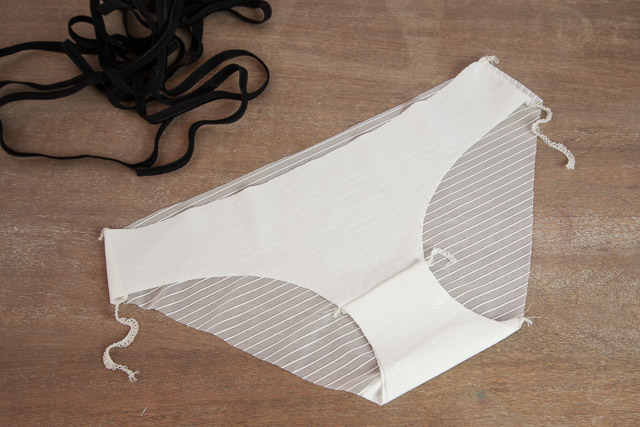
Add Your Elastic
Add your elastic to front and back using the method in this tutorial. I like to start one end of my elastic near the side seams but not right on top of the seam. This keeps the side seam from getting bulky. On the first pass, I used a small zig-zag with a 2.6 width and 2.0 length.
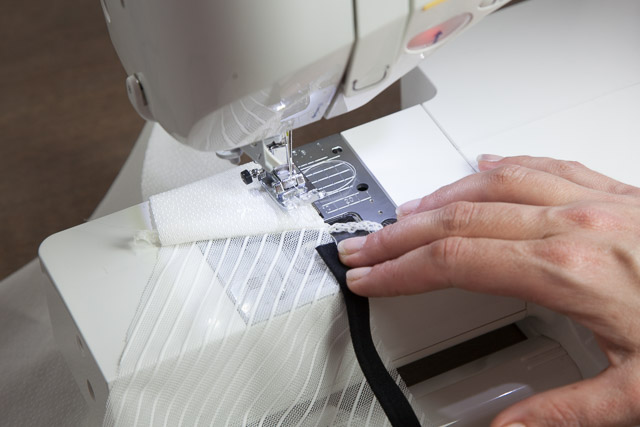
When you reach the beginning of your elastic overlap and stitch the two ends together about 1/2″ (13mm). Stitch backwards a couple of zig-zags to secure.
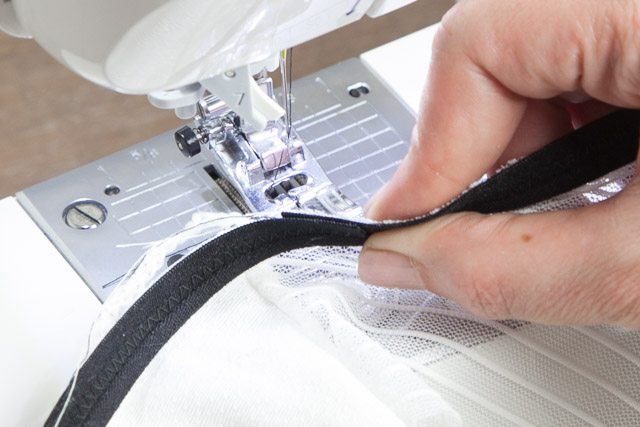
Trim your threads and any seam allowances that cause bulk or stick out from the elastic, then fold your elastic to the inside and stitch your second pass of zig-zags. On the second pass of this pair I used a 3.2 width and 2.0 length.
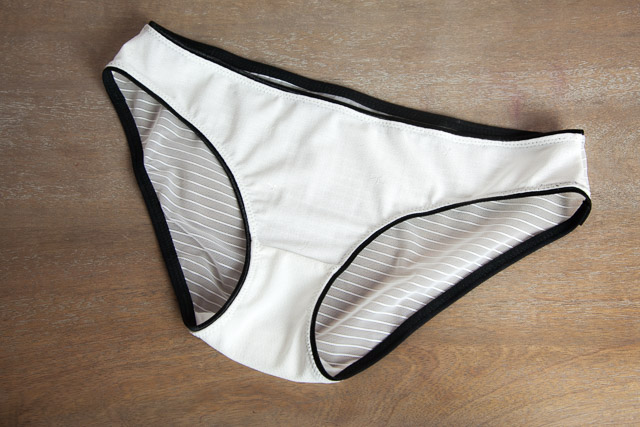
Repeat these steps for your other two openings, trim any excess threads, and you’re done!
On Friday we start sewing the bra!
Would you like tips and inspiration in the craft of lingerie sewing? Sign up for my weekly eletter The Lingerie Maker.

I adore this pair! So pretty! I want one exactly like it! (:
I just took a little break from cutting out my next Watson bra, this time with a matching bikini, to check on the Internet, and here’s another sew-along post. Oh no! Going back to the cutting right now. I’m still trying to catch up!
Hi Jana, thanks! And no hurry–these posts will always be here.
Very helpful to see the pictures – looking forward to trying this method. And what a cool mix of fabrics for this pair.
Loving the monochrome colour scheme and the textured fabric at the back!
Hi Amy, I really enjoyed your post. I love the professional look of the enclosed gusset seams. I hope you will post your dyeing tutorial soon as I was particularly looking forward to it. In my part of the world it is very difficult to get matching notions. Sourcing from overseas is prohibitively expensive. (Terrible exchange rate, and appalling postal service!)
If my readers are any indication, somebody in South Africa needs to start a lingerie notions business! I look forward to doing a dyeing tutorial. I do have a previous tutorial I did back when I was still experimenting, which may help, but I have it down to a science now!
Under “Side Seams” you say “width” twice for the zig-zag. Which is the length?
Even though I am not sewing along now, I’d like to bookmark this page for future reference.
Oops, thanks for catching that! Fixed it. 3.2 width and 2.2 length.
Amazing pair! and a very useful tutorial! Thank you so much(:
I have a question how did you make the seam black on the black elastic, but on the white fabric the thread is white. This looks so professional, how could i achieve this?
Hi Oksimora, on the first pass I used black thread on top and bottom. On the 2nd pass I switched the top thread to ivory but kept the bobbin black. All you have to do is switch out the main thread so that it matches the outside of your fabric, while the bobbin matches your elastic.
Amy, I am going to try this right now, not gonna wait a second. Thanks again, you are a real inspiration for me, I guess, I am not the only one who says that(:
When I made these my elastic flips over to the right side when wearing. Is there a way to prevent this?
Hi Jessi!
Hmmm, I’ve never had this happen before. Did you two two passes of stitching? (Here is the tutorial for elastic, in case you missed it – https://clothhabit.com/watson-sew-along-sewing-lingerie-elastic/ )
The only thing I can think of is either the bikini is a little too tight, or you may have pulled the elastic too tightly on the 2nd pass, so it is flipping over to relieve itself). Generally, the more relaxed the elastic (the less tight), the more it stays put. Does any of that ring a bell?
What kind of elastic did you use?