A Bit about Leather Cutting & Fusing

When the forsythia blooms, you know spring is coming. (And an old wise gardener taught me that’s when to prune roses in the south.)

I love these vines. They look very bramble-y climbing all over trees the rest of the year, but are the pride of the south in February. Such a glowing yellow yellow yellow. So I had to break up these posts in black with some color, right? Because I know we are all dreaming of our spring palettes now.

As promised, I wanted to share some tidbits about leather cutting and fusing. There’s a nifty post here about the layout of a hide and how to determine nap–which is kind of like learning the grainline on fabric. You’ll also see which parts are stronger and weaker.

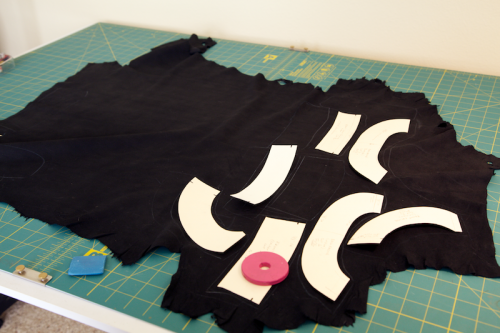
I tried to lay all my facing pieces with the grain going the same direction and still get the most out of the “good” leather. Whatever was left would be cut into strips to piece together for trim. Once I got the general layout of the facings, I loosely traced around the section they’d be cut from so I could block fuse the entire area. My leather is thin and almost as stretchy as stretch denim, so the facings definitely needed some reinforcement.

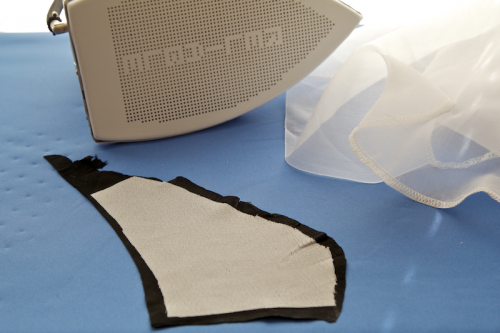
In case you’re wondering, it’s possible to fuse to leather! I cut off one of the, erm, legs which wouldn’t have been usable to test out my interfacing.

So far, here’s what I’ve learned about fusing leather:

  • If possible use an interfacing that doesn’t require gobs of steam to adhere or melt the glue. It seems like leather can take a lot of heat–I tried everything from the coolest to the wool setting–but lots of steam could possibly damage or dry out the leather (ask how I know!). In my test above, I didn’t use any steam at all, just a dry iron, and it fused perfectly! The ticket is a cool-fuse interfacing (this is the stuff I used), and if your interfacing requires some steam, try using a damp press cloth or misting a small amount from a water bottle.
  • Use a press cloth or teflon shoe. Just in case. I never knew about using press cloths until a couple of years ago, but they really helped in preventing those “shiny” marks on fabrics, which are basically scorch marks. I mostly just use the shoe now, which I think I found for under $20. (It was definitely a good investment as I haven’t scorched fabric since… these are nothing like the coating on the bottom of most irons.) Leather can be ironed. Seriously. This stuff is tough!

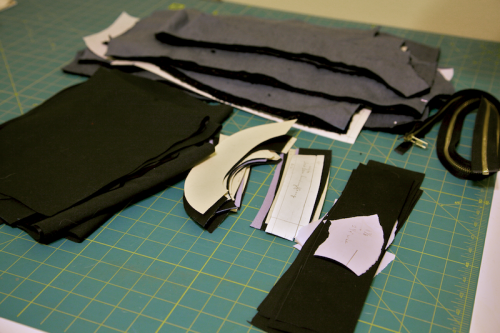
After block-fusing the whole facing-pieces area, I traced and cut. It helps to have a pattern stiffer than tissue paper in order to trace off the pieces. I like doing this on most of my patterns but it’s pretty much a necessity with leather since pinning tissue is out of the question. (Alternatively, you could weigh down a pattern and use a rotary cutter.)

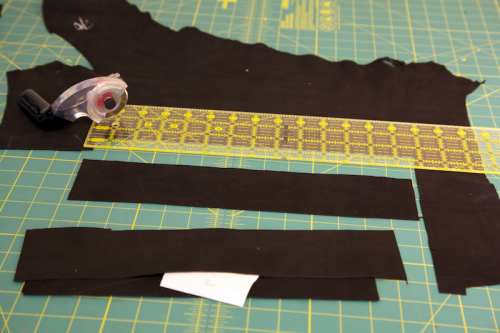
The last thing I did was cut out all the strips that I’m piecing together for the trims from the remaining leather. I just used a ruler and rotary cutter for these:

That’s all for today… off to prune and tie up roses with my dear Valentine. That’s kinda romantic, right? (Except for all the thorn cuts!)

Making a Mess of Fur

Today was a very good stay-inside day. The morning started off with a bit of sleet and then golly oh my that strangest of Austin happenings: snow! Which in terms of current worldwide weather is a bit of a joke, and it only lasted an hour, but no one drives on these rare occasions. So this weekend became a marathon of coat-cutting, and as some of you know, that can seem to go on endlessly. It’s such a good feeling to have it all done.

Ya know, I don’t know what to call this coat in future posts. The Grandma Coat? The Luxe Coat? And black is so difficult to photograph!

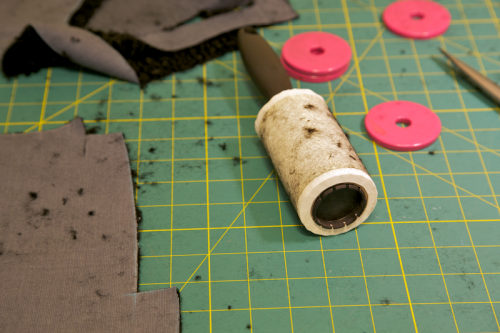
There was some minor gory-ness in cutting the persian lamb fabric. I knew it was going to shed and my lint roller wasn’t enough to keep up. Time to dig out the old Dustvac from deep storage–it looks like someone went crazy with an electric razor around here!

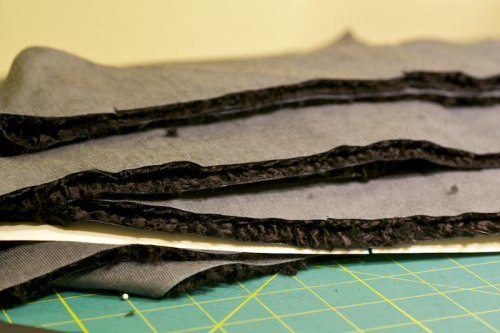
I was taking a risk cutting such plushy fabric in two layers, but I simply don’t have enough room to cut from one layer. The hardest part was getting my chalk to show up on the woven backing. As an experiment I tried pinning tissue paper on top for a few of the pieces, then tracing the pattern on that and cutting the whole thing as one. I’ve done this with silk before, and it seams to help with cutting accuracy.

The hardest part is going to be keeping this from shedding all over the machine. Hmm, I wonder if I should serge the edges of the pieces? I’m already going to have to take my scissors apart and clean them now since all the “fur” got in those.

Next I’m going to baste in some interfacing for the hems–perhaps just plain muslin–since I’m worried about crushing the pile using fusible. And I’ll do a few sewing tests to see how it feeds. There are some fabrics that just don’t want to feed evenly and this is probably one of them. I have a walking foot that came with my old machine but it’s so very bulky, so I might baste the pieces first to keep them lined up with a regular foot. I am so not a basting fan, but this might be the time for me to become one!

Tomorrow I’ll share some about cutting and fusing leather. Till then!

Cocoon Coat in Progress

I should probably write that title on the door.

Actually, we know to keep this door shut anyway, since cats + sewing area = tsumani. I won’t even get into the story about what I found after they snuck in a closet overnight and managed to take down a high shelf of patterns and fabric. Or the time they discovered the delightful sounds of pattern tissue. (Anyone have any cat-sewing-disaster stories to share?)

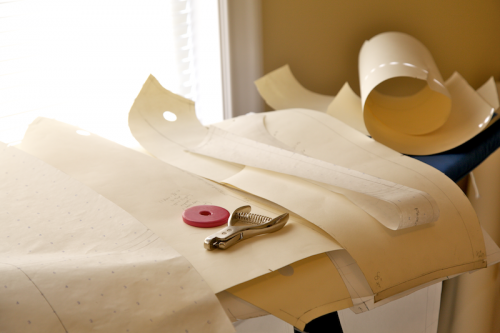
So I worked hard over the weekend getting all the pattern pieces together for my coat, including drafting separate facing pieces and a lining. This kind of work is really fun for me, like problem-solving as much as I can ahead of time rather than in process.

So many pieces! (And I’d love to hear any hints from folks who work with rolled patternmaking paper like oak tag–no matter what I do to flatten it, it just wants to stay rolled.)

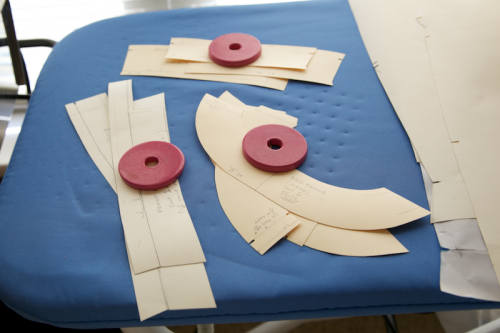
Originally, I’d planned to use a leather binding on the neckline and sleeve hems. After puzzling through a few ideas, I decided to use facings instead. Hopefully, the facings will turn out less bulky than a binding, especially at the corners of the center front.

All my little facing pieces…

I was excited to see that Peter of MPB might be making a faux fur coat and he had a good tip about good patterns for fur: the simpler the pattern details, the better. My fabric has such a thin, low pile that it might not matter but this is something to keep in mind if you ever go faux! My pattern doesn’t have any intricate seams and no eased areas (not even the sleeves).

Of course, I’ve managed to make things more complicated by deciding to sew in the zipper rather than just slap it on top of the folded front as per Burda. That meant that I had to change the “cut-on” facing to a separate sewn-on one. This could make my zipper area kinda bulky. But if my idea works, I’ll share how I changed a pattern to facilitate sewing in a center zipper down the front.

And now I must run and do some interfacing tests on the fur and leather. Hopefully I can get to a-cutting by the weekend but when I do I feel like the whole pattern will be engineered to sit up and talk!

Sewing With Leather, Yeah!

When I got back into sewing a few years ago, I was like a kid in a candy shop. Bras! Tailoring! Jeans! Handbags! I never imagined I’d end up sewing with leather but like so many finer aspects of sewing, it’s not as arcane or specialized as it used to seem.

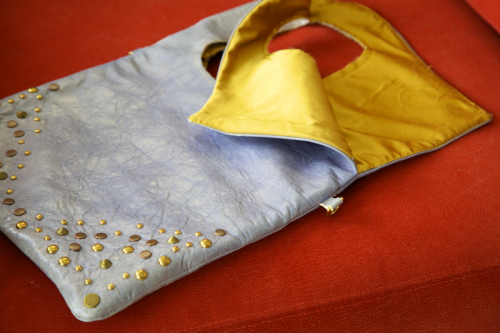
And it’s so fun! My first leather project was this handbag from Hotpatterns:

It’s a bit lonely. There are other parts, including a strap and a tassel, but I can’t find them at the moment. It’s been a UFO for two years, mostly because I screwed up the binding inside the handles, ripped it out and never started over. Ahh, you know how it goes. But it was a good first experiment. I learned the hard way what kind of interfacing doesn’t work on leather. And I went crazy with the studs.

Anyway, I know there can be a bit of intimidation when approaching materials like leather or faux fur. Perhaps I can take some of the edge off for my fellow stitchers by sharing the process of my faux fur coat? Not out of expertise but jumping in, mistakes and all!

In my previous post about the coat, Sallieoh asked where one could buy these kind of materials so I thought I’d start by sharing a few of my findings, particularly with leather. I wanted black lambskin for my coat trim and serendipitously, Gorgeous Fabrics was selling a few when I started gathering materials. They were at a great price and are absolutely luscious!

The first place I look for leathers is ebay. I don’t live in NYC, sigh. There are gads of leather sellers on ebay, but here are a few places to start:

  • Leatherwise from Santa Cruz is my fave. Beautiful quality, colors and great prices.
  • Fashion Leathers. They sell scraps or small pieces as well.
  • Santos Leather at Etsy. (From Montreal.) Unusual and pretty surplus from a leather designer. She even sells grab bags of scraps that’d be great for little projects.
  • Fabric Mart sells quality skins every so often. I don’t have much experience with this shop but have heard good things.

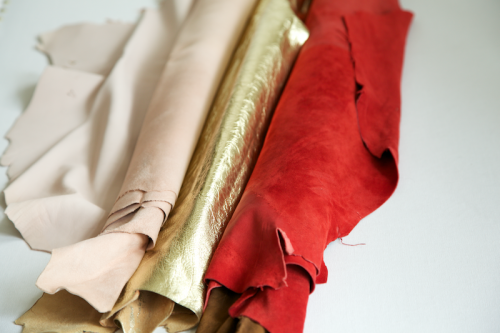
As you can see by the top picture you can find all sorts of finishes: suede, metallic, distressed, matte, shiny, patent, what have you. Some leathers have finishes on both sides. The leather for my handbag, for example, was pearlized on one side with a gorgeous suede finish on the other. I love those kinds since they’re really versatile. Here are few things I’ve learned about size, weight, and cost:

  • Hides come in different weights, and are either described by weight (ounces) or thickness (mm). For example, my black skin is probably about 1 ounce. It’s very lightweight, almost paper thin, and drapey, and good for a more delicate garment or trim.
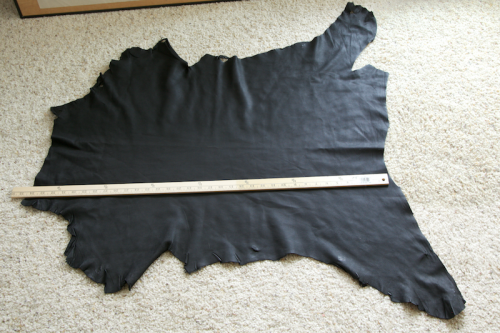
  • Skins are usually described in square feet or inches. Lambskin is going to be smaller, of course, than other types of hides like cow or goatskin. The skin pictured above is about 5 1/2 square feet–you can see by the yardstick that at its longest is about 32 inches. Because skins are irregularly shaped and the outer edges a little thinner there’s some creative cutting involved.
  • Prices tend to be higher for lambskins, anywhere from $15 to extremes like $80. You can get absolutely beautiful skins of a decent size for $20. Check to see if they are described as “second quality” or something like that. (Sometimes the lower quality will have dye imperfections or holes, which are still perfectly workable if cost is a concern.)
  • Goatskin and calfskin can also be lightweight and supple as well as less expensive–and give you more square footage to work with! High quality calfskins can be cheaper than ultrasuede or pleather so it’s not always more economical to go for the fake.

Now as for sewing, it’s sooo easy to cut! It’s really a dream to sew! But there are a few good tools to have around and I’ll save the sewing hints for the next post or two. Till then!

Balloons and Cocoons

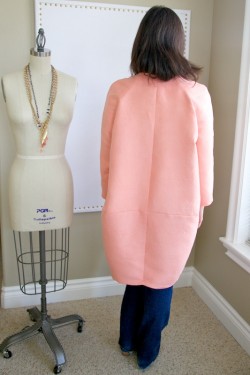
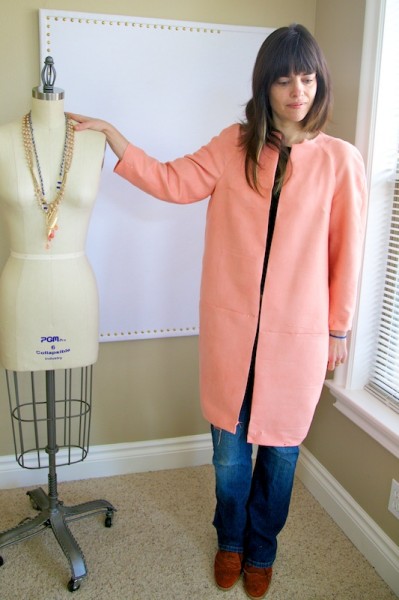
My first reaction to this coat was a bit melodramatic. Whoa, this coat is a balloon!


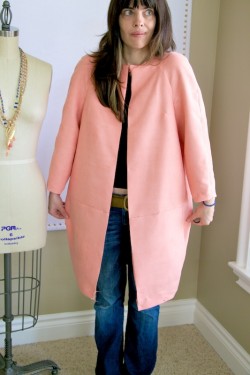
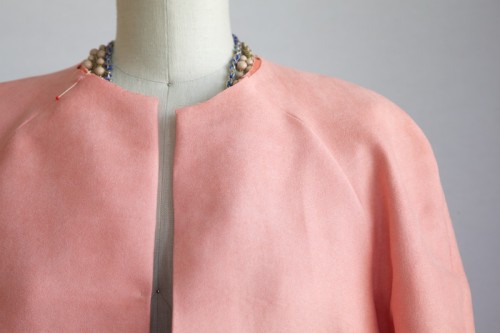
I knew what I was getting into, the pattern’s line drawing makes it clear that this is a cocoon-like coat. (I love that Burda calls it a “hinted boule silhouette”.) Within minutes I was pinning it in all over the place to reduce some of its volume. Although I finished this peach version of the shell a week ago, it took a couple of days of stepping back, taking a bunch of pictures, letting it have some quality time on the dressform to change my perception. I’m not going to be walking around with my arms splayed out like I do when I’m examining fit, thereby exaggerating the shape.

Of course, my “muslin” fabric is also exaggerating the shape by the way it floats a bit stiffly. The “suede” was a bit of a mystery buy dug out of Joann’s mega-clearance pile in the home dec section, but it was perfect to try out sewing on a nappy fabric. This stuff is so groovy that I might even transform it into a coat of its own. (Perhaps it’s something like polyester microsuede? It’s a woven with a satin-y reverse.) It has the softest feel, and in one of those peachy coral colors that can never do wrong by me.

An interesting thing about this pattern is the fact that the armholes are quite low, landing almost an inch above the bust dart. I should probably check and see if that is typical for one of Burda’s raglan-sleeved coats. Normally that’d make for some immobilizing sleeves, but there’s a lot of room to move around: the ease right above the bustline is something like 13 inches!

The smallest size on the pattern sheet was a 38 so I graded down to a 36 and I’m glad I did since this style has so much room. (Are you curious how to grade down a multi-sized pattern? I figured it out from this PR tip about grading up a size–I just did the reverse.)

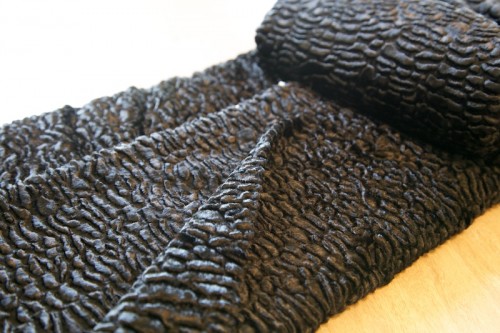
My actual coat fabric is very soft and drapey and so I think the whole shape will relax into gentle folds. I’ve been lusting after Persian lamb fabric since last winter; something about it reminds me of my grandmother’s couches. I’d describe it more as a velvet than a faux fur, with rippled curly pile. (And no, it’s not real lamb fur, although apparently there is a real.)

There are a few little changes I need to do before cutting into my “fur”. The original pattern has an exposed zipper closing up the front. Since I’m replacing the ribbon trim with a leather binding I’ll have to sew the zipper into the binding somehow. That’s this week’s puzzle! The sleeves were shorter than I expected, but now that I’m looking at them in pictures, I might even shorten them more. It helps balance out the proportions and a wrist-length sleeve would probably just look overwhelming. I really don’t want to turn into Blueberry Girl. I’m okay with “boule”. French just makes everything sound better, no?