Starting to looking like a bra now! Today I’m going to assemble the band and insert the cups.
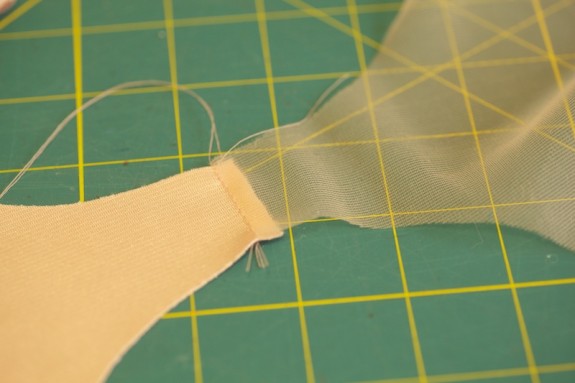
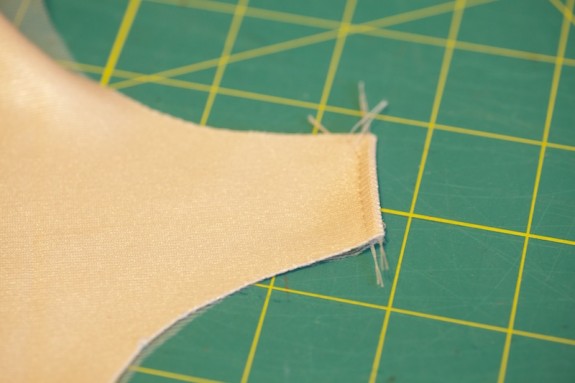
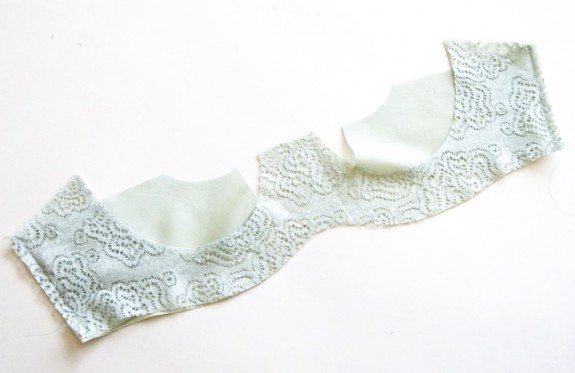
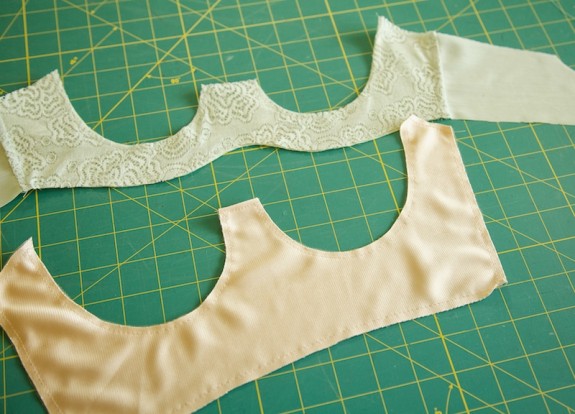
Since I am lining the cradle of both bras, I used the lining to finish the top of the bridge. With right sides together, I stitched a 1/4″ or 6mm seam across the top. I turned this right side out, pressed and topstitched about 1/8″ away from the top.
If you don’t have a lining and interfaced this part, you can turn down the center top by 1/4″ and topstitch. Another idea: if you’re using fusible interfacing instead of a lining, you could also sew the fusing to the top of the bridge glue side up, turn and fuse for a totally hidden seam.
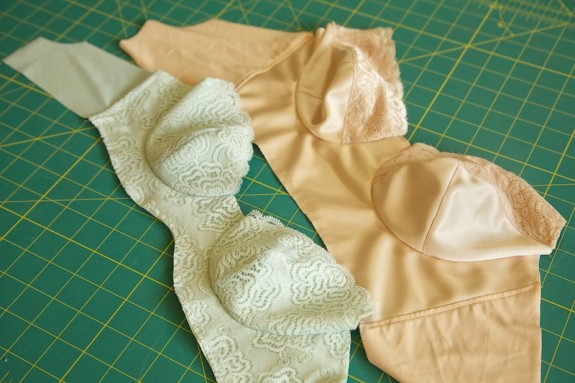
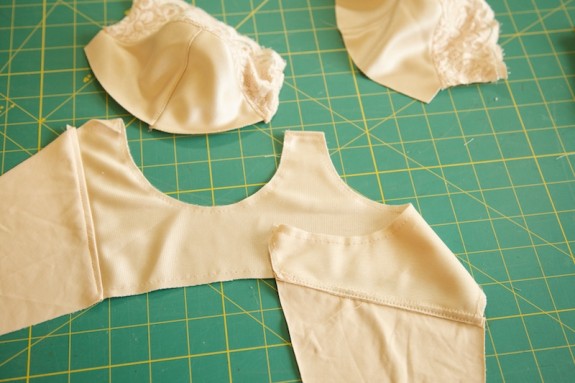
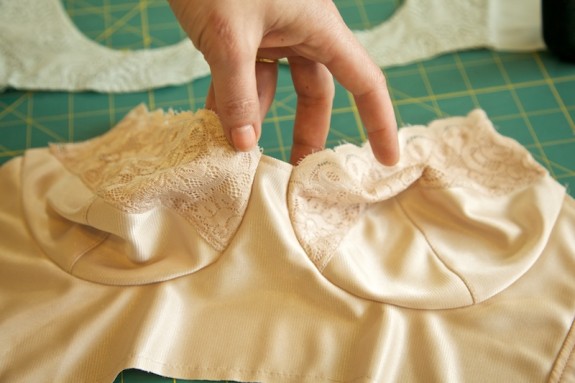
On my bra, I wanted the band seam to be hidden inside the lining so I sandwiched the band pieces into the cradle and lining and stitched the side seam and top of the bridge at the same time.
Then I turned it all ride side out and basted the layers together so they can be treated as one piece.
On this one I sewed the band in separately…
Now it’s time to sew in the cups. I think this is the trickiest bit by far. Everything else after this is a breeze! But I promise, that with some practice, you’ll be kicking it out!
There are a lot of different techniques for sewing in cups. I like to sew both sides with the cup on top and the cradle on the bottom and–as I mentioned yesterday–I go at it without pins.
I start with the left cup. Remember how I cut with the scallops with the lowest point at the seam? I line up that point right with the seamline on the bridge and start sewing.
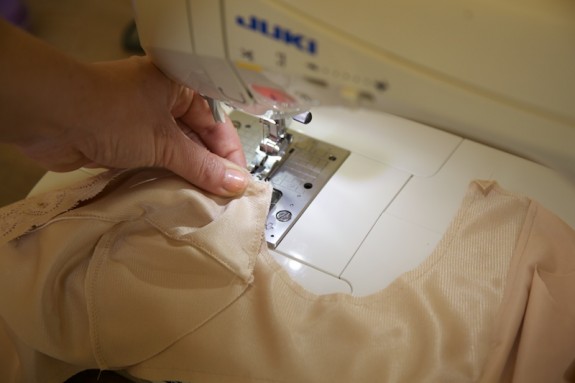
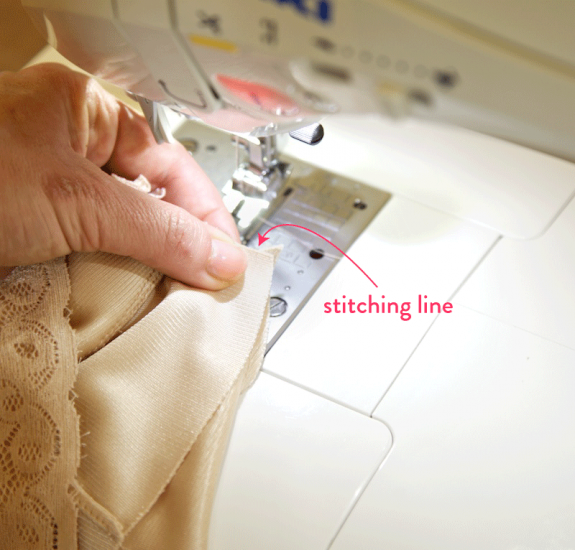
The band is facing up and the right side of the cup is facing down. I sew all the way around the cup to the underarm, lining up the notches.
You can also see in the above picture how I keep the two curves opposing each other right up to the edge of the foot.
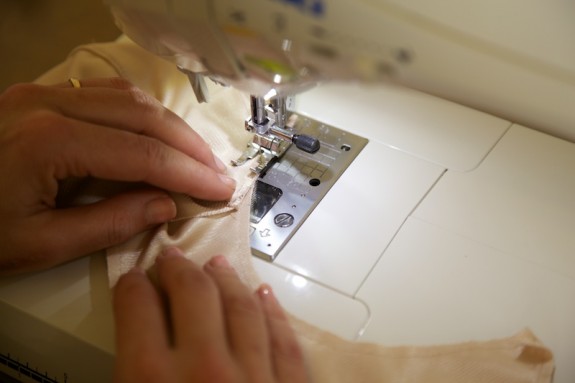
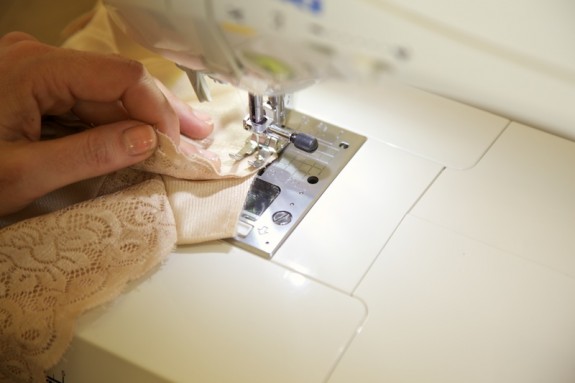
On the right cup, I start at the underarm.
When I get close to the top of the bridge, I slow down and release the presser foot a few times to rearrange the layers, so that the scallops meet just at the end of the stitching line.
If you’re having trouble with puckering, it helps to release the foot pressure every so often if the layers start to bunch together. Speaking of which, it’s totally normal to end up with a few puckers now and then. Just like sewing sleeve caps. I unpicked one bra like 5 times–ugh… That was actually my impetus to go cold turkey on pins. Since then no more puckers and I stopped cursing my machine. (I know my mom is reading this–I remember you yelling at your machine, too! There was that velvet Christmas dress…)
Happy sewing y’all. I’ll be finishing off the bra tomorrow!
Would you like tips and inspiration in the craft of lingerie sewing? Sign up for my weekly eletter The Lingerie Maker.

I never felt the need to make my own bra, but now, after reading all your posts about this, I ABSOLUTELY HAVE TO make one. And then more :). Can’t wait for tomorrow!
Yes! It’s just so fun. I honestly don’t need to, either. But I’m totally addicted.
Amy, you are doing a fantastic job of this sew along. I love all the detailed photographs.
Thank you Katherine!
Exactly what Katherine said, and you are making it look so easy.
Amy, your bra is really pretty! I finished mine this afternoon – after all my fitting tweaks and multiple muslins, it looked great and fit absolutely perfectly in every way. Really comfortable, too!
But then I put on a tee (not particularly tight, not loose – just normal) and it looked totally ridiculous. I used high quality cotton/lycra knit lined with powernet on the bottom and side cups. I graded all my seams as I sewed to eliminate bulk. I used Gutermann lingerie thread. The seam across the cup is barely noticeable on its own.
Do you know any way I can hide that seam line that cuts across the apex? Is the seam line less noticeable under clothes with a vertical seam?
i should probably say…by ridiculous, I mean the seam is very noticeable under clothes. The back is fine, the sides are fine, it’s just that seam across the apex really stands out.
Hi Robyn! So glad you finished and it fits! I’d really love to see it. Are you in the Flickr group?
Hmmm, the seam. I guess that’s why we have t-shirt bras! In a knit–unless it’s like a really heavy knit–a seamed bra probably has some inevitable show-through. I don’t know if there’s a way around that, but I’d love to hear others chime in.
Pressing open the seam and topstitching on both sides is definitely flatter, but I’m guessing you did that. I don’t think a vertical seam will show less but then again I’m using lace on this one and it’s not going to be a great candidate for wearing under tees. I’ll have to experiment with other materials to find out!
thanks Amy! Yes, I’m in the Flickr group…I had my muslin in there but not my finished bra. I actually took apart a Lululemon yoga top and used that fabric and powernet to make a really soft but supportive 3 piece cup bra. I’ll post pics tomorrow. The group really helped me refine the fit.
Hi!
I just found your website in December, and you are so inspiring! I’ve been sewing all my clothes but drew the line at bras, undies, and socks. Well, I’ve made 2 bras now, and have fabric and lace ready to go for your Ladyshorts pattern. Thanks for getting me motivated!
I used the Pin-up Girls Classic Bra pattern. The first time I used a bra kit, and with 2 minor adjustments it was perfect. The second time I used silk instead of the low stretch knit called for in the pattern, and the cups were too tight, pointy, and totally unforgiving. How do you adapt for non- stretch fabrics in your bras?
I haven’t joined the Flickr site because your blog is so thorough. I have a lot of questions, though- are there more answers/techniques on Flickr?
Also, do you have any advice on making your own sports bras? Shapewear? (Especially camisoles with built in underwire bras?) And are there any tips for using fold over elastic in place of the plush elastic? How about foam dome cups?
Thanks so much!
So glad you tackled the lingerie department!
The Pin-up Girls pattern is designed to work with fabrics that don’t really stretch at all–like weightier tricots, nothing with spandex/lycra–so it should fit in silk with some teensy adjustments. If it was too tight in silk you might have made a smaller cup size than what you need and it happened to fit because you were using something that stretched a bit. But I’m totally guessing… What kit did you use for your first two?
It’s hard to explain in words but fabrics that stretch will always need negative ease and those that don’t need zero ease. So you will probably need to add some room across the cup seam to bring it to a “zero” ease. You can smooth out the pointy by smoothing out the apex of the lower cup–after which you’ll also have to reduce the length of the upper cup seam to match. Some ideas on how to do that were here. Does that make sense?
The sew-along was centered around underwired non-foam-cup bra patterns but I’m definitely planning on more lingerie tutorials in the future! You’re welcome to shoot me an email if you have questions!
This was a great “sew-along”. I have learned so much. I can’t wait to complete my first “home-sewen” bra (I have a Pin-Up-Girl pattern being shipped as I speak).