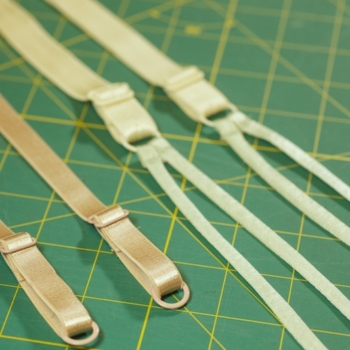
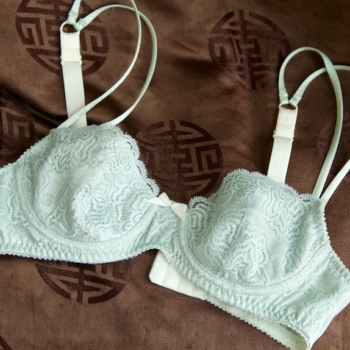
How to Sew Bra Straps Make your own bra straps--all elastic or spaghetti-style, front or back closure. Read more
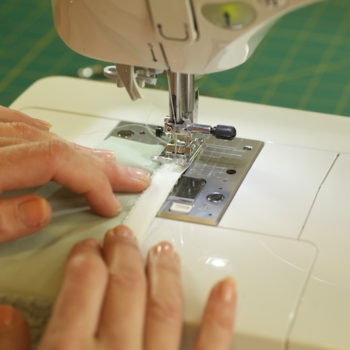
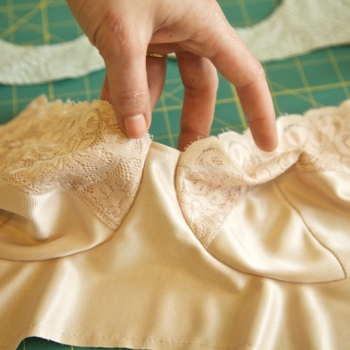
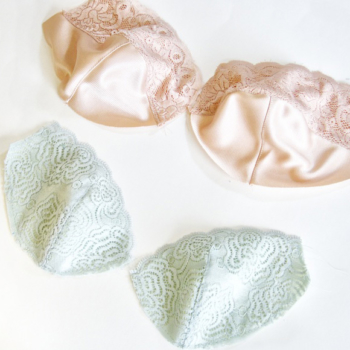
Bra-making Sew Along: Sewing the Cups Sewing the cups together with some tips on neckline finishing. Read more