Me & My Juki

sewing elastic!

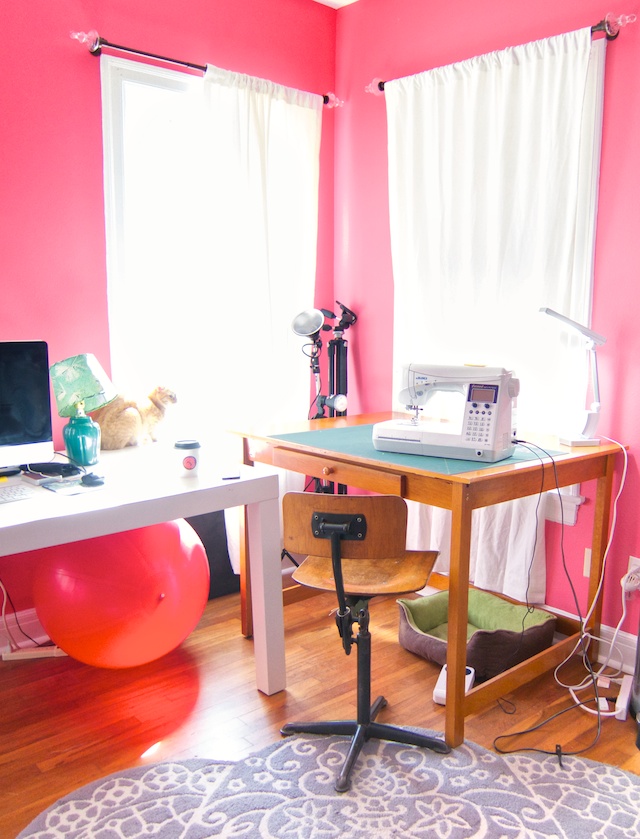
I’ve been giving my sewing machine a pretty good workout the last week so I thought I’d introduce you! I know machines are personal things–whether it’s a brand or a vintage or whatever, the important thing is that you have to love sewing on it. And I really love sewing on mine!

No machine is perfect. I’ve been known to yell some not-so-choice words at all my machines. I had the same ole mega-cheap Brother machine for 15 years. I can’t really say it did anything well, but it went with me everywhere, from college to my first midwest apartment, to Europe, back to Texas. And finally about ten years ago, after the bobbin winder cracked off and then part of the machine bed went missing, Derek finally talked me into buying a new one and adding a serger into the mix. Well, not that he had to talk me into either! I didn’t do any research and the extent of my machine knowledge went something like: “Singer=good brand” and “Bernina=better brand but expensive”. So I bought a low-end basic Singer.

Since then I’ve gotten a little smarter. Or the internet got smarter, and overwhelmed me with machine options. I read about vintage machines and cried a little when I realized my mom no longer owned the very machine on which I’d learned to sew, an all-metal Singer in a solid wood cabinet that these days would probably drive an $800 price tag on ebay. After a couple of years of sewing on my new Singer, something went haywire. The zig-zag stopped working. I’m sort of a wannabe gearhead so I took apart the entire machine in search of the problem. Trouble is, I’m usually clueless about how to put things back together once I get them apart. Here was my excuse at last to get a machine that I’d fully researched.

My biggest beef with machines so far had been buttonholes and their feed. There’s nothing more frustrating than sewing two layers together, and watching the top layer creep longer and longer. I like sewing without pins so I didn’t want to use pins to ease everything together all the time.

my Juki F600

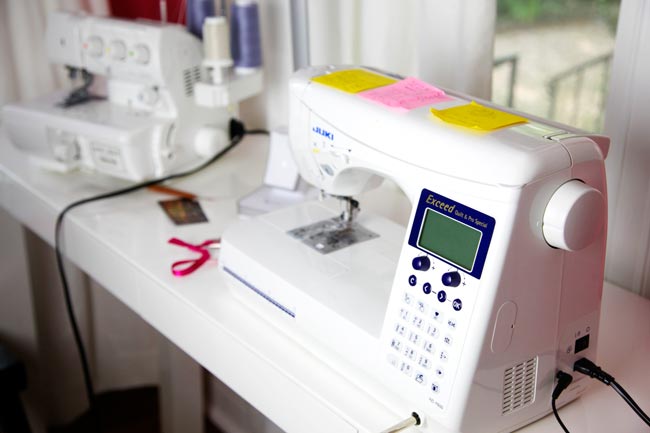
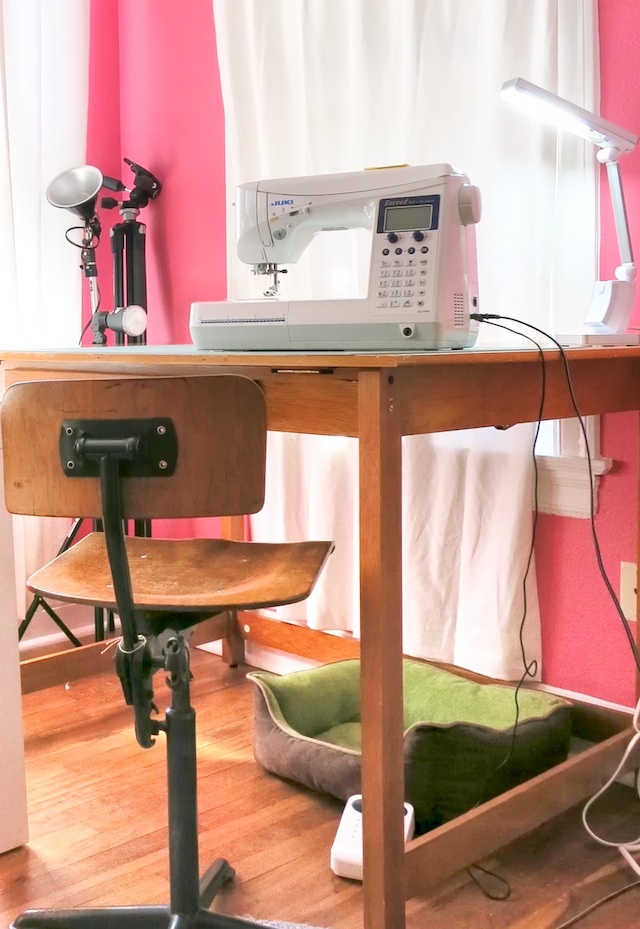
Those features are how I landed on the Juki F600. It was either that or an industrial machine–if only I had the space for one! There’s a mechanism in the Juki feed that makes it turn in a box rather than back and forward. I wasn’t sure exactly how this would improve sewing, but it does seem to feed fabrics much better than my previous machines. I can also loosen the foot pressure, another feature I never had on my others. This has become an almost essential adjustment in sewing slippery lycra or just about any stretchy lingerie fabric. The heavier the foot pressure, the more the foot pushes and stretches the top layer.

And the buttonholes are to die for. This machine does every type, both boxed and keyhole buttonholes. Light-stitched buttonholes for shirts, and heavy-weight buttonholes for coats. I haven’t sworn once at a buttonhole in progress since I got this puppy three years ago.

A coincidental bonus was the bright lighting. There are two led lights, which make the bed very bright. I have poor vision even with correction, and tend to turn on as many lights as possible when I’m sewing. The Juki has a lot of features which I’ve never touched and probably won’t, like all the fancy lettering stitches. But it’s my first machine that stops needle down, unless I tell it not to. It’s quiet. And the automatic thread-trimmer makes life a little easier. None of these are deal-breakers but I have to say, this is the first machine that I have loved and look forward to sewing on. Sometimes emotional attachments are hard to measure.

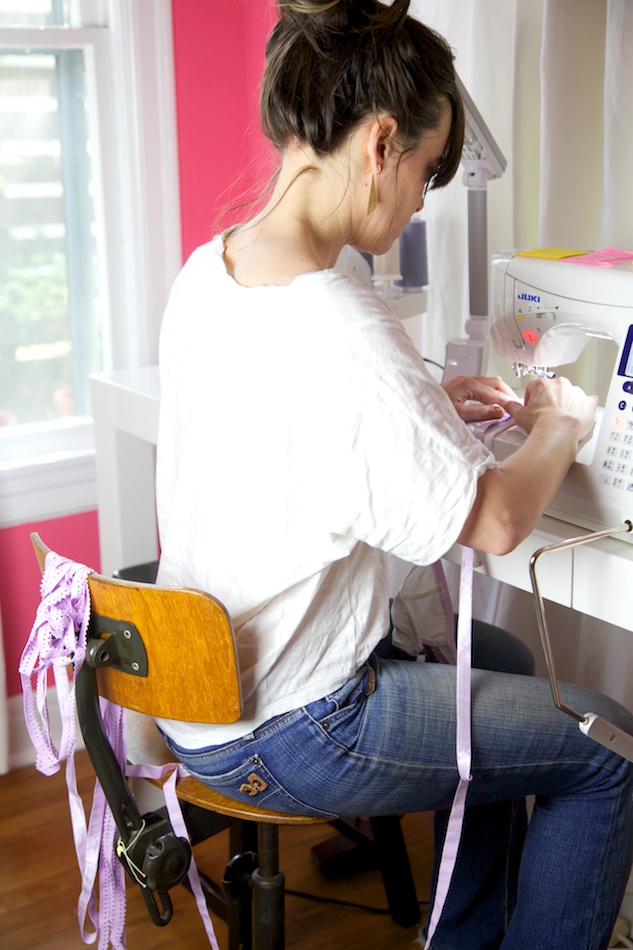
All my sticky notes, reminding me stitch lengths and widths for lingerie…

machine sticky notes

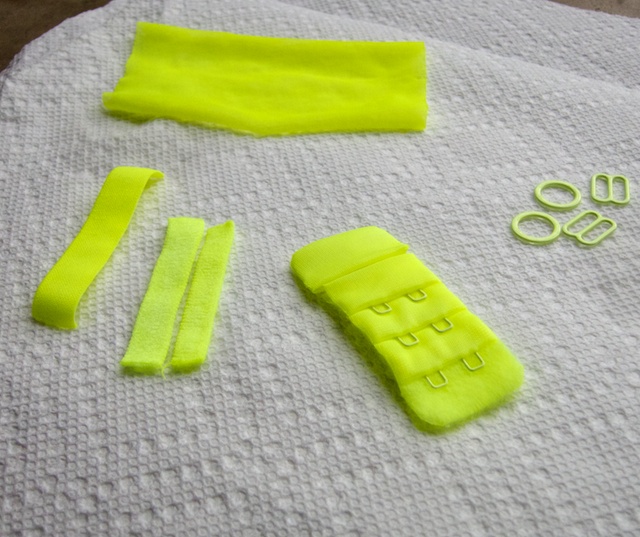
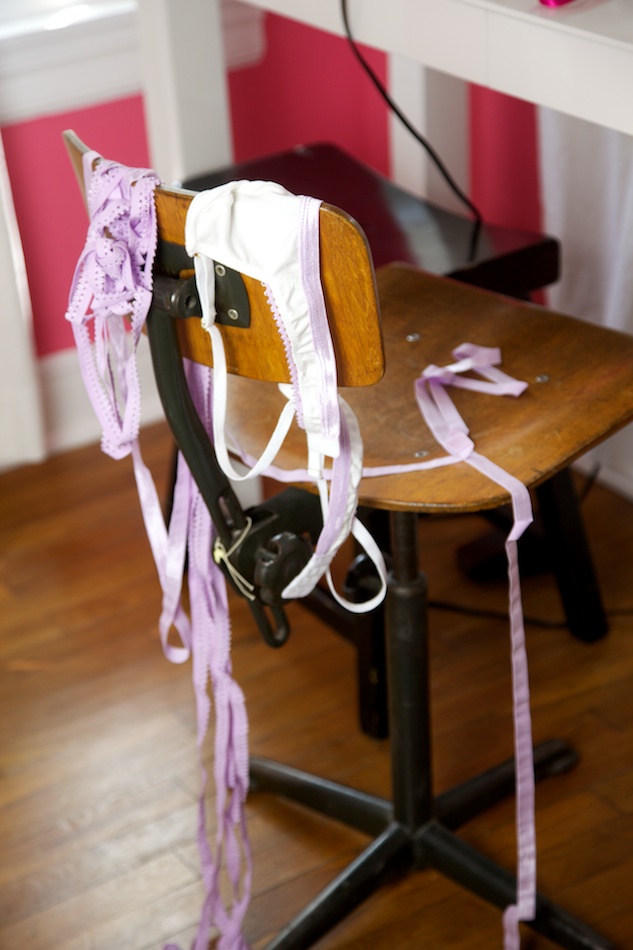
I gave up trying to be neat about my elastic. This is a little cotton bralette I was working on over the weekend…

elastic-sewing

Update July 2018: I receive many emails asking me if I still recommend this sewing machine. And yes, I am still using this as my main sewing machine–almost eight years after I bought it! Juki has been manufacturing this model for over a decade and by now it is well-known in the sewing community as a great all-around sewing machine.

I also receive questions asking me how it compares to the other Juki Exceed models and I can’t answer that because I haven’t tried them. I chose the F600 over the 500 and 400 for its buttonholes–which are awesome. I don’t have a lot of experience with other brands of sewing machines. I just know I like this machine and it has served me well for many years.

Happy sewing!


This Week in Dyeing

picking flowers

Sometimes I need a little blog break for mental sanity. The last couple of weeks I’ve tried hard to spend less time on the internet, more time using my hands, for things like… picking flowers! May signals the end of the early spring wildflowers in Austin, so I’ve been rummaging around the garden dead matter in search of the last bluebonnets, poppies and sweet peas. And then of course taking bunches of photos of the pickings (my other favorite pastime).

poppies

Who doesn’t love poppies…

The explosion of spring color inspired me to keep up my dyeing adventures. Pale peaches, mink browns, lemons… And mint is next. Except I can’t decide if I want a seafoam mint or a kind of pale cucumber-y mint.

I won’t lie, dyeing takes time, especially if you’re as exacting about color as I am. And all that stirring can get laborious, but it’s so worth the results. Washer-dyeing is a way out of all the stirring, but unfortunately, my washer is front-loading and doesn’t pause on a soak or agitate cycle. For these fabrics, I used fiber reactive dyes from Dharma Trading. They’re carrying some lovely colors inspired by the Pantone palettes for spring and fall. One of my Pantone favorites at the moment is “Linen”, a sort of peached-up ivory. It reminds me my fading roses…

dyeing cotton

The funny thing with dyes is that they mix really differently than I am used to with paint. And if I’m using a mixed rather than primary color, some parts of the dye can “stick” faster than other parts. Dyeing fans always say it’s part science, part art, and now I can see why. So my “linen” came out more pink than I had hoped but I found a way to use it. These are cotton and modal knits I’d stashed for possible t-shirt projects, but they’re very soft for some simple summer lingerie. I’ve got my eye on some Tencel knits, too. I love soft knitted underwear especially in the hot months.

All of this dyeing led up to samples of several lingerie projects. And that’s another place my hands have been–sewing, sewing, testing, more sewing. I love making things for myself but over the last year I got an itch to do something more with my sewing and designing. It was an itch that wouldn’t go away. My business ideas are still in the nascent stages but the more I plunge into them, the more I realize that designing clothes and patterns is something I’ve dreamed about for many years. I would never have guessed it’d be lingerie!

Anyway, promise I’ll be back with some of the finished projects. Some of them aren’t too exciting; I’m working on developing my distinct style and then there’s just a lot of me trying to improve at handling elastic and stretch. And then some of them are downright secrets until they’re ready. And that’s what lingerie is about, right?

Lingerie Friday: Dyeing the Notions

It’s been awhile since my last Lingerie Friday! We are still settling in and finding new rhythms after what feels like eons of moving and sorting and unpacking. This week I’ve been dreaming up color ideas for future lingerie projects, and so I’ve been playing around with dyes again. I never aspired to be a painter, but I went through a phase where I was completely taken with mixing paint colors. I would spend hours mixing watercolors and gouache to get exacting shades of olive, lilac, pale pale coral. It was inevitable that I’d fall for dyeing, and I have fallen hard.

I’m dreaming about yellows at the moment, specifically lemon-y or acid yellows so I’ve been experimenting with a few dyes. My friend Stephanie came over and took some photos of me in the “lab”.

Dyeing Elastic & Notions for Bras | Cloth Habit

Ingredients: Dharma acid dye in “Fluorescent Lemon”, vinegar, hot water. For the small amounts I am dyeing, I use a Pyrex jar. Don’t forget the gloves and “not-for-cooking” spoon.

What I’m dyeing: bra rings & sliders, hook & eye, and a few samples of elastic and stretch mesh. I wash these in a mild soap to remove any residue. (You never know; some fabrics have surface treatments.)

Before I commit to larger amounts, I’m dyeing just these little bits to see how it turns out. A teensy bit of powder dye goes a long way for so little… even a sprinkle is almost too much. I add the hot water to the dye…

Dyeing Elastic & Notions for Bras | Cloth Habit

The nylon-coated rings take the longest to accept dye. They usually sit and take on barely a pale stain until I add the vinegar. The water has to be hot. They tend not to dye well if the water doesn’t stay hot. If I’ve already added vinegar and they’re still being stubborn, I take the rings out and microwave the dye water to heat it up a bit.

Dyeing Elastic & Notions for Bras | Cloth Habit

Oops, here’s what happened when I didn’t take the rings out before re-heating the water in the microwave. Melted nylon!

The rest of my samples seemed to take mere seconds. I used to pull fabrics out and rinse them as soon as they got to the intensity I wanted. But I’ve since learned that the time in the acidic hot “bath” is also important to how colorfast the dye will be. I’m still experimenting, but if there is still some dye left and I don’t want the notions to take up any more, I transfer them to another pot/jar with just hot water and vinegar for about 20-30 minutes.

Dyeing Elastic & Notions for Bras | Cloth Habit

Since I had a bit of dye left, I threw in another set of rings and sliders to make up for my melted ones. This lemon is super neon! (It really does glow in the dark.)

Dyeing Elastic & Notions for Bras | Cloth Habit
Note that I’m dyeing nylon (and my elastic is nylon), so I’m using an acid dye. You can also use RIT, as it contains a form of acid dye along with another type of dye for cottons and such. With either an acid dye or RIT, the heat and acidic pH (via vinegar) are the key to encouraging the dye to bond and this works for nylon as well as silk. I love the “professional” acid dyes. They’re much less expensive than all-purpose dyes and the colors are more brilliant and predictable. I still happen to have a bottle of RIT not-fluorescent “Lemon” waiting for my next experiment…

Happy colorific lemon-y weekend everyone!
x

Shazaam Cape, With Love to Detroit

Quick, before winter completely disappears.

red-cape-3

red-cape-2

As I look back over my sewing over the last couple of years, I notice that I tend to huddle down in mid-winter and work on one big project, usually a jacket of some kind. This one was completely spontaneous. The night before our Christmas holiday, I had this big idea to sew a red cape. And not just any cape but a red cashmere, fully-lined-in-silk cape. With bound buttonholes. And here’s the kicker–I actually thought I’d be able to finish it in a day!

Turns out a cape was a complete bust for our particular winter, which never quite went much beyond t-shirt temperatures. But the trip to the colder weather of Michigan gave me the impetus to start. I started having these fantastic visions in which I would climb the Joe Louis fist with a red cape and my Flash Gordon shoes, and bravely overcome any blizzard that came our way. I love a good photo opportunity, and well, I feel like a superhero when I’m in Detroit. It’s more like Gotham than Gotham.

I grew up about 30 minutes from the city. My grandfather was a Ford assembly worker in the 40s-60s, the golden era of the motor industry. When I was a kid the actual downtown was sort of off-limits, but as an adult I treasured its steamy street holes and art deco vaudeville theaters. (Probably the only place I’ve seen bullet-proof glass around a gas station.) Detroit brims with a latent, atomic energy. Its people have a kind of directness, an urge to tell the truth, to build and to invent. I accept that strength in me.

So this is my Detroit cape. Paired with appropriately Flash Gordon shoes.

red-cape-and-pattern

Details:
Pattern: Simplicity 5252, circa 1978? I used a combination of view 1 and 2. I love these 70s patterns with one size and all their lovely markings.
Fabric: Wool/cashmere coating (very nappy, almost like a melton) from Elliot Berman Textiles, silk charmeuse lining from Mood.
Buttons: Italian metal dome buttons from Britex.

My superhero gifts don’t include speed, so I didn’t finish in a day and missed my Joe Louis photo shoot opportunity. But I got surprisingly close. Instead I spent part of January calmly putting on the finishing touches.

red-cape-4

This was a project I stewed on a for a few years. Over two years ago I spent some time sourcing all the right materials and notions, down to the buttonhole thread. I really wanted this to be a lifetime piece. It’s a total 180 from everything else I’ve been making, but I’m glad I had it waiting in the wings. Perfect for taking on the New Year and leaping over bronze fists! I don’t have a ton of detail shots, but those may come later. Lots of groovy details on this one–bound buttonholes, stay buttons, internal pockets for when you want to keep your hands safe and warm. I just love capes, cloaks and all their kin. For me, their whole point is having lots of fabric to whip around, even heavy fabric such as this. I don’t care what Edna Mode had to say.

For this shoot, Derek was all too happy to choreograph me jumping out of elevators into an abandoned parking garage.

cape-dance

It’s all about the movement! he said. Here’s a little peak at the world of my better half. He loves flight!

p.s. The dress underneath is Style Arc’s Kristin pattern, a simple shift dress that I’ve tweaked to bits and made multiple versions of over the winter. I had in my mind “Classic Shift Dress” with elbow length sleeves for multiple seasons and fabrics, and who knew Colette Patterns would run a massive contest on that very same idea a few months later? I highly recommend a shift for any body. And I’ll post more about this dress later when I don’t actually have a cape smothering it.

Small Space Sewing

This week I slowly pulled out my cameras and sewing machine again, but I still need to find the right set-up. At the moment we are both out of workspace, which in our life also equals creative space. Up till a year ago, we both shared studio rooms in a coop and after that I was able to spread out most of my sewing over a spare bedroom in our rental. So a big part of this move has been paring things down to the bare, bare essentials!

office

The second bedroom is an all-purpose office and cat hangout. It looks pink and it is pink! This was also taken in the dead of afternoon, when the bright Texas light was blinging everything out. I dreamed about watermelon walls with white linen curtains for something like, oh, five years.

At the moment I’ve squeezed an old drafting table in the corner next to my writing desk, to double as a cutting and machine-sewing area. It’s not feng shui but will have to do till we get the rest of the boxes unpacked, and it is the perfect cutting height for now. Cutting on the floor back in the day just killed my back and my wrists. And I do love to cut! Probably more than sewing…

my sewing machine

Then I had to narrow down my machines. My sewing machine was a birthday present for my big 4-0 a couple of years ago. It’s a Juki F600, which I chose after much research and review-reading. I love this machine so much so that I sold off two of my old machines in the move, including the halfway disassembled 1987 Brother on which I made half my college wardrobe. Moving involves so much sentimental sorting, and I’m a terribly sentimental keeper.

Sewing in a small space is quite okay at the moment since I’m doing a lot of pattern work, mostly on the computer. In the meantime, I’ve been trawling Apartment Therapy and Ikea for ideas on small space organization. What I really need is a way to get my thread high and away from kitties.

t-bone

This is T-Bone. We’ll see how long the curtains survive the claws… I once caught him swinging halfway up a curtain after an hour of parkour with his brothers. I have hours of free entertainment with them, to say the least!